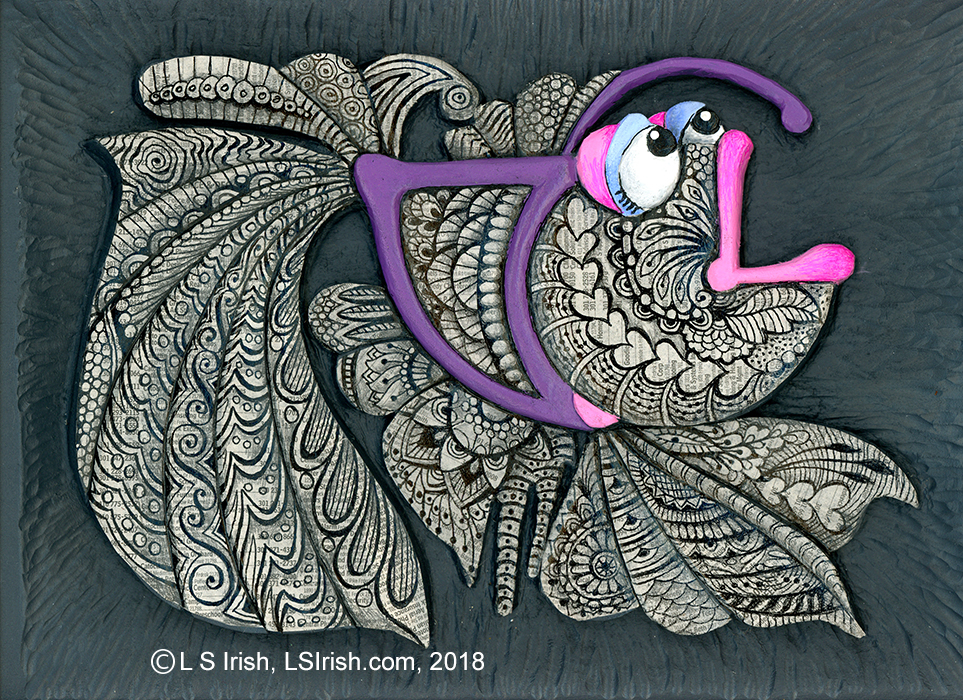
Wood Burned Pyrography Free Bird Pattern
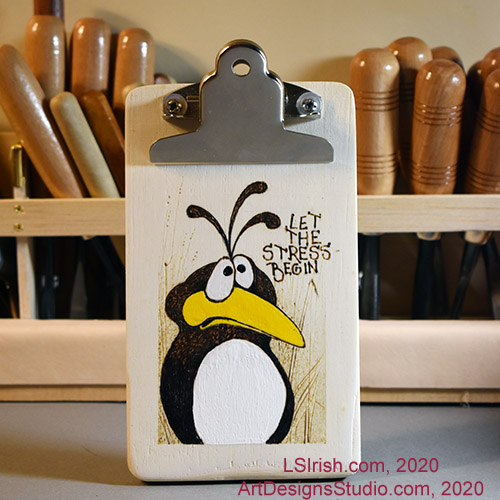
This little “Let the Stress Begin” Bird Pattern for pyrography and wood carving is worked on a mini-clipboard that measures 6 1/2″ high by 4″ wide. The outer 1/2″ edge of the clipboard was covered with painter’s tape after the pattern was traced. This protects that area of wood from being burned and when it is removed you have a clean, straight-lined border.
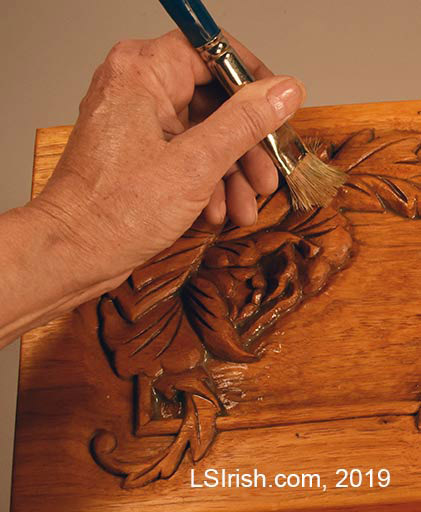
This is a simple silhouette burn on a high setting for your wood burning tool for the bird’s outline and body fill. The background grass was worked using a ball-tip pen on a medium temperature setting.
The white and yellow were added after the pyrography was completed using acrylic craft paints. After they dry finish your wood burning using your favorite spray sealer.
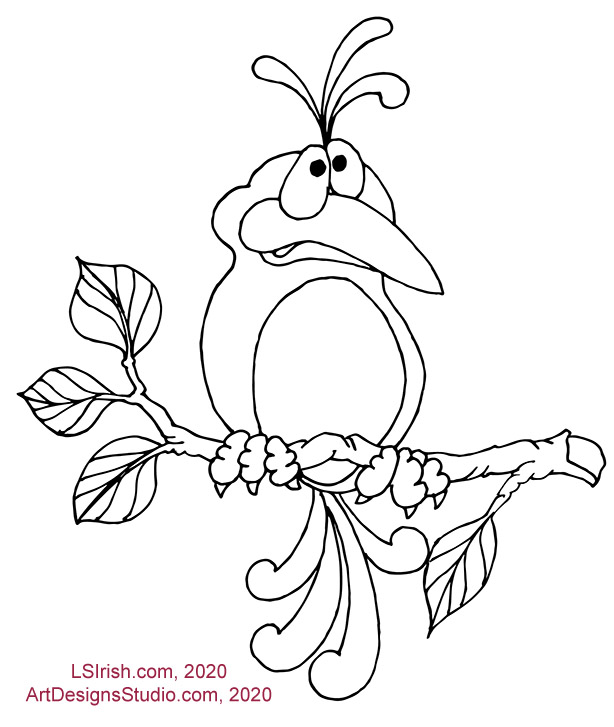 Please click on the image above to open a new window with the full-sized – 7″ x 10″ – pattern.
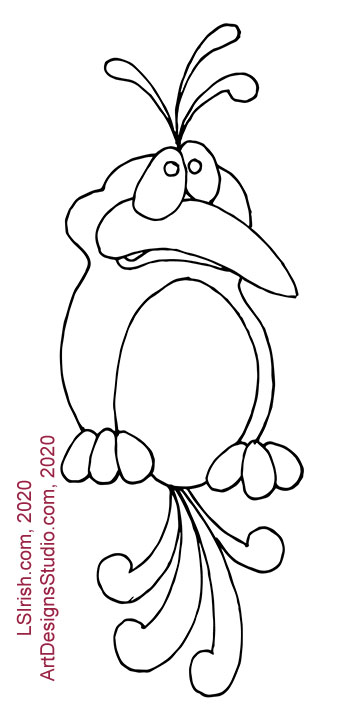 Please click on the image above to open a new window with the full-sized – 7″ x 10″ – pattern.