
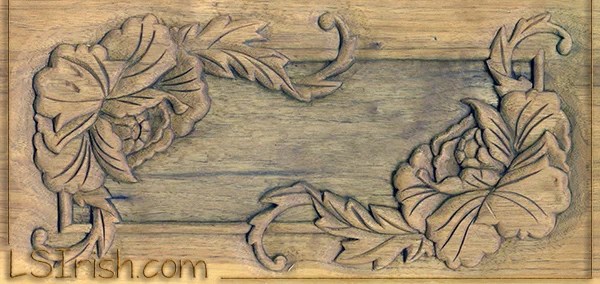
This simple flower wood carving is worked from the practice board project in Relief Wood Carving Workshop by Lora S. Irish. This practice board, which includes 22 specific techniques for relief wood carving and 3 small flower designs, allows you to learn and explore the cutting strokes each of your wood carving tools creates.

PRACTICE CARVING ONE
This super simple flower pattern will walk you through many of the basic techniques learned in this practice board chapter.
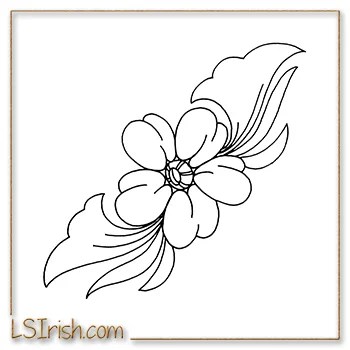
 Step 1 Trace your pattern to your practice board using graphite paper.

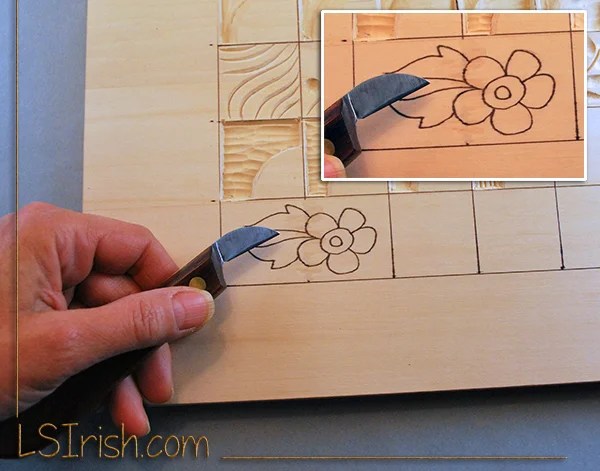
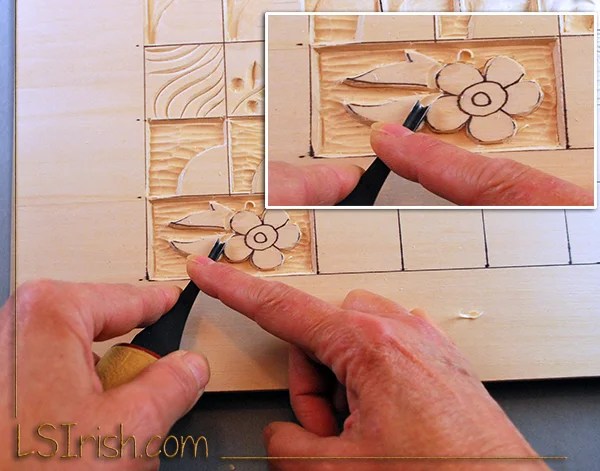
Step 2 Create a bench knife stop cut along the outer edges of the pattern. Cut triangular chip cuts in the background corners of the petals.
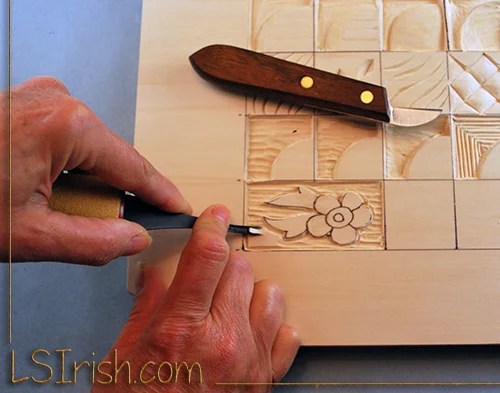
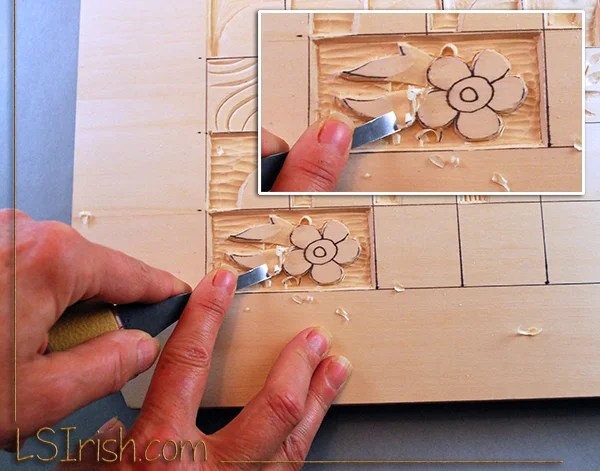
Step 3 Working with the grain of the wood rough cut the background using a medium round gouge.
Step 4 Rough cut the background to a depth of 3/16”, making straight outer walls on your design elements.
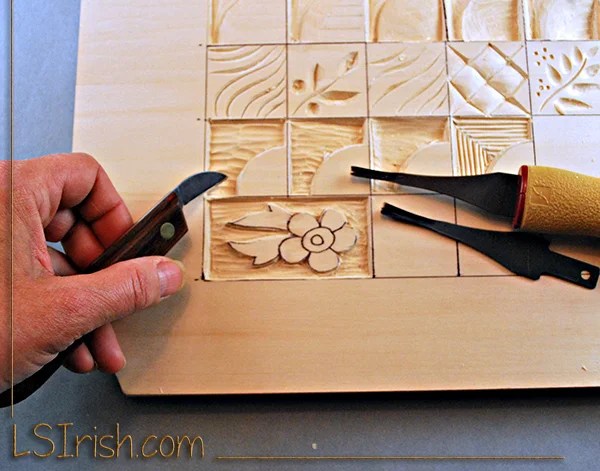
Step 5 Create a stop cut using your v-gouge between the leave elements and the flower petals.
Step 6 Using a straight chisel taper the base of the leaf into the flower petals. Taper the outer leaf point away from the flower. This gives the leaves a convex curve.
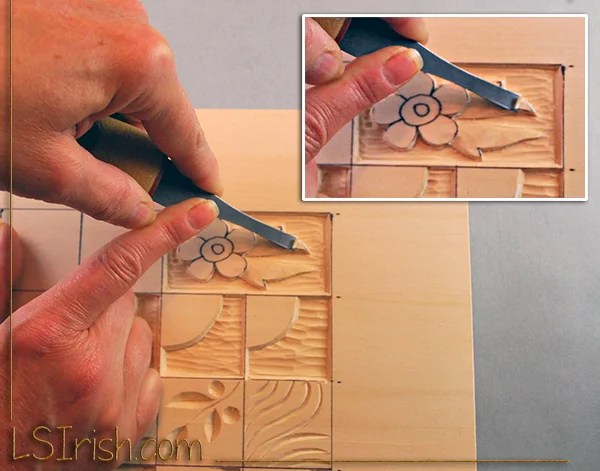
Step 7 Taper the long sides of the leaves towards the background using your straight chisel.
Step 8 V-gouge stop cut the center circle of the flower.

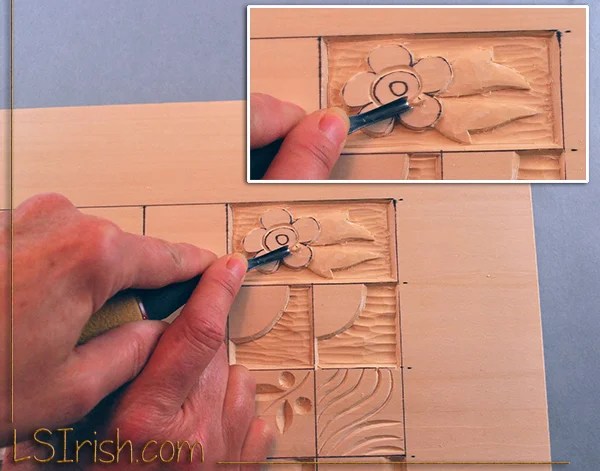
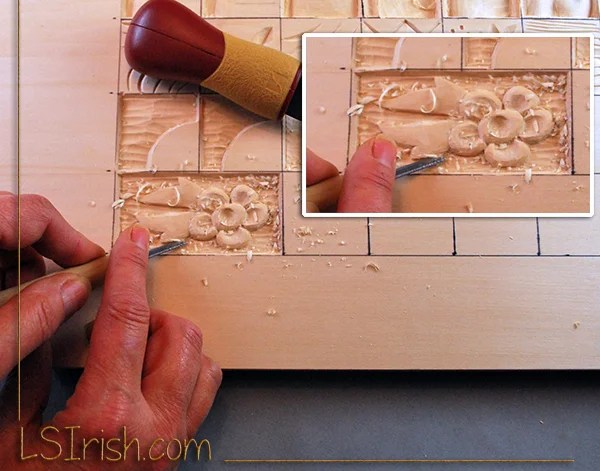
Step 9 Using a medium round gouge or medium u-gouge create a concave indent inside of each petal.
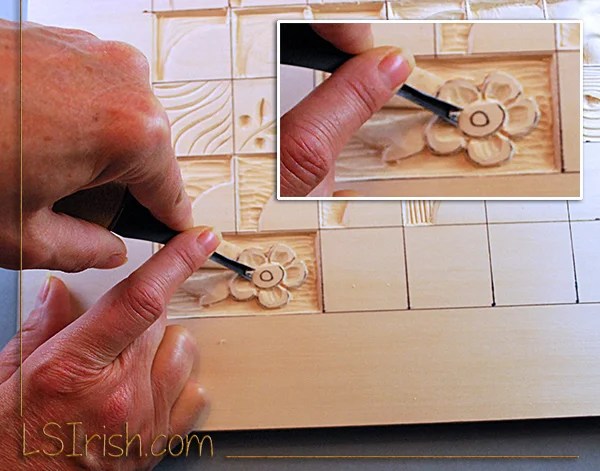
Step 10 Separate each petal using your v-gouge and a stop cut.
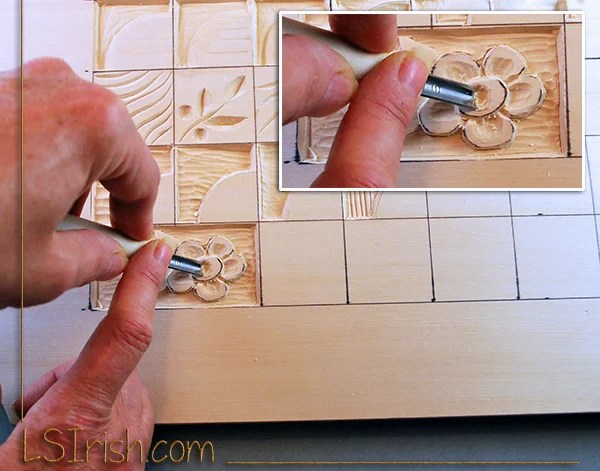
Step 11 Up-end a medium or large round gouge to cut the inner circle of the flower center.

Step 12 Using your straight chisel round over the outer edges of the petals.
Step 13 Smooth the carving by shaving each element – leaves, petals, and flower center. Re-cut the intersection joint lines between the elements and the background.
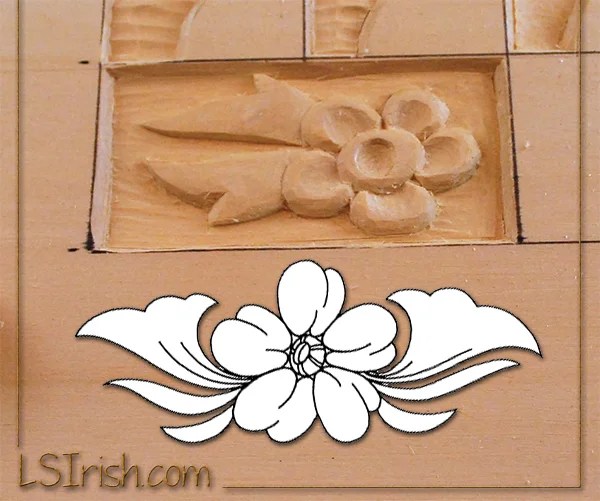
Step 14 with a few more cleaning cuts and a touch of sanding using 220 grit sandpaper this carving will be completed and ready for either the painting steps or the finishing steps.

- Clear, in-depth instructions
- Step-by-step exercises
- How-to photographs
- 11 original projects for the first time relief carver
 Relief Carving the Wood Spirit
With this book any carver can stand beside the workbench of acclaimed artist Lora S. Irish and learn everything she has to teach about creating an expressive wood spirit. Lora clearly explains the relief carving process from start to finish: every cut, every tool change, and every depth check. The entire craft is here, from preparing the wood to roughing out and detailing the wood spirit to applying a long-lasting finish. No step is left out and no technique is left unexplained. The author shares her tips for creating realistic and detailed facial features like eyelids, windswept hair, beards, and the ever-important mustache. Best of all, when the step-by-step project is complete, Relief Carving Wood Spirits, Revised Edition offers 20 more original patterns to keep any carver busy for seasons to come.


