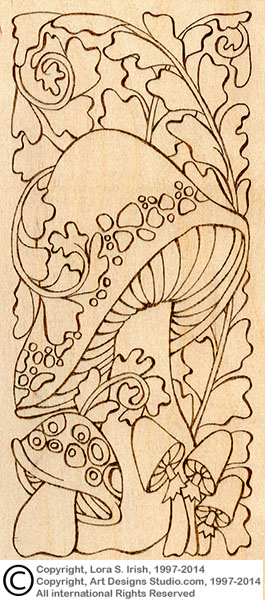
Today we will fill the top of the mushroom cap with a large doodle pattern, then adding graduated shading to the cap. Please drop by our carving and pyrography pattern website, Art Designs Studio, to get your free mushroom pyrography patterns that complement this project. The pattern package is on our home page. The links to the previous posts for this free project are below.
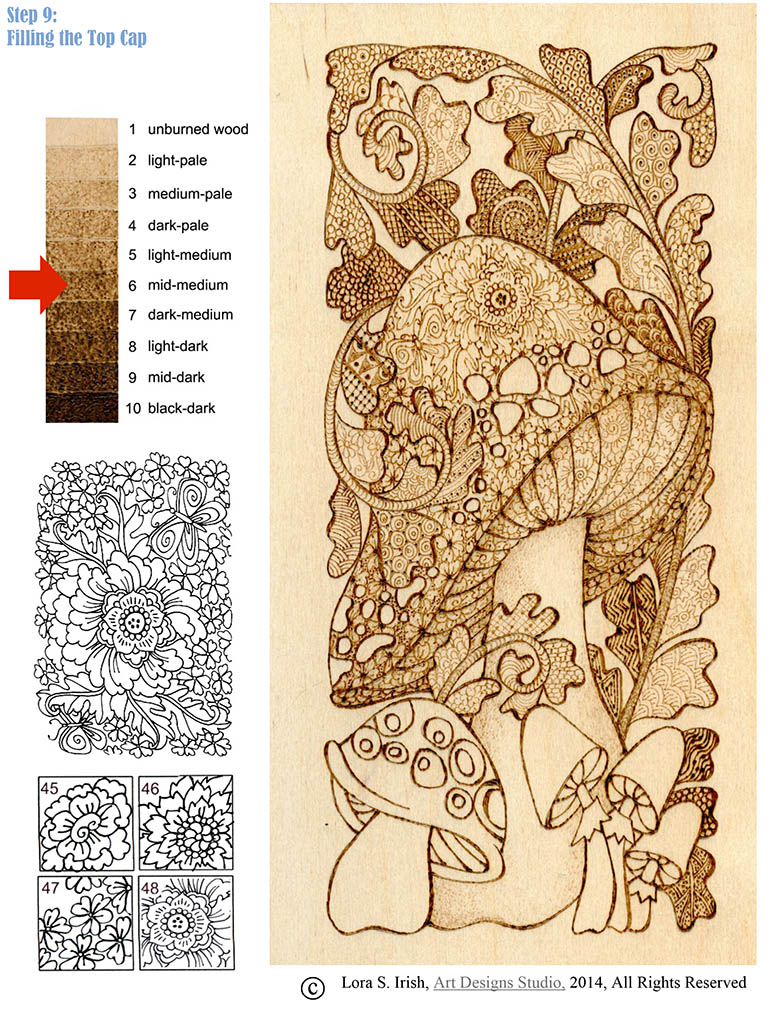
The pattern on the mushroom cap is a very large flower pattern with long leaves, butterflies, and small daisies. Begin the large flower at the top of the mushroom cap. As you work the doodle pattern towards the outer edges of the mushroom cap begin filling using small daisies. Add as many butterflies as you would like.
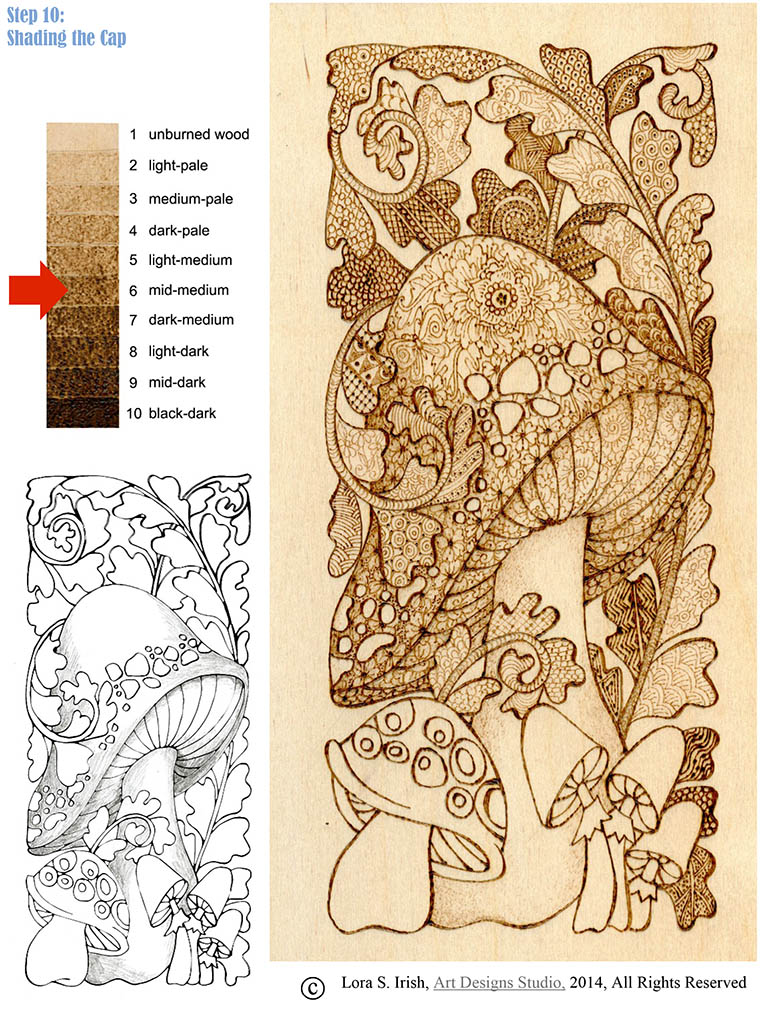
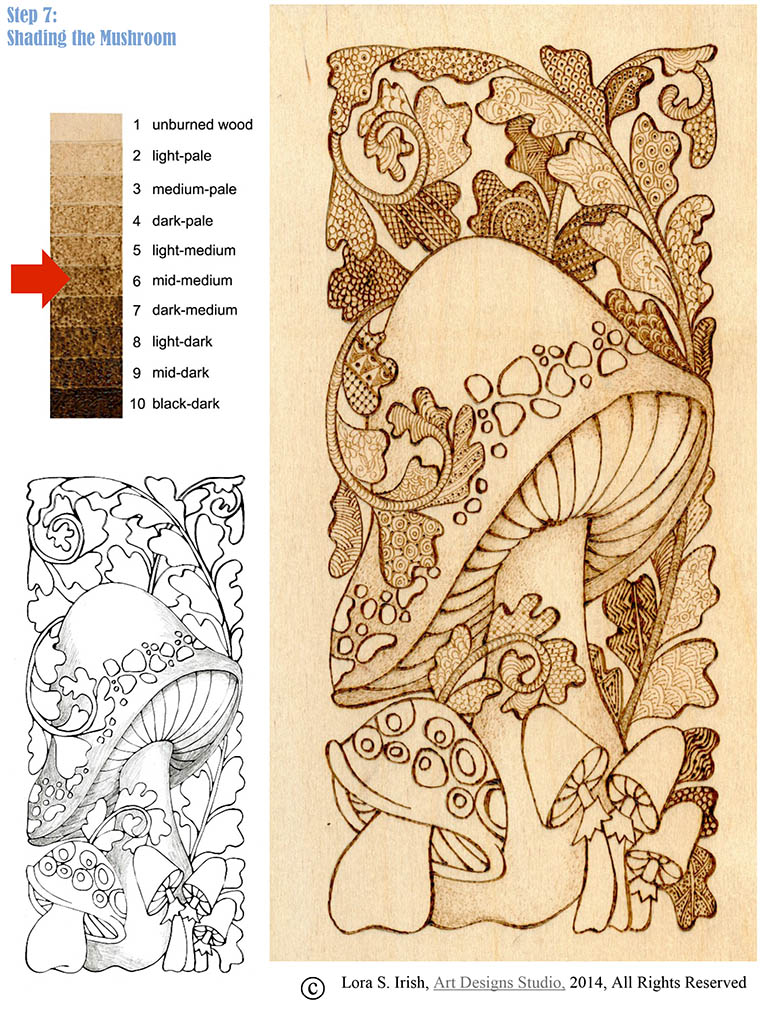
Step 10: Shading the Cap
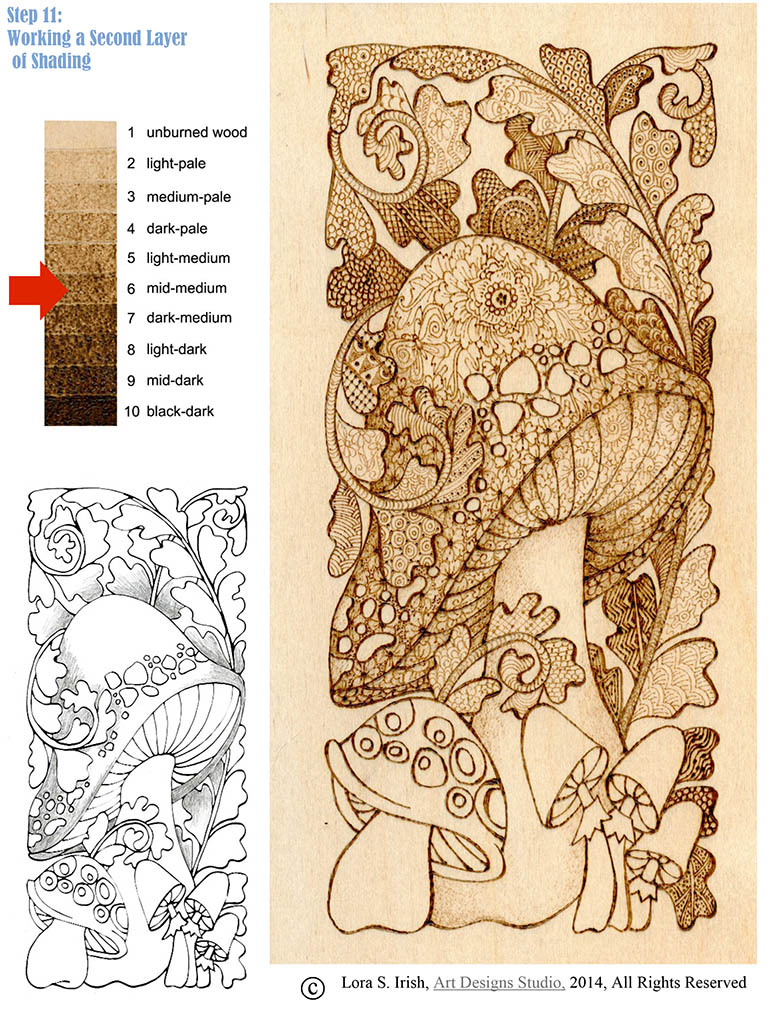
A second shading is worked over the entire large mushroom to deepen the tonal value along the outer edges and behind the leaf curl. Leave the mushroom spots unworked, the white of the wood.
Step 11: Working a Second Layer of Shading
To push the background leaves even deeper into the design, a third layer of shading is added. Please follow the shaded drawing guide for your shading placement.
Please remember these are large images that you can right-hand click and save to your desktop.
Small doodle patterns can be used to create the fill textures inside the sections of any pattern, adding delightful little designs to your work. Those doodles can be repeat patterns, random fills, or large, fully complete designs. In today’s step we will work a large floral pattern in the underside of our mushroom cap.
To provide a clear, easy-to-follow, easy-to-print image, the photos on this page are fairly large. Please be patient as they load to your browser. Click on any of the images to open them, full sized, in a new window. Right hand click on the image and save it to your desktop.
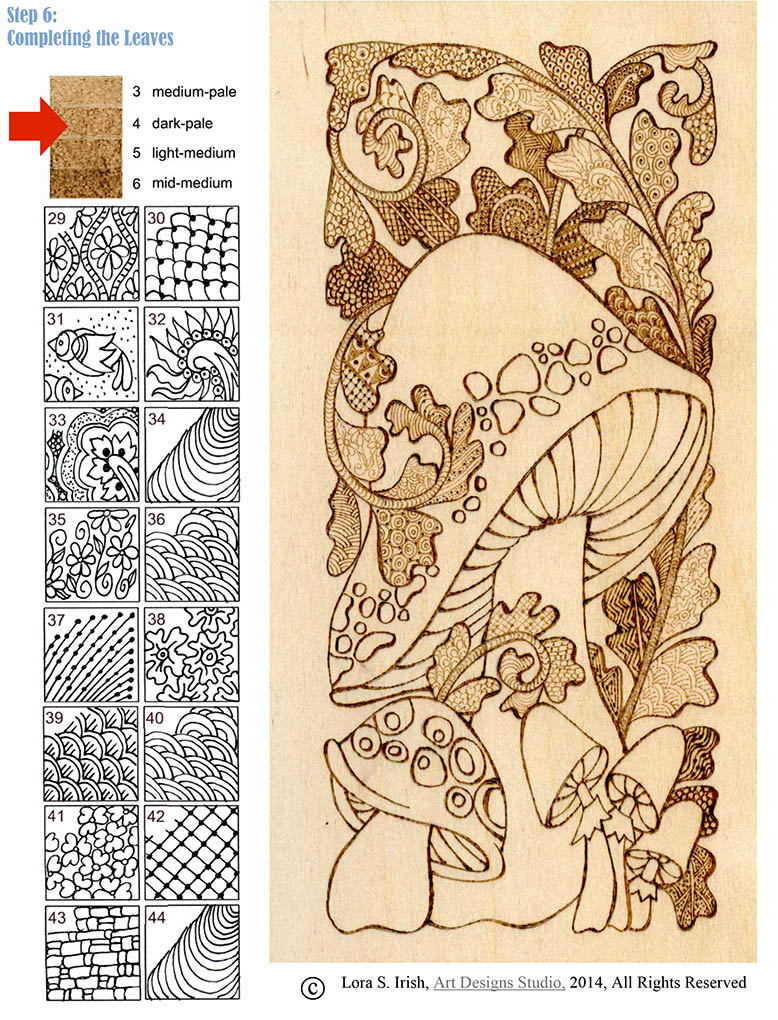
Step 6 Completing the Leaves
To create more tonal values in the overall mushroom design, turn your temperature setting down to a dark-pale setting. Work the doodle fill patterns into each section, following the pattern guide. Note that the designs and patterns of the doodles are still strong even though they are worked at a pale value.
Using a common fill pattern, shade the mushroom cap, underside, and stem. Work the shading on the left side of each area, with the darkest tonal values along the outer edge of each area. Follow the shaded drawing for placement.
Step 8: Fill the Underside of the Cap
Fill the underside of the mushroom with the large flower pattern shown on that step page. This pattern features a double scroll center with an inner ring of five petals and an outer ring of scalloped petals. Add more scalloped petals between the flowers to fill the space between each flower.
The traced pattern lines of your pyrography pattern can be approached in several ways. Let’s look at a few ideas before we begin the next step of the Mushroom Pyrography Doodle Project by Lora S. Irish.
If you are just joining this free online pyrography project please slip over to our craft, carving, and pyrography patterns website, Art Designs Studio, to get your free patterns for this project. Its the Spring 2014 package in the right hand navigation widgets. The download link is on our home page.
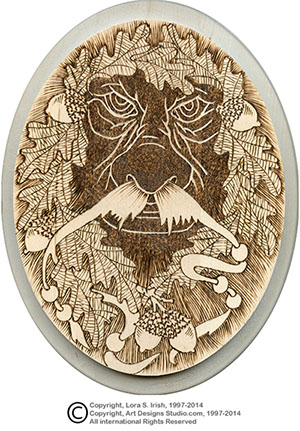
A simple outline burning along the tracing lines will define the pattern for you, but it can give your finished project a stiff, rigid look. In the Green Man burning, right, all of the tracing lines were burned at a hot temperature, using an even, thin line. This pyrography was worked to create a wood cut effect. The entire burning was worked at one temperature setting, limiting the tonal values to just two tones – the white of the wood and the black of the burned line.
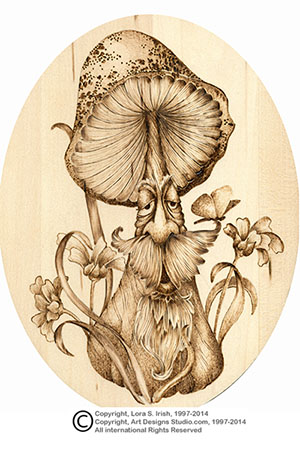
The traced lines of your pattern are just guide lines and do not need any burning. You can define an area, without outlining it, by bringing your shading up to the line. In this mushroom sample the shading touches the pattern line. Where the shading stops defines the boundary of that area. The few outline strokes in the finished work are accent lines only.
For our Mushroom Pyrography Doodle project we are using a full outline for all of the pattern lines. This will create a boundary line around each of our doodle fill patterns. To make that outline more interesting the line is worked in a thin to thick to thin width, changing the weight of the line as it moves through the pattern.
Temperature Setting and Pen Tips
Each variable temperature wood burning unit has its own settings for the different temperatures used to create your tonal values. Create a sepia scale tonal value chart, using your burning unit and your pen tips, to establish the exact settings your unit used. To learn more about tonal values please go to Wood Burning Sepia Values.
For the outline burn that we will be working I have set my temperature setting to a high or hot setting. I want a setting hot enough to burn a rich, dark brown line but not so hot that the pen tip scorches the wood outside the line. If your pen tip is creating a light brown halo outside of the line, in the background area against the line, your burning unit is set to high.
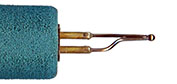
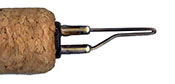
Pen Tips for Fine Line Burning
I have two favorite tips that I use for my line work. One is a medium-sized ball tip pen and the second is a medium-sized loop tip pen. Both work excellently at any temperature setting.
Keep your pen tip clean of any carbon build-up as you work. A clean, bright tip burns a thinner, more even line. Use a leather or synthetic strop and honing compound to clean your tips.
Step 2: Burn the outlines of the pattern tracing.
Using your finest line burning tip, set your temperature setting to a hot setting.
Burn along all of the pattern lines to set your design. You want a dark, even line.
Work a second burning over the pattern lines to create a thick to thin effect in your outlines. This adds strength to the outline, giving the line extra emphasis in the finished work, as well as interest in the changing dimensions of the line. A close-up of the thick to thin outline is shown in the header image in this post.
Using the fine nail sanding board, lightly sand over your board to remove any rough areas caused by the hot temperature burn. Wipe the board with a clean cloth to remove any dust.
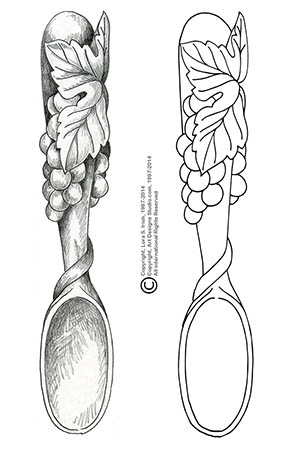
Welsh Love Spoons have long been a favorite carving theme for wood carvers. Tradition says that this original art style for wood carving came from the seamen of the British Isles that brought small pieces of wood and a carving knife with them on their ocean voyages to fill the long hours. Many of the designs and patterns were symbolic of the sailor’s love of home and family, but they also used some of our favorite whittling trick carvings as the ball and chain or ball in the cage. Today any relief carving pattern can become the design for the handle of your Welsh Love Spoon. For my sample I chose a simple grape design with a double stem that wraps around the spoon handle. With another upcoming stormy weekend it seems like a perfect time to share my carving and pattern for you to enjoy.
For your Free Welsh Love Spoon Pattern Pack by Lora Irish, please visit our wood carving, & pyrography patterns website, Art Designs Studio.
To learn more about Welsh Love Spoon carving, please visit Lora S. Irish’s free online tutorials.
We have spent the last week looking at the wood carving art of chip carving in this free, online seminar by Lora Irish, which includes free chip carving patterns. Today I thought we might take a few minutes and look at some of the common mistakes that can happen in your wood carving.
Let’s look at a few of the common problems and errors that can happen in chip carving. Please note that if you are working a practice board you may find that the basswood is not the high quality that you might find in a prepared basswood wood carving blank. Small chip outs are more common when working practice board quality basswood.
1. Ragged walls can be caused by poor quality wood or because of an improperly sharpened knife edge. A poorly sharpened knife, or an incorrect bevel to the knife edge are the primary causes for cutting problems in chip carving.
The craft basswood boards available at your local hardware store often show some ragged wall cuts. A dull knife tears through the wood instead of cutting the wood. When working on a high quality piece of basswood, check your knife edge as soon as you discover a ragged wall.
2. Each chip should have a sharp, clean point at the center of the chip well. Correct this problem by re-cutting along one side of the center point piece.
3. This chip’s wall was cut using several, staggered strokes. Re-cut the wall using one full stroke that covers the entire wall side.
4. In this sample the knife effect began the wall cut slightly away from the intersecting joint line between the two chips. You can re-cut one of the chip walls to thin the intersection.
5. Every chip carver discovers a very wobbly edge chip walls. I find this problem most often occurs when I am cutting through a spray adhesive paper pattern. Use the blade’s edge to shave just the curved area of the line, avoiding the two end points.
6. Chip outs happen and are caused by several reasons. If you are working on a heavy grained wood as sugar pine, the change in the grain pattern can cause a thin point to break free.
On soft carving woods as basswood the point can chip because the stroke is pulled into the point. The pulling action tears the point away from the plaque. Try cutting your finest points with a push stroke instead of a pull cut. With a push stroke you literally lay the edge of the blade along the line and push the blade down into the grain.
Over cutting one side of the point, reaching the blade point too deeply into the wood, can cause a point chip to break away when the second cut meets the first. Try scoring the point lines first by using a light pressure in the blade and cutting an extremely shallow cut.
Chip outs can be repaired by using wood glue and a tooth pick. Place a small drop of glue on the board at the break out spot. Place the broken chip back into position. Allow the glue to dry thoroughly, about one half hour then re-cut the chip.
7. If your knife feels as though it is cutting through grainy wood – a sandpaper feeling – check your knife’s edge for sharpness. It bares repeating that the biggest problem in chip carving is either too steep a blade bevel or an edge that has lost its hone.
Please stop by Art Designs Studio, Lora Irish’s wood carving, pyrography, and chip carving pattern website.
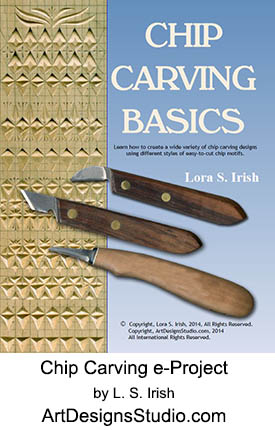
Chip Carving Basics E-Project, Everything from this Chip Carving Seminar and more! Learn how to create a wide variety of chip carving designs using different styles of easy-to-cut chip motifs, by Lora S. Irish. 37 page, PDF file format, easy to print e-project and the full cp015 Chip Carving Pattern package with 110 ready to print chip carving patterns.


 Step 9: Doodle the Top Cap