How to Begin Your First Pyrography Project – 1

Step-by-Step Instructions, Techniques, & Tips for Wood Burning Success – Page 1
This free, online pyrography book will take you, step-by-step, through the basic techniques of pyrography, also called wood burning.  Over the next few days it will be posted in the order of the Table of Contents below.
So, please bookmark LSIrish.com so that you can enjoy this free e-project and work along with me as we create a wood burning practice board, explore wood burning tools, pyrography tips, and do two complete Celtic Knot Pyrography burns.
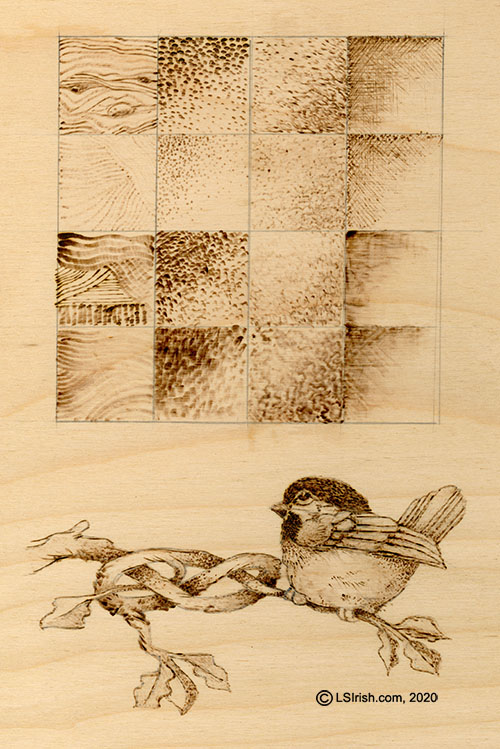
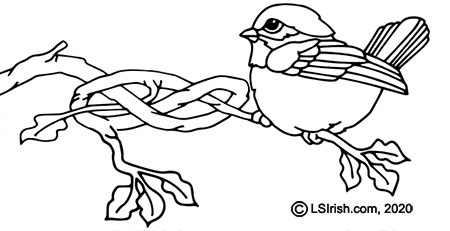
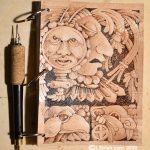
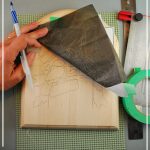
learn the basic step pyrographySample Wood Burning Practice Board


TABLE OF CONTENTS

1 Definition of Pyrography  – posted Nov. 17, 2020
2 Safety
3 Basic Tool Kit
4 Wood Burning Systems – posted Nov. 17th, 2020
5 One-Temperature
6 Rheostat Tools
7 Variable Temperature Tools
8 Wood Burning Pen – posted Nov. 18, 2020
9 Hand Grip Positions – posted Nov. 18th, 2020
10 Loop Tip Pen – posted Nov. 18th, 2020
11 Ball Tip Pen
12 Spear Shader
13 Spoon Shader Pen
14 Practice Board – Nov. 19th, 2020
15 Wood Burning Media – Nov. 22nd, 2020
16 General Kit Supplies – Nov. 22nd, 2020
17 Cleaning Your Tips – Nov. 22nd, 2020
18 Grain Direction – Nov. 24, 2020
19 Sanding the Wood Blank
20 Transferring the Pattern, Nov. 24, 2020
21 Graphite on an Irregular Shape
22 Pencil Graphite Rubbing
23 Pattern Re-Alignment Marks
24 Tonal Values – Working the Celtic Blue Bird Pattern

25 Patina
28 Rooster Celtic Knot Project


PYROGRAPHY

Pyrography is the art of creating simple line designs, highly detailed renderings, and shaded drawings using a hot tipped pen on natural, wood or wood-like surfaces. As the hot tipped pen is pulled across the surface of the media the tip literally burns the media to create pale through dark tonal value lines. The pattern of lines and shading strokes that you use in your wood burning work determines the art style of the finished project. Any pattern can be worked in any art style or in a combination of styles.


SAFETY

Let’s take a moment and consider a few simple safety precautions.
1. Your project media should be an untreated, unpainted, and unfinished natural surface. Paints, polyurethane sealers, varnishes, and chemicals used in treating wood can release toxic fumes during the burning process.
2. Do an Internet search on the media that you will be burning to discover if it has any toxic properties, there are several excellent data bases available.
3. Work in a well ventilated area. A small fan, set on your table that points toward your work, will move the smoke and fume away from your face. Whenever possible work near an open window.
4. Avoid laying your project in your lap during the burning steps. This places your face directly above the fumes, which increases your chances of inhaling the smoke.
5. Unplug your burning unit from the wall socket whenever you are not working. An unattended hot pen tip can cause fires.
6. While working, set your pens either on the pen stand provided by the manufacturer or on a tile ceramic tile.

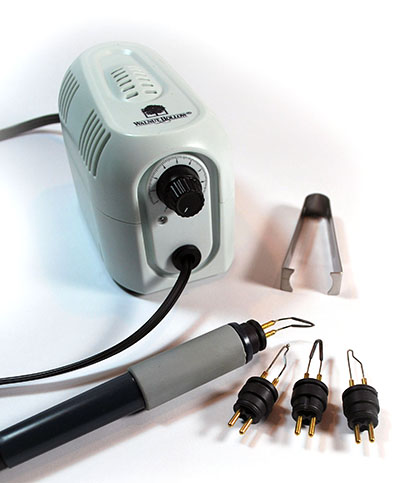
During this free, online pyrography project I will be using Walnut Hollow’s Creative Tool.  Available on Amazon.com at under $100 USD.  It is an excellent entry-level, variable temperature tool that comes with the four interchangeable tips – ball-tip, loop-tip, spear-shader, and spoon-shader.


COPYRIGHT
Your First Pyrography Project, a free for personal use online publication, is an original work, first published in 2020 by Lora S. Irish and Art Designs Studio and fully copyrighted, All International Rights Reserved and may not be distributed in any manner. The patterns contained herein are copyrighted by the author.
Readers may make copies of these patterns for personal use. The patterns themselves, however, are not to be duplicated for resale or distribution under any circumstances. Any such copying is a violation of copyright law.

To discover more line art patterns and detailed drawings to use with your next pyrography project visit us at Art Designs Studio, Lora S. Irish’s online original craft, carving, and pyrography pattern site. For free, online craft projects visit us at our blog, LSIrish.com.

Because making the artwork shown in this book using craft, woodworking, or other materials inherently includes the risk of injury and damage, this book can not guarantee that creating the projects in this book is safe for everyone. For this reason, this book is sold without warranties or guarantees, of any kind, expressed or implied, and the publisher and author disclaim any liability for any injuries, losses, or damages caused in any way by the content of this book or the reader’s use of the tools needed to complete the projects presented here. The publisher and the author urge all artist to thoroughly review each project and to understand the use of all tools before beginning any project.


How to Begin Your First Pyrography Project – 1 Read More »

Pyrography on Leather


pyrography leather jewelry

Leather Burned Jewelry, Day One
Leather Burned Jewelry, Day Two
Leather Burned Jewelry, Day Three

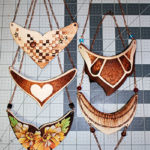
In this leather pyrography series, you will find the steps for creating the copper, wire-bent jewelry.  Plus, how to create 10 quick necklaces out of one pyrography burning that is perfect if you are a craft seller or need a group of Holiday presents this years.


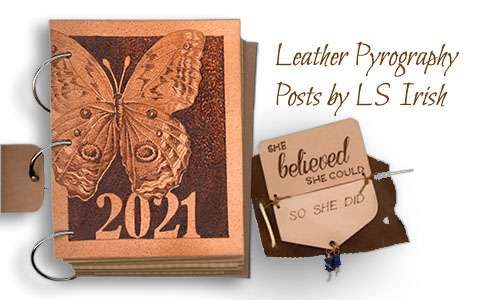
leather pyrography journalLeather Pyrography Art Journals

An easy way to get started with leather pyrography art journals is to purchase several scrap bag assortments of leather.  This gives you a variety of leather to begin exploring leather burning.


How to Make Easy, Quick, Deckle Edge Journal Paper

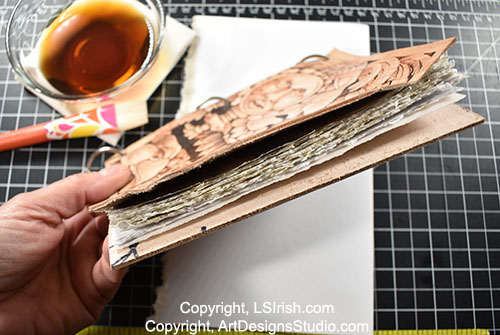
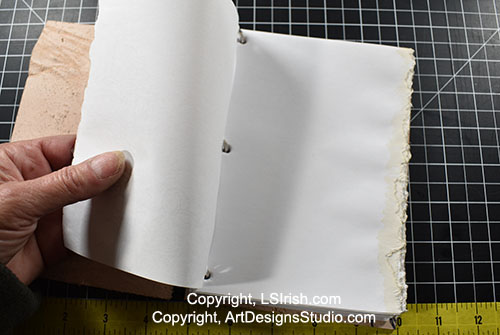
Journaling is a hot hobby today, giving pyrographers a wonderful leather surface for our sepia designs. Creating faux deckle edged paper adds to the unique quality of our wood burning journals. Let’s discover how very easy it is to make your own deckle edged leaves and writing sheets.


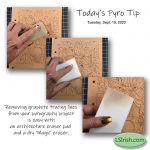
Pyrography Cleaning Graphite Tracing Lines

I prefer to either use a  graphite tracing paper or graphite pencil lead rubbed over the back of my pattern my paper as my tracing media.  Graphite leaves a pale to medium gray line on our working surface that has no oil or wax, and therefore is not a permanent marking.


Leather Pyrography Wood Burning Tools

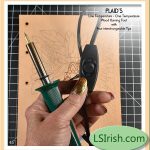
Let’s take a look at Plaid’s Low-Temperature, One-Temperature burning tool with four interchangeable tips.


how to trace a pattern for wood burningHow to Trace or Transfer Your Pattern

Basic tracing and  transferring your pattern instructions – for wood, gourds, paper, leather, and cloth


Leather Purse Pyrography Project Blog Posts
Leather Purse Pyrography Project Pages
Leather Pyrography Purse Double-Needle Stitching

When I began my work with pyrography on leather, my practice board got a touch out of hand.  I began my text project with a 10 lb. scrap bag of vegetable-dyed leather from Springfield Leather Co.  which contained a variety of weights, textures, and species of leather pieces.


leather burned jewelry by Lora IrishLeather Burned Jewelry, Day One
Leather Burned Jewelry, Day Two
Leather Burned Jewelry, Day Three

Have fun turning those scrap leather pieces into pyrography jewelry.


Pyrography Greenman Leather Bullet Journal CoverPyrography Greenman Leather Bullet Journal Cover Page

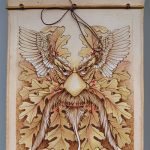
The journal is bound with a very simple lacing pattern that can be opened to remove and refill the journal cover for long-term use. The paper pages, printed using my home computer printer, are laced to the back cover only, which allows the front cover to be fully opened and even rolled over to the back of the journal during use.


Pyrography Leather Boot Belt Project, Part One
Pyrography Leather Boot Belt Project, Part Two

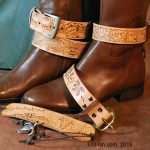
Learn in this free, online pyrography project how easy it is to add pyrography burnings to small leather boot belts, leather belts, and leather wrist bands.  Step-by-step instruction and free wood burning patterns.


Pyrography Leather JournalGriffin Pyrography Leather Journal

This step by step leather journal project assumes that this is your first wood burning, includes how to trace pattern, basic pyrography techniques, and the instruction for the Griffin Journal.

Pyrography on Leather Read More »
Leather Pyrography

Leather Pyrography Art Journals

An easy way to get started with leather pyrography art journals is to purchase several scrap bag assortments of leather.  This gives you a variety of leather to begin exploring leather burning.  No piece is so perfect that you can’t just throw away a ‘mistake’ or cut it down to become a smaller cover.  The textures, distortions, and flaws add to the vintage look of your journal when everything is done.

leather pyrography journal

This sample 5 lb. scrap bag from Springfield leather, listed on Amazon.com, is packed with vegetable-dyed pieces that measure from hand-size up to 1 square foot – perfect sizes for our journal covers.  A 4-6 square foot vegetable-dyed double shoulder piece of leather from the same company runs about $35.   Springfield’s SLC’s Journal Makers Bundle of tanned and dyed leather gives your a wide variety of choices for back covers, and leather journal inserts.

But you will note when you follow the links above that both packs have irregular edges, some clamp marks and stretch marks, and even a few wrinkles … which makes them even better when you are designing your Leather Pyrography Art Journal.  Those pulls, stretch marks and little oddities in the leather surface give your journal cover a wonderful distressed, vintage look.


leather pyrography journal


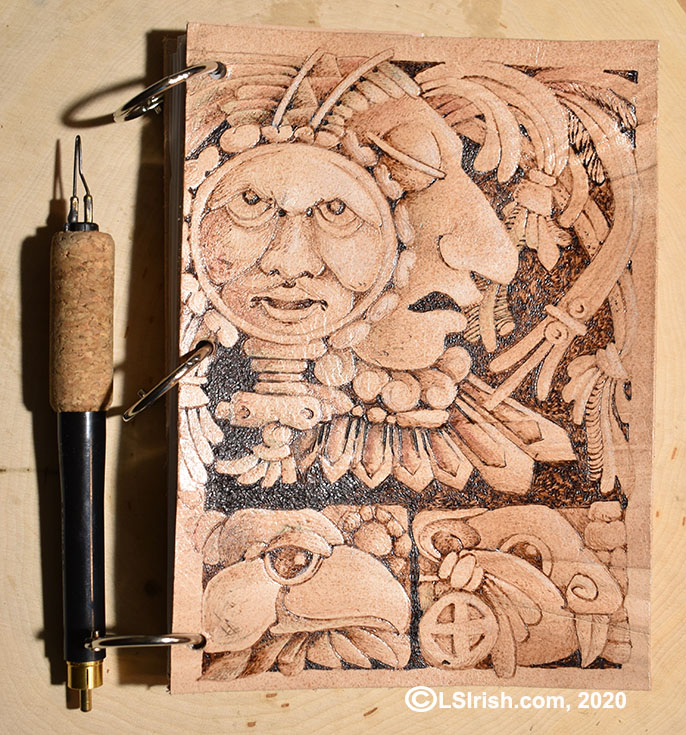
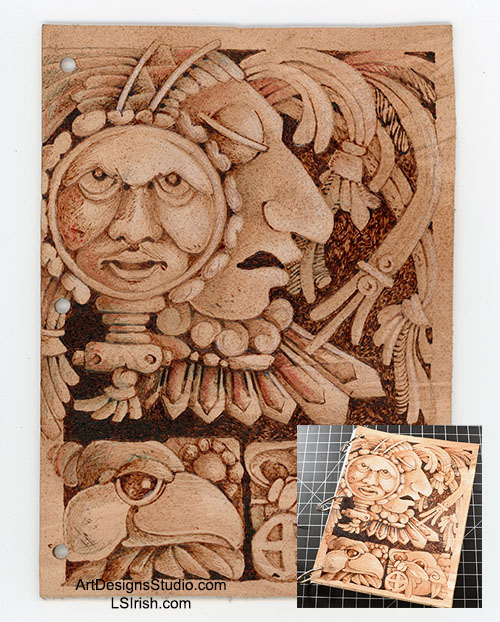
In the Mayan Leather Journal photo, above, you can see those stretch marks along the right side top and bottom corner.

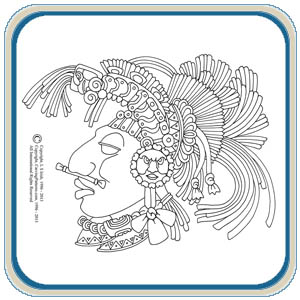
I chose the Mayan design specifically for this scrap of leather.  As Mayan hieroglyphs were worked as stone carvings they did not have crisp, clean, sharp edges to the design.  As time, nature, and weather have eroded those same writings the edges have become more distorted.  So what could be more perfect than a stone carving design on a wrinkled piece of leather.  Those wrinkles give the feeling of the rock face in which the Mayan’s created their architecture.

When you add that as you wood burn your leather you also lightly sculpture the leather surface, our Mayan Priest becomes a 3-d rendition of the pattern.  You can see along the left  side of the cover how the burn pushes the leather down, leaving the un-burned or lightly burned areas proud of the surface.

Several light coats of a gloss acrylic spray sealer accents the 3-d effect of the leather and design by creating bright highlights along the edges of the pattern work.

leather wood burned art journal

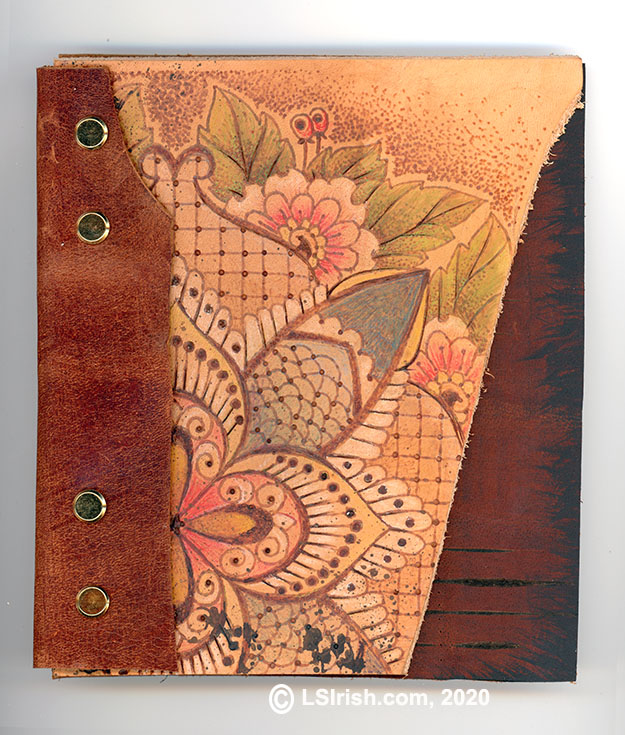
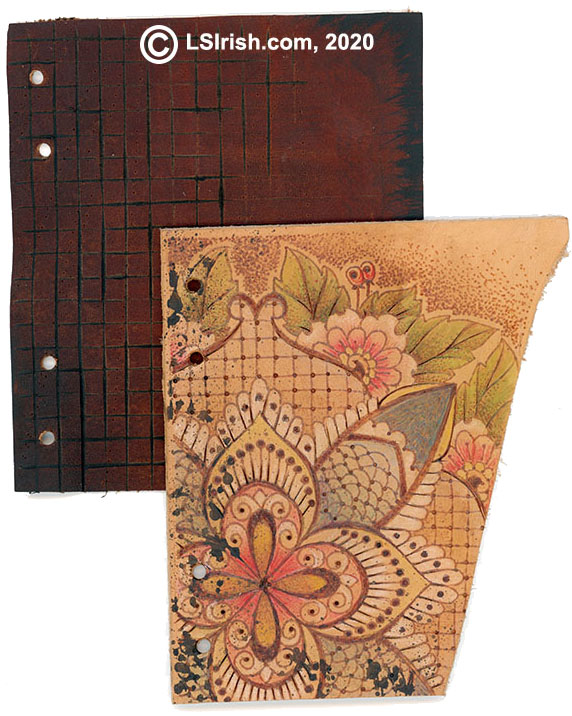
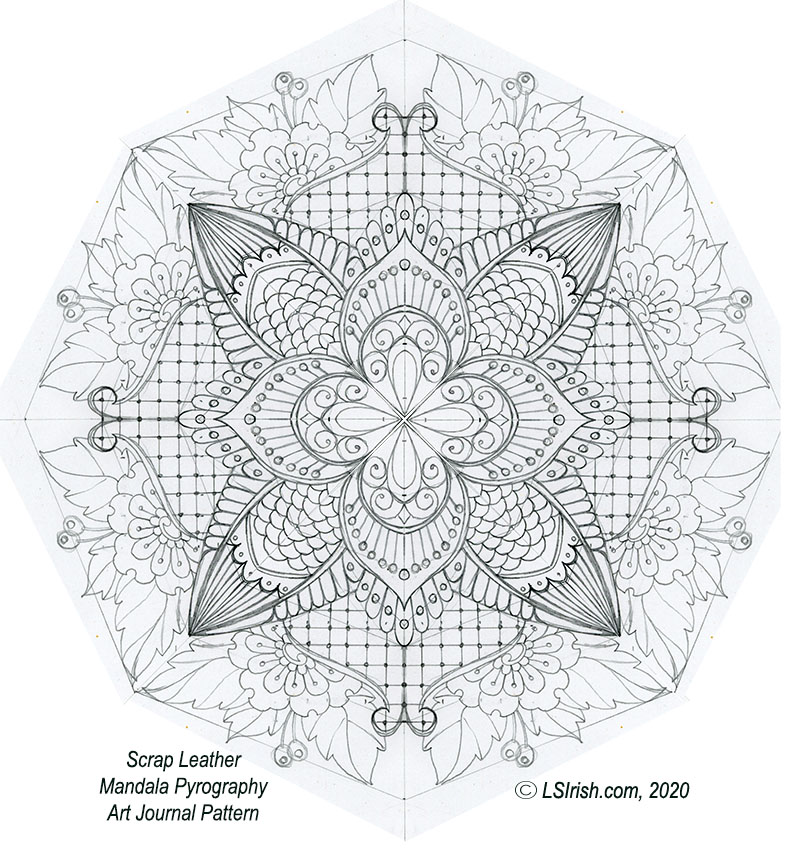
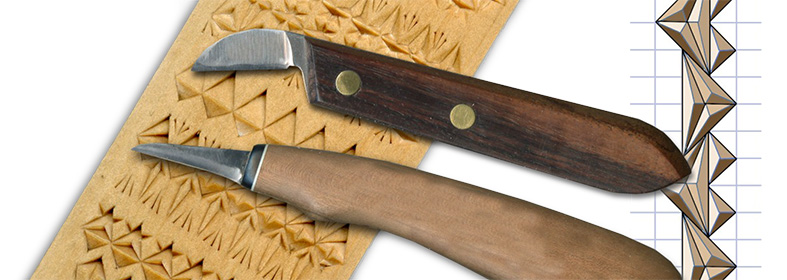
This journal sample uses both an edge piece of a vegetable-dyed shoulder and a scrap piece of dark mahogany tanned leather for the back cover – one piece from both of the scrap packages above.  Since the mahogany tanned leather is of a higher weight (thicker) than the veggie leather cover, I used my smallest v-gouge wood carving tool to create a simple checker board design directly into the back cover.  Those gouge  marks let that leather roll more easily as I use the journal.  A third piece of scrap leather became the binding edge of the journal where the screw posts join all the leather pieces and hold the inside paper pages.

mandala leather journal pattern

Leather Pyrography Art Journals Read More »

How to Make Easy, Quick, Deckle Edge Journal Paper


Journaling is a hot hobby today, giving pyrographers a wonderful leather surface for our sepia designs. Creating faux deckle edged paper adds to the unique quality of our wood burning journals. Let’s discover how very easy it is to make your own deckle edged leaves and writing sheets.

Learn more ….

Yes … of course there is another Free Lora Irish pattern on the How to Make a Deckle Edge Paper page …

Worked using Mayan, Aztec, Inca Warriors Patterns, $10.95, Exclusive Designs , by Lora S. Irish, 14 Line Art Patterns available at ArtDesignsStudio.com.


How to Make Easy, Quick, Deckle Edge Journal Paper Read More »

Scroll to Top