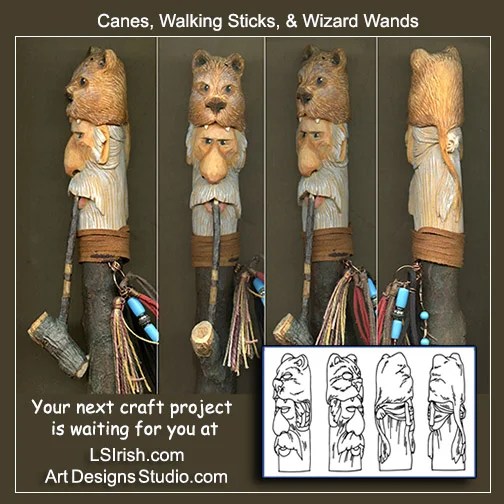
Free Wood Carving Spoon Projects
Spoon carving is a wonderful beginning carving project, and a delightful canvas for advanced wood carvers. Every aspect of a wooden spoon can be changed, altered, and decorated.
You will need just a few wood carving chisels and gouges, a bench knife, some sandpaper, and mineral oil to give your spoon a final, food-safe finish.
 This large apple butter paddle spoon was carved from 1″ thick basswood. The extra thickness gave more than enough room to add a pottery bird relief carving to the inside of the spoon bowl.
Supplies:
There are some wonderful specialty carving tools available to the spoon carver as spoon carving hook, wood carving scorp knife, or a long bent fishtail gouge.
While these tools are great addition to your tools kit as your interest in spoon carving grows, they are not necessary to get started in your hobby or to create a fantastic original spoon design.
Even after 25 years of wood carving, I use a basic beginner’s tool kit that contains both wide sweep gouges and bent gouges, shown below, while not busting your wood carving budget.
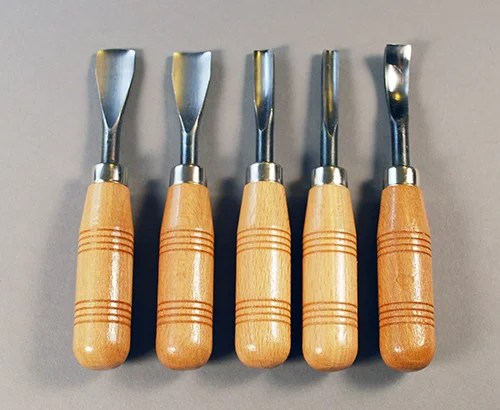 This beginner’s wood carving gouge set includes two wide sweep gouges, one bent gouge, and two medium sized gouge, perfect for the beginning wooden spoon carver.
The one specialty tool that I do have in my beginner’s kit is a small draw knife. With a draw knife you can clamp your wood blank to your table and remove the excess wood from the outside of your spoon pattern quickly.
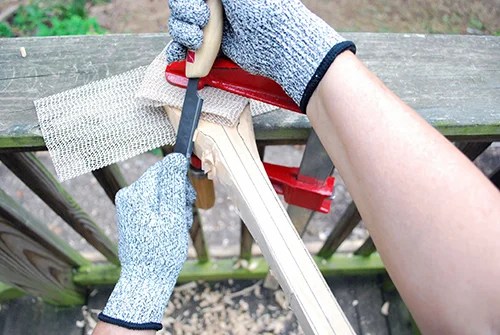 Once your wood blank is securely clamped to your table, you can used the draw knife to slice large, long shavings from the sides of the spoon handle.
 The shape of the spoon bowl, the length of the handle, and the decorative treatment of both makes each new spoon you carve a work of art.
Spoons can be carved out of several wood species, but I prefer basswood because of its dense grain that takes detailing very well, its availability, and it’s ease of carving especially for beginners.
Pre-cut spoon shapes can be purchased, eliminating the need for a scroll saw, or excessive time cutting away the excess wood from your blank.
220- and 320-grit and paper and brown kraft paper (brown paper bag) are sued to remove any fine wood fibers left over from your carving cuts and decorative relief carving detail.
Finally you may chose to give your spoon a mineral oil finish. This gives the spoon a slight sheen and so feel in the hand. But finishing the spoon is not necessary. Many hand carved spoons are left in their natural wood finish.
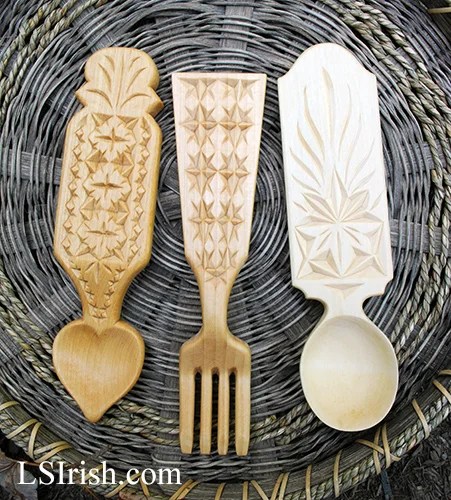 This trio of wedding spoons – Welsh Love Spoons – were worked from 1/2″ thick basswood and carved with very flat, wide handle areas that were later chip carved.
 A 1″ thick basswood blank gave more than enough depth to relief wood carve this Celtic knot dragon. the handle.
With your supplies gathered you are ready to start carving!
Here are the links to the free tutorials here on LSIrish.com that will guide you step-by-step through your first wood carving spoon project.
Wood Carving a Basic Wooden Spoon
- 20 detailed steps from cutting the spoon blank to adding the final mineral oil finish
Spoon, Fork, and Ladle Styles for Wood Carving
The Art of Spoon Carving by Lora S. Irish
Free Wood Carving Spoon Projects Read More »