If you are a pyrographer and a journalist you will have fun working today’s projects. We have been exploring the Artist’s Morgue File this week and our habit as artists to keep stacks, folders, and file boxes of scrap paper or digital images that spark our imagination.
Handmade, DIY Leather Journals are a great way to organize those little bits of inspiration. Your front and back leather cover make a great media for your pyrography, the pages can be made with bullet journal pages, watercolor paper, or scrapbook paper. Since the journal uses an easy lacing pattern, worked with twine or raffia, it is easy to open and refill the pages of your journal at any time.
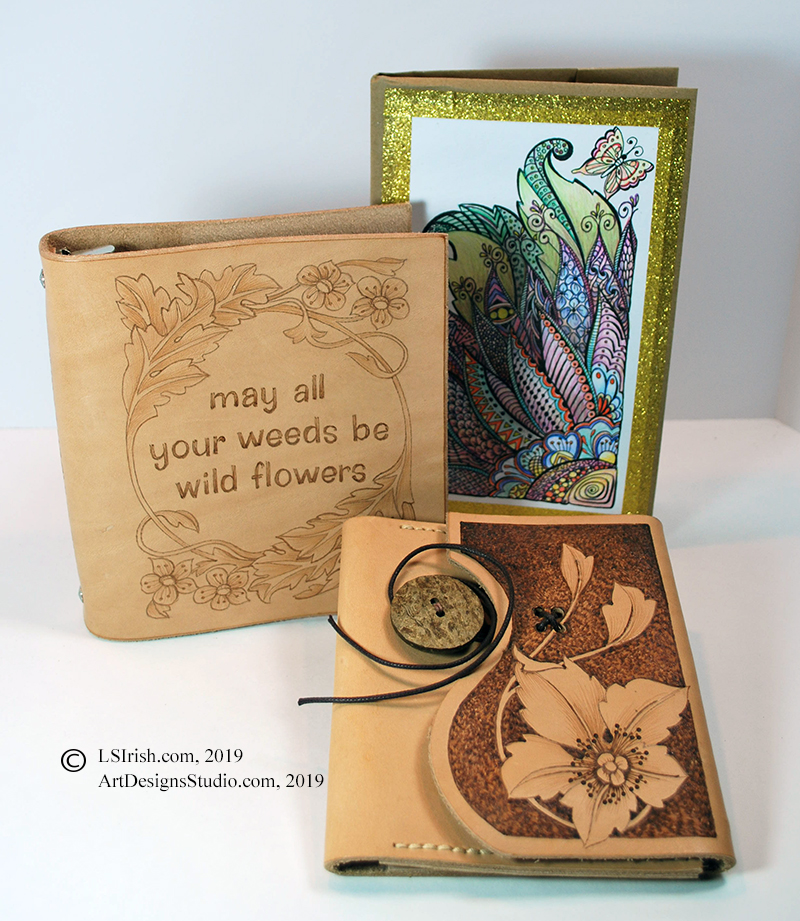
The front two leather DIY Artist Journal patterns are available in the Great Book of Celtic Patterns, available on Amazon.com. The back journal is worked on chipboard, covered with scrap paper, watercolor paper, and glitter tape. It is a kettle stitched bound book.
And here are two more free doodle patterns –
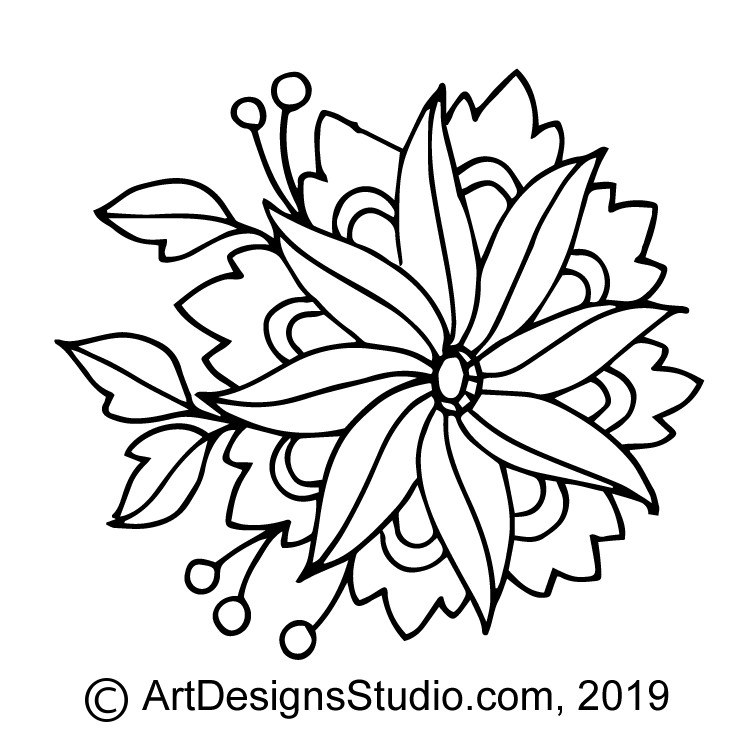
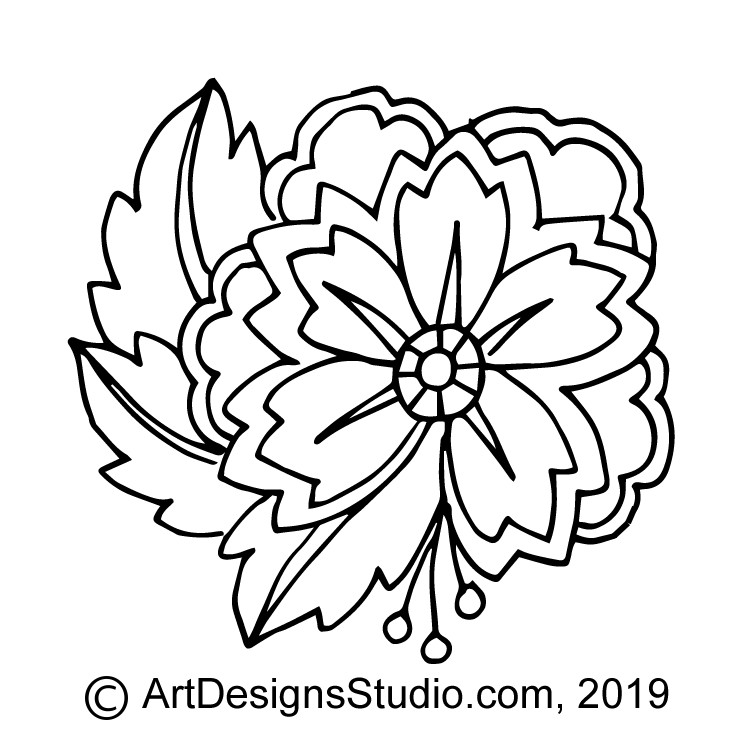
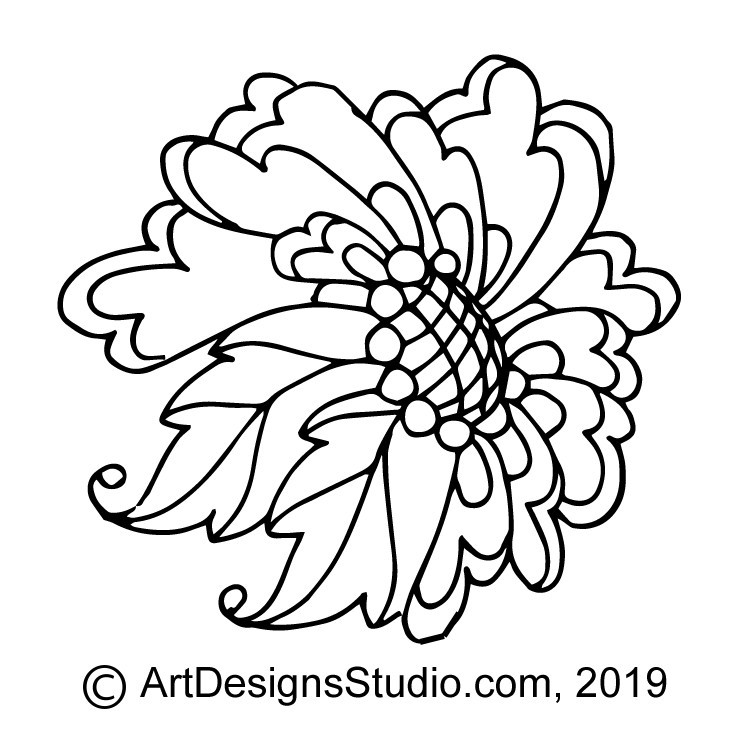
Free Doodle Pattern 011Free Doodle Pattern 012
By now you should have 11 free Lora S. Irish patterns stashed away in your craft folder on your desktop. Three from Day #1, three from Day #2, and five for today. See you on Monday, Jan 6th with more …
Bullet Journals let you keep track of your day to day activities and to add personal notes, shopping lists, and appointment calendars. The pages are worked on a dot grid pattern which is used as your guide to create your tables, lists, and highlighted comments.
Bullet Journal Blank Page
This basic bullet journal page will print on an 8 1/2″ x 11″ sheet of paper. When folded it creates two facing printed dot grid pages. You can print several copies of this bullet journal page. Then put those pages back into your printer tray, face up so that you see the printed grid, and then printed a second time to create the dot grid on the back of your paper.
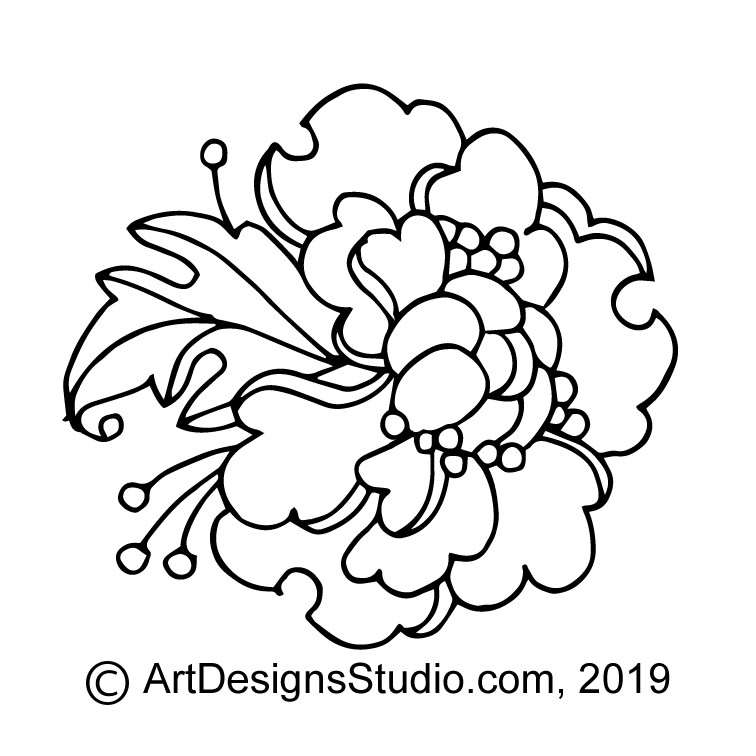
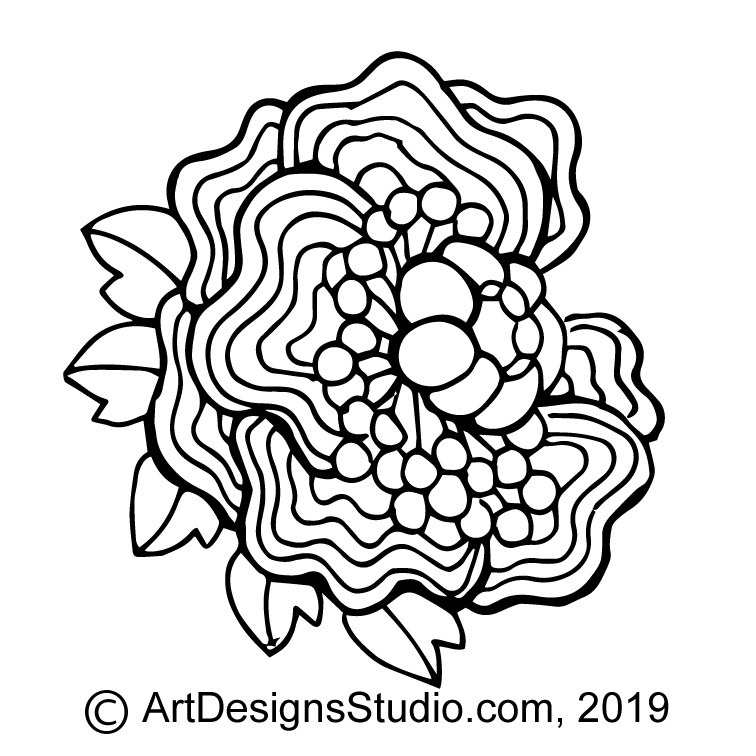
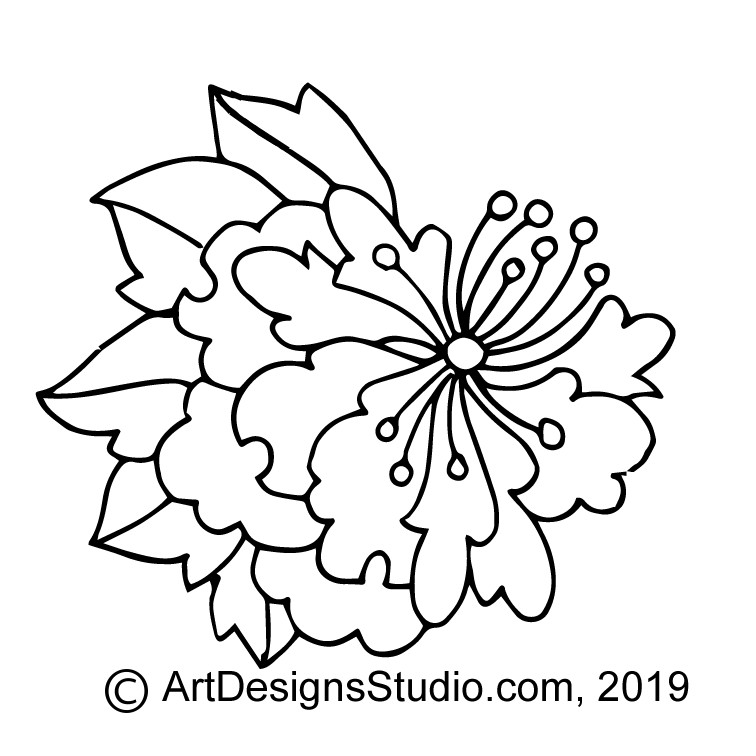
Free Doodle Pattern 008
Click on the image, right, to open a full-sized copy in a new window. Right hand click on the image and chose ‘save image’ to keep a copy on your computer for easy printing. This page is pre-set to print in portrait mode, no adjustment is needed.
The Stapled Bookbinding link, below, shows you how to take multiple printed pages and staple them into a small booklet.
Bullet Journal Header PageBullet Journal List PageBullet Journal Design Page
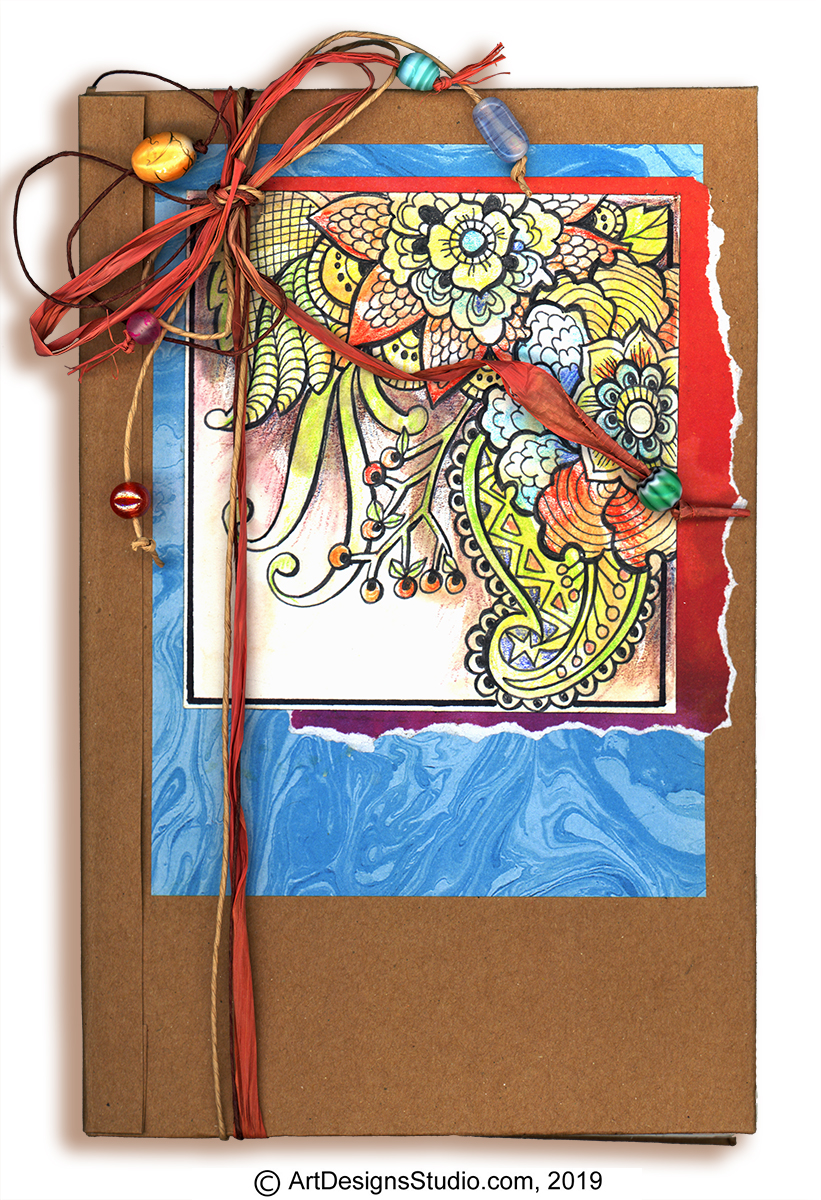
Here are a few samples of DIY Hand Bound Bullet Journal, decorated with scrap booking paper, a watercolor paper design, paper twist strings, a few glass beads, and worked with leather covers. Stop by tomorrow for the links to how to design, burn, and bind your own leather journal.
The patterns for the large background dragon journal, and the small Celtic journal, front left, are available in the Great Book of Celtic Patterns, available on Amazon.com. The Greenman Journal, front right, is a free project here on LSIrish.com.
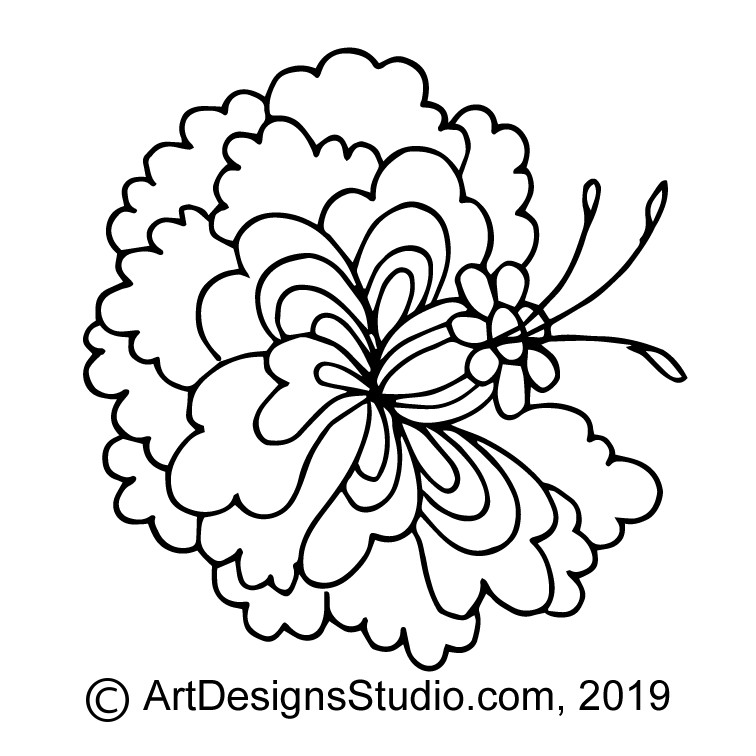
Free Doodle Pattern 009
Stop by Reddit/r/bulletjournal to discover a fun community of journalist that share lots and lots of ideas.
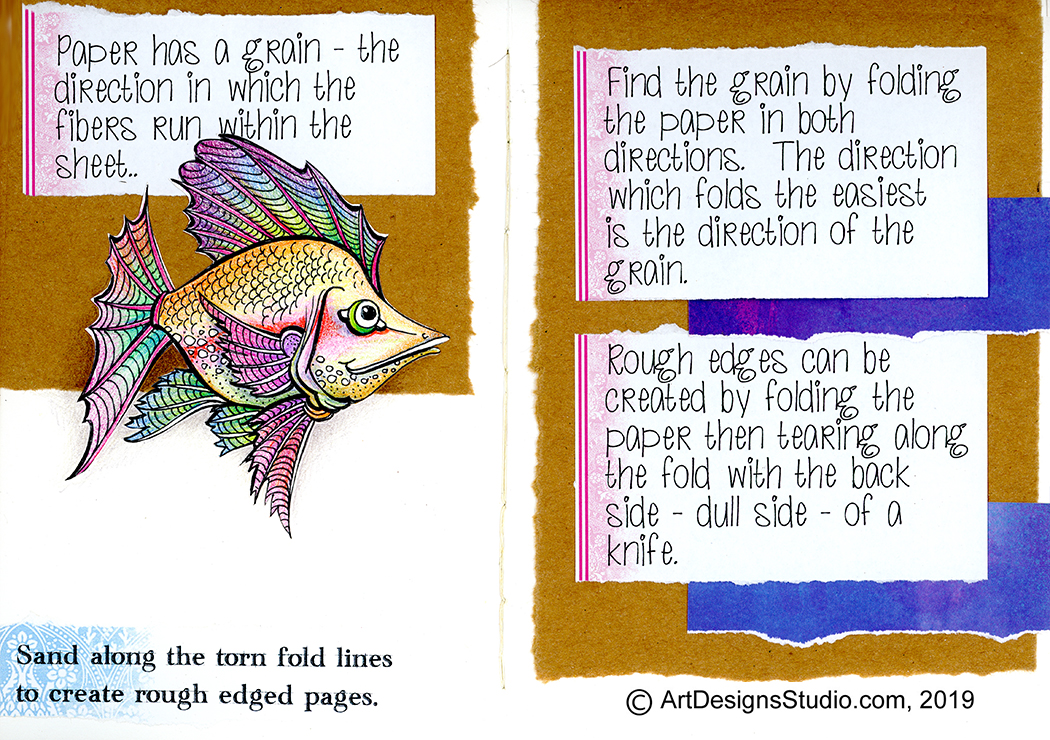
If you haven’t played with bookbinding yet, these links will get you stared.
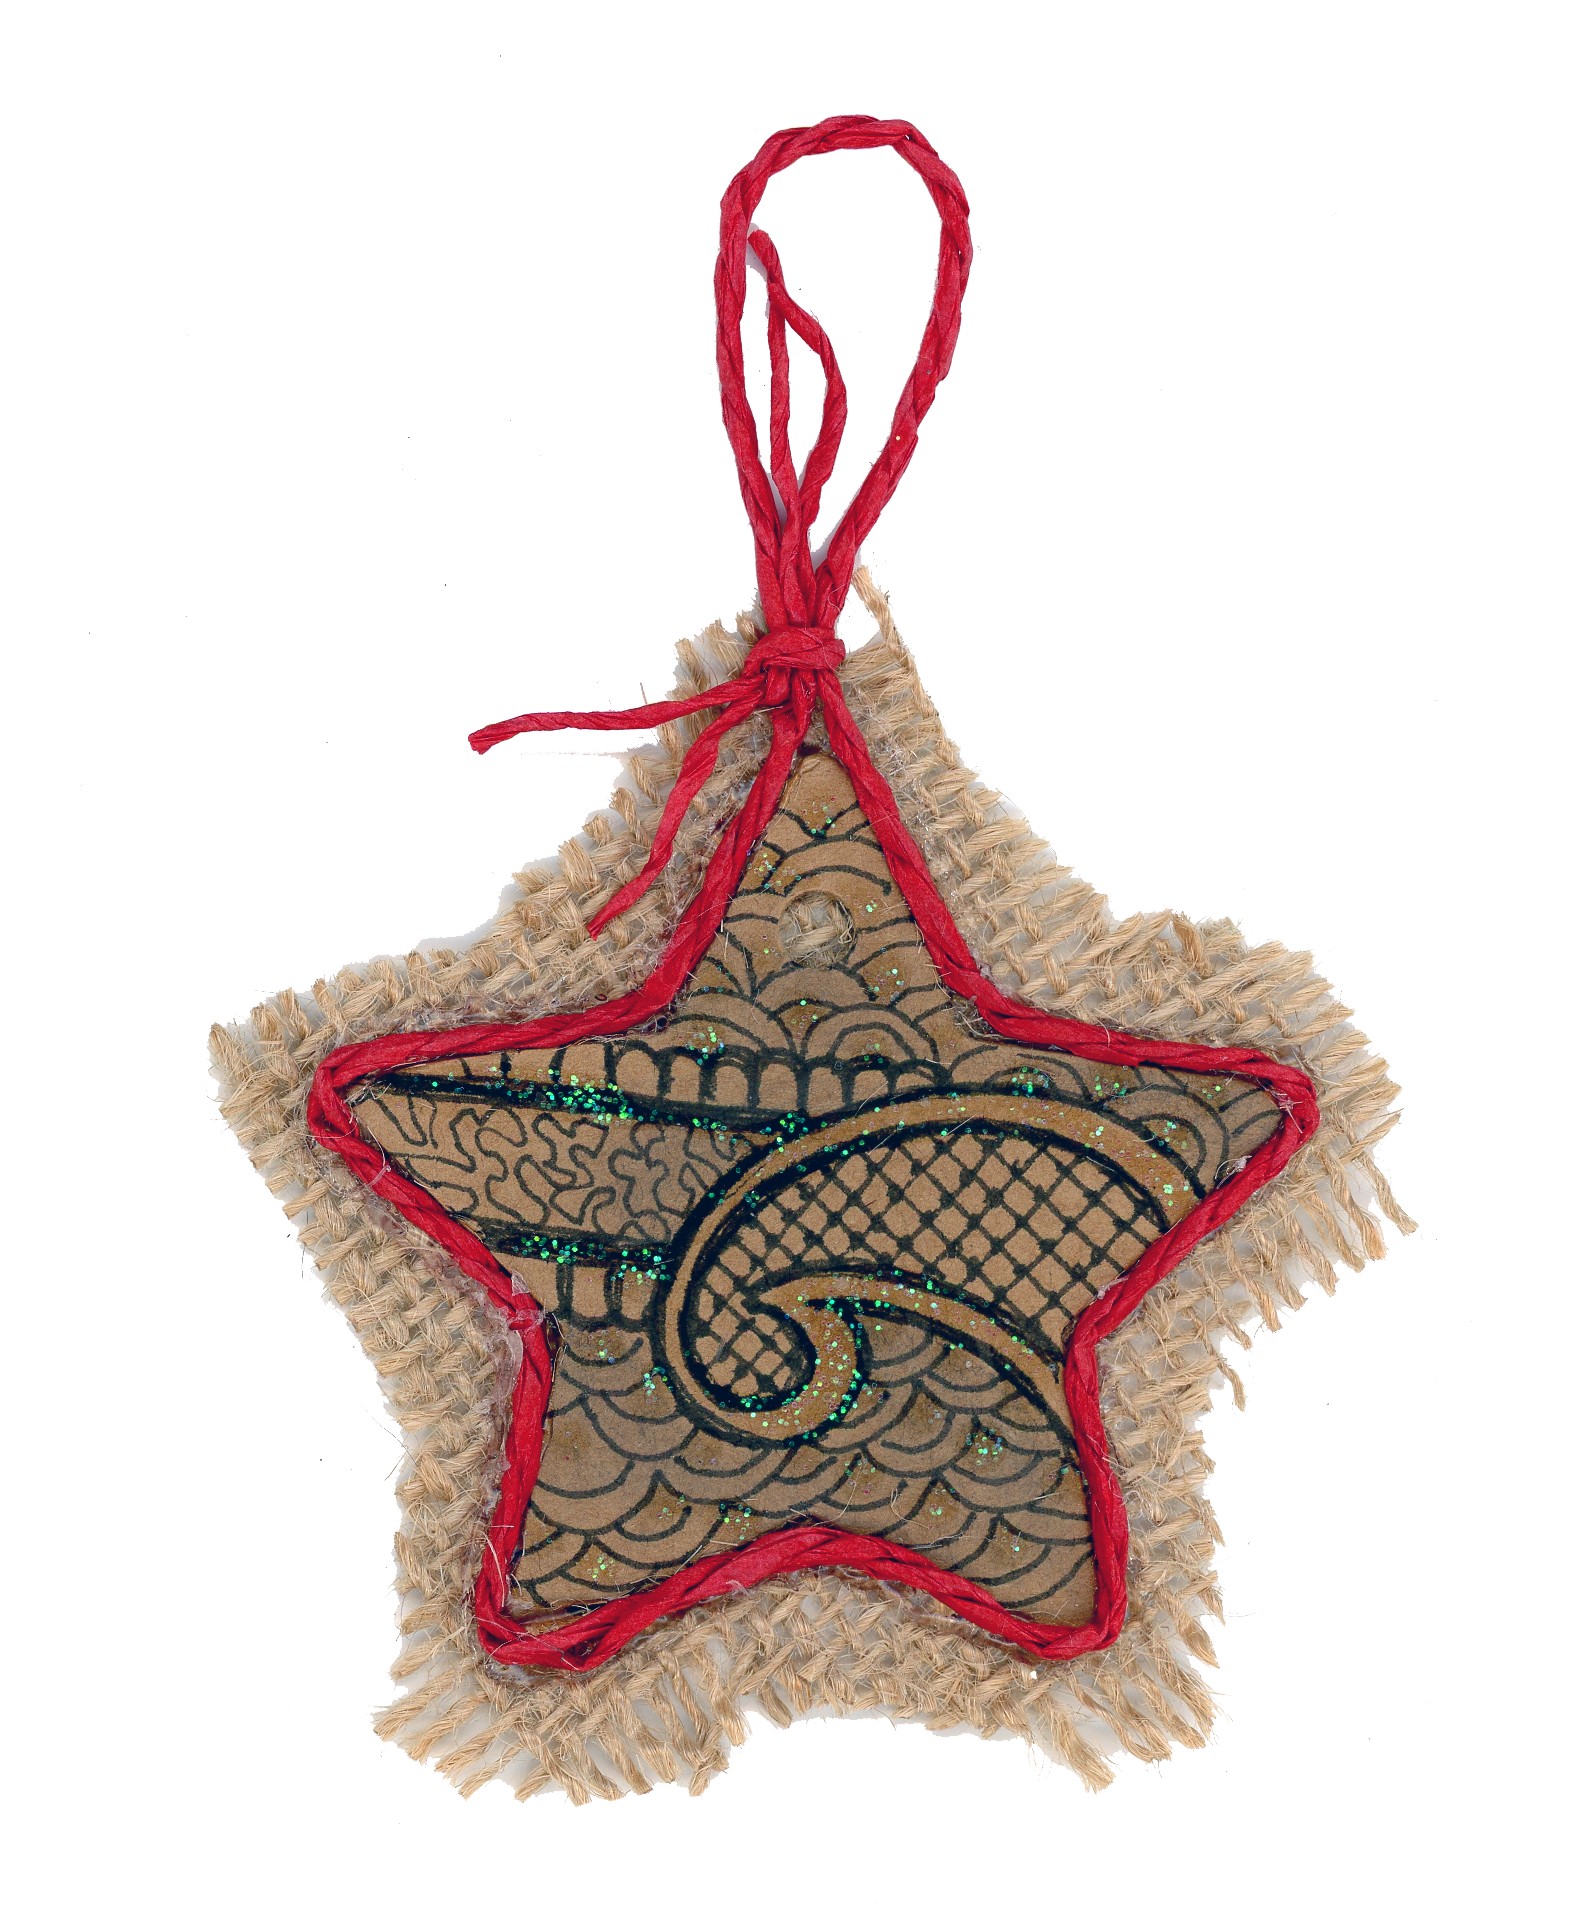
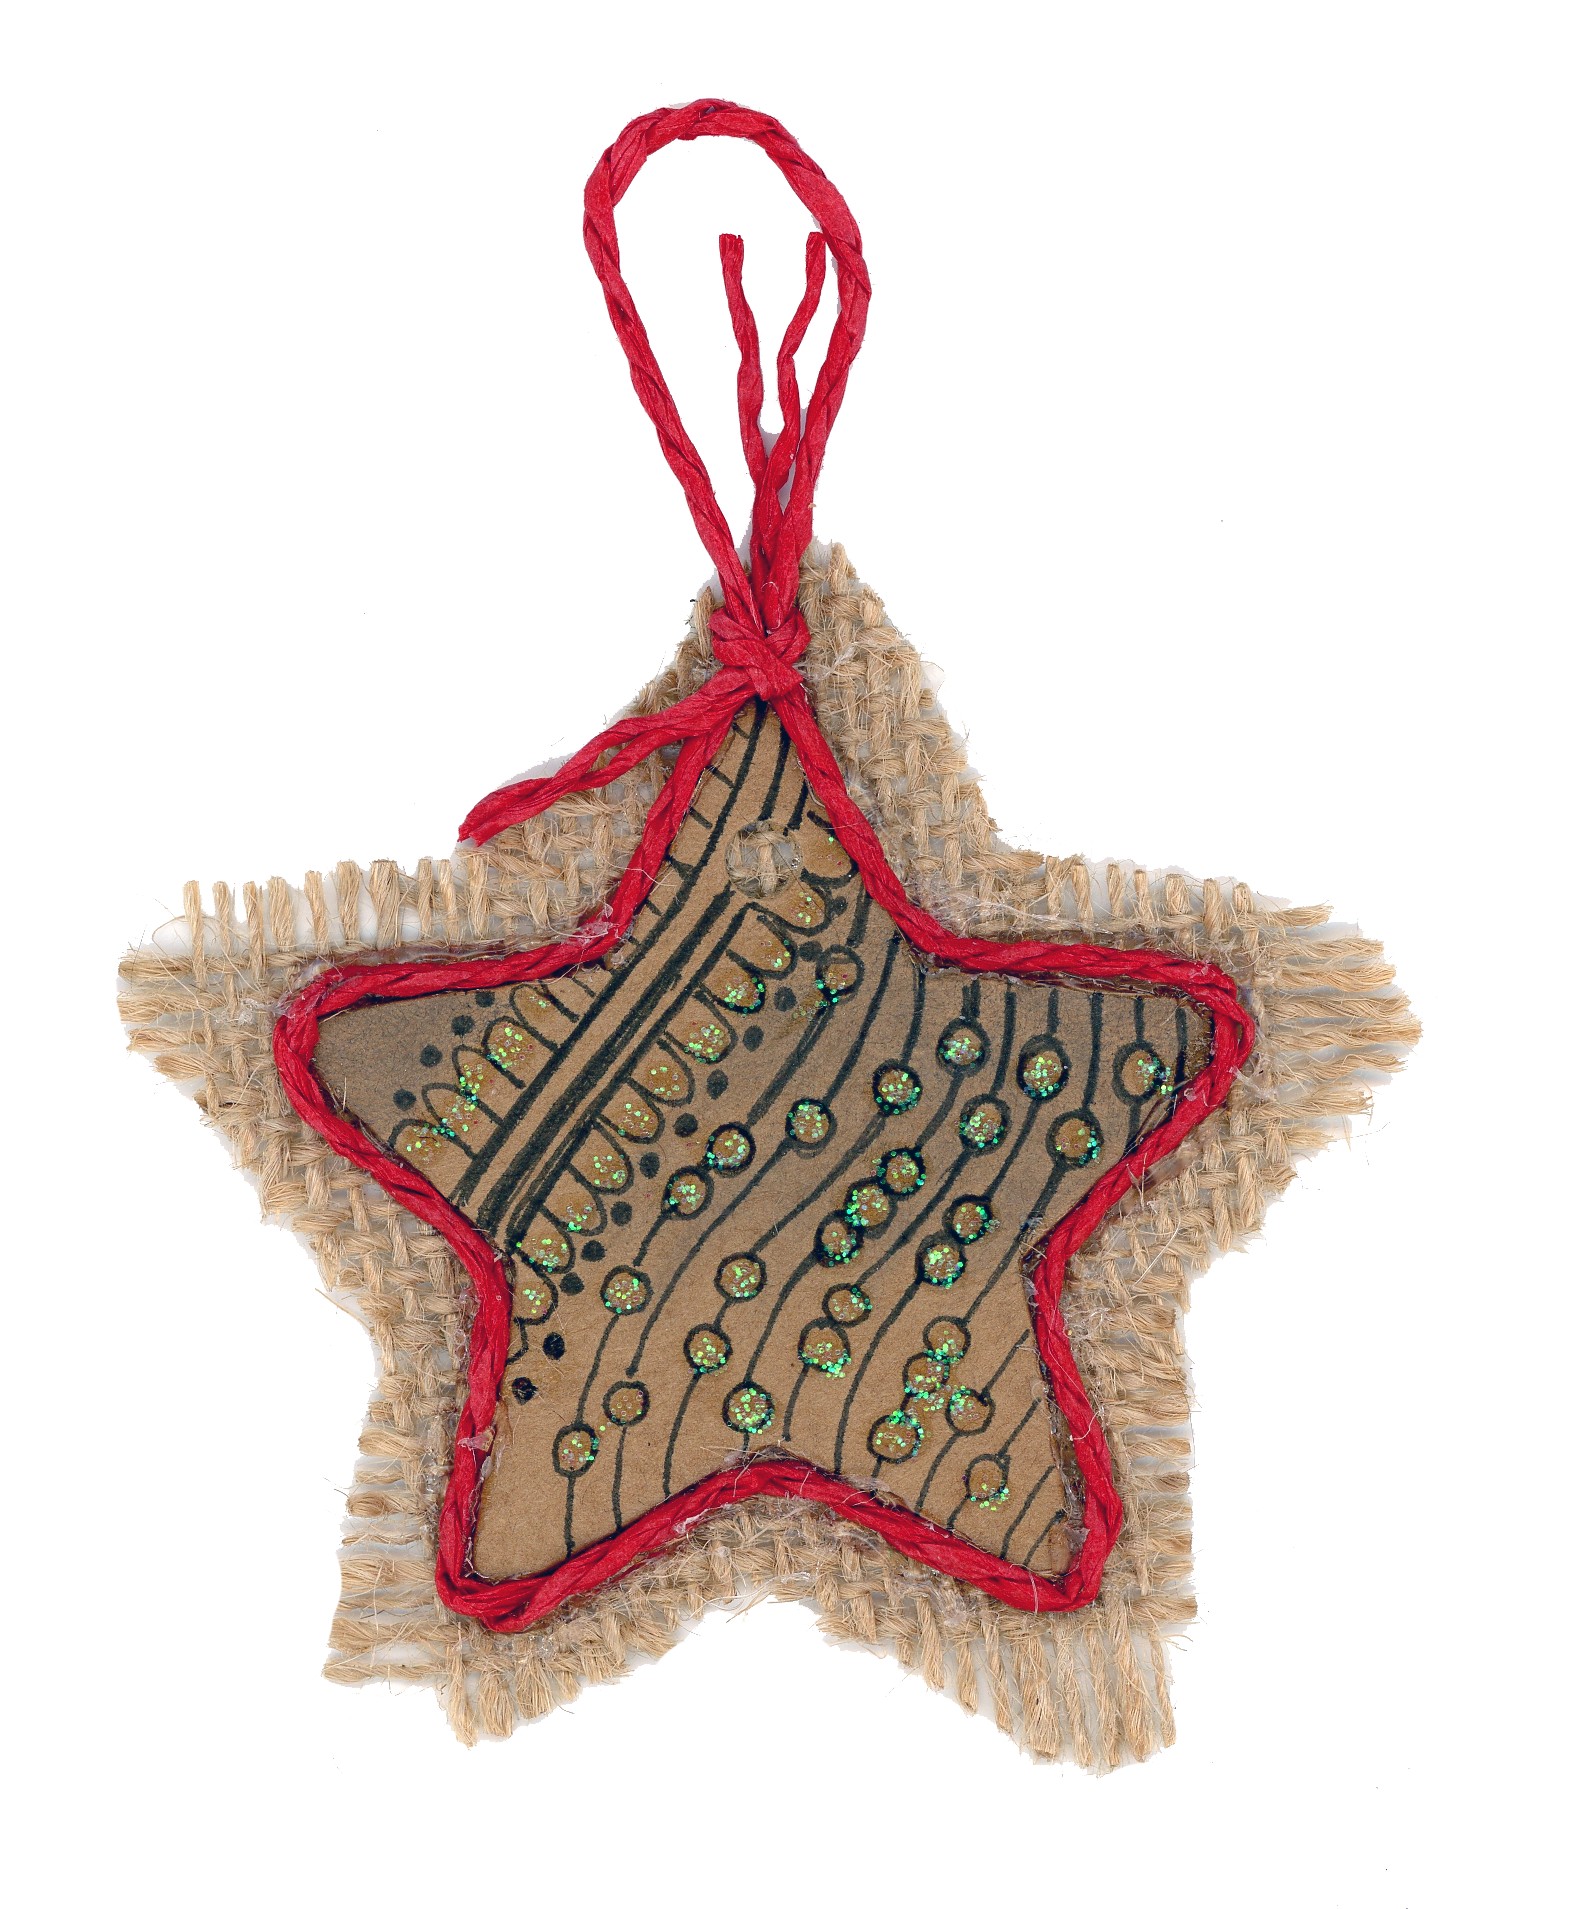
Step 1: You can trace one of the free doodle patterns that I will be posting this month onto your kraft star tag. Begin by printing a copy of the pattern. Cut out the pattern, allowing about 1/4″ to 3/8″ margins. Rub a Soft, #2 to #4 pencil, all over the back of the pattern paper. Lay the pattern, face up, onto your star. With the soft pencil trace along the outlines. When you lift the pattern paper, the graphite from the pencil rubbing will leave a grey trace line on the kraft tag.
After you have finished the pen and ink work and adding any coloring, and allowed the ink to dry well, use a document cleaning pad to erase any remaining graphite lines from your star tag.
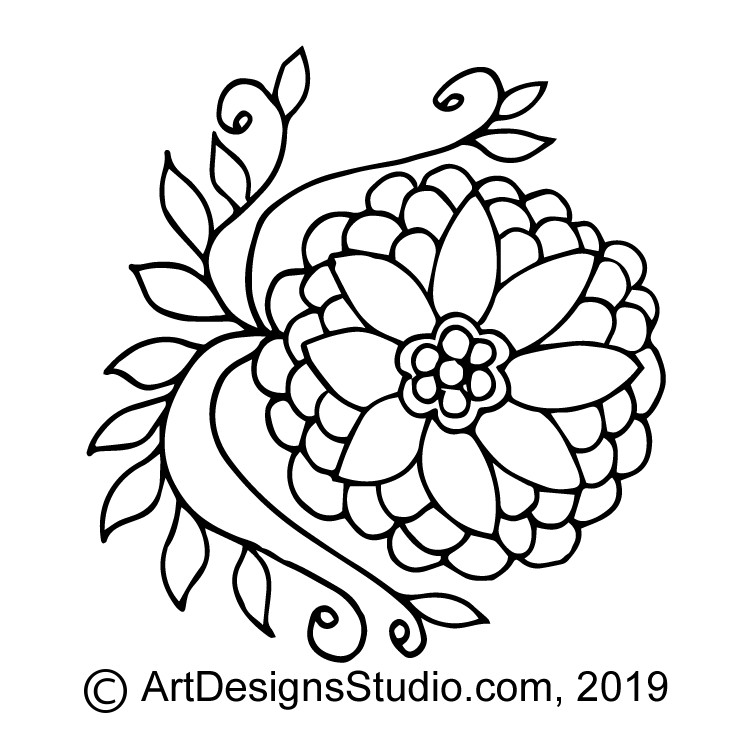
Free Doodle Pattern 004
Step 2: Use the fine point, black marking pen to create the lines of your doodle design. Rework some areas of the lines with a second layer of black pen to create a ‘thick and thin’ effect – this adds interest to the line work. Let the pen ink dry for at least 10 minutes before you begin the coloring steps.
Step 3: Clean the tag with your document cleaning pad by gently rubbing the pad over the tag. The pad is filled with finely ground eraser particles and will neatly clean any remaining graphite marks.
Step 4: Add any coloring that you want using the gel pens. You can also use colored marking pens, colored pencils, and even watercolor paint to accent the doodle pattern with just a touch of bright color. Allow to dry.
Step 5: Using acrylic glue, apply one line of glue along the edge of the star tag on the back side of the tag. Lay the tag onto the burlap ribbon. Weight the tag down against the ribbon with a heavy book. Allow to dry for at least one-half hour.
Free Doodle Pattern 005
Step 6: Cut the burlap 1/4″ to 3/8″ away from the edge of the star tag to create a fabric frame. You can tease a few strands of burlap off to make a ragged edge. Turn the burlap-back tag face down onto a piece of wax paper. Run a thin line of acrylic glue along the outer edge of the burlap to stop any further raveling of the fibers. Let the glue dry for at least one-half hour.
Step 7: Run a thin line of hot glue along the outer edge of the tag, on the burlap back. Begin by allowing a 4″ tail of paper twine string before you begin gluing. Gently press your paper twin string onto the glue. This covers the joint line between the tag and burlap, while framing the tag area. Work one straight side of the star tag at a time. This will let you easily make the sharp inside corners crisp. Cut the paper twine string 4″ away from the tag, when you have glue the entire outer edge of the tag. Tie the two paper twine ends together, once close to the tag and once at the end of the strings to create your hanging loop.
Free Doodle pattern 006
Step 8: To add that extra holiday sparkle, use glitter glue in the design area. Let the glitter glue dry completely and your star tag is ready to hand.
Artist’s Morgue File: A folder, cardboard box, drawer, or stack of collected ideas, inspirations, and ‘someday’ projects that an artist accumulates over a lifetime of crafting.
Jan. 1st, 2019 – Goal for this month is to post two to three small, free patterns each working day of the month that you can use with your favorite craft. The theme for January is Doodle Designs.
I must have a dozen large cardboard boxes of scrap paper torn from magazines, newspaper ads, and even old books that I have saved over the years as inspirational ideas – just something to spark a new project.
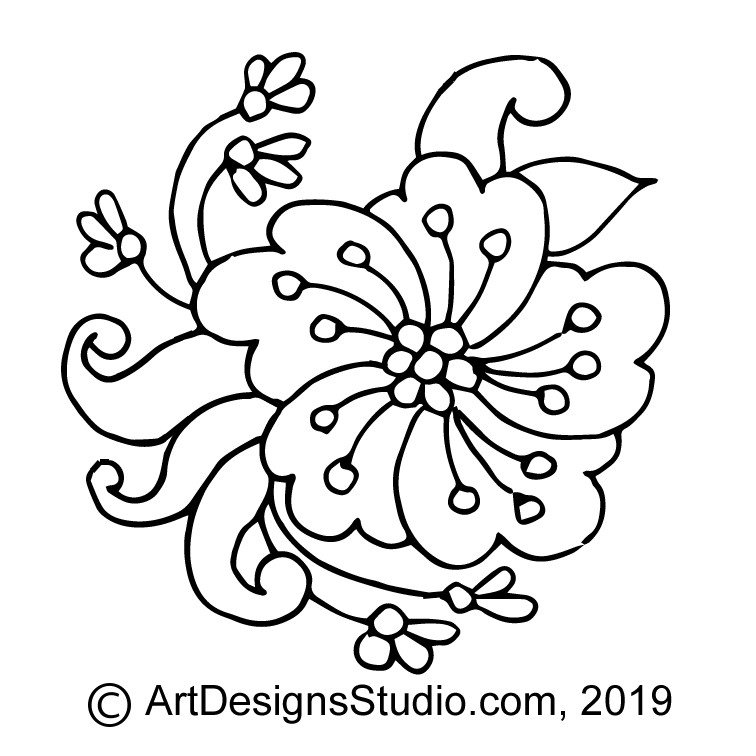
There must be a ton of doodles. Lots and lots of little, tiny, small designs that stand alone as a quick accent in so many crafts. Doodles created using my scrap papers as the inspiration for my own designs.
I won’t even guess how many digital files are stored on my external hard drive for the same reason.
Sometimes those pictures show an interesting layout pattern, perhaps a unique line divider, or even a color combination that really caught my eye.
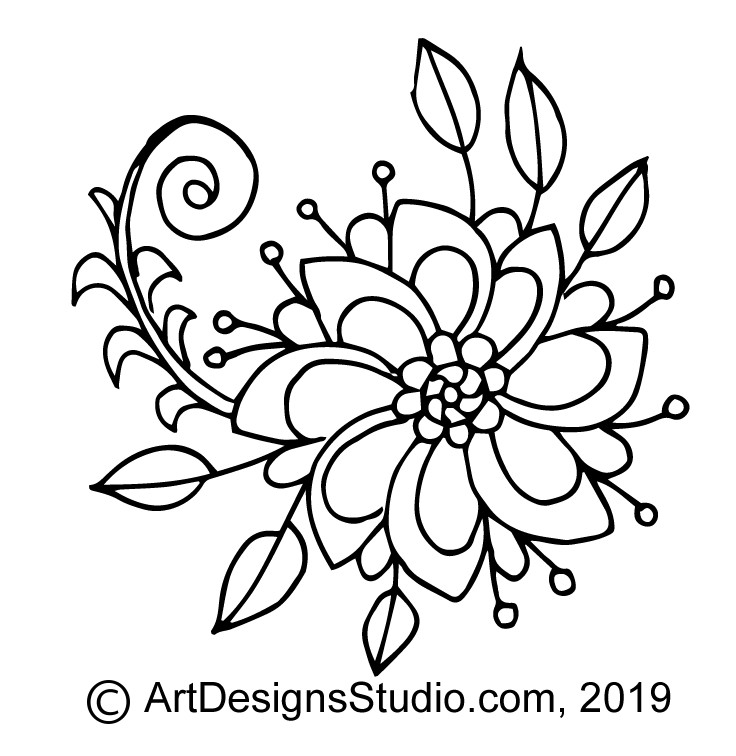
Free Doodle Pattern 001
That hoard of scrap ideas even has a technical name – its an Artist’s Morgue File.
Because my morgue file is over 30 years in the making, and spread out everywhere in the studio, shop, and in my storage boxes, I thought as a goal for 2019 that I would start converting those ideas into some type of organization.
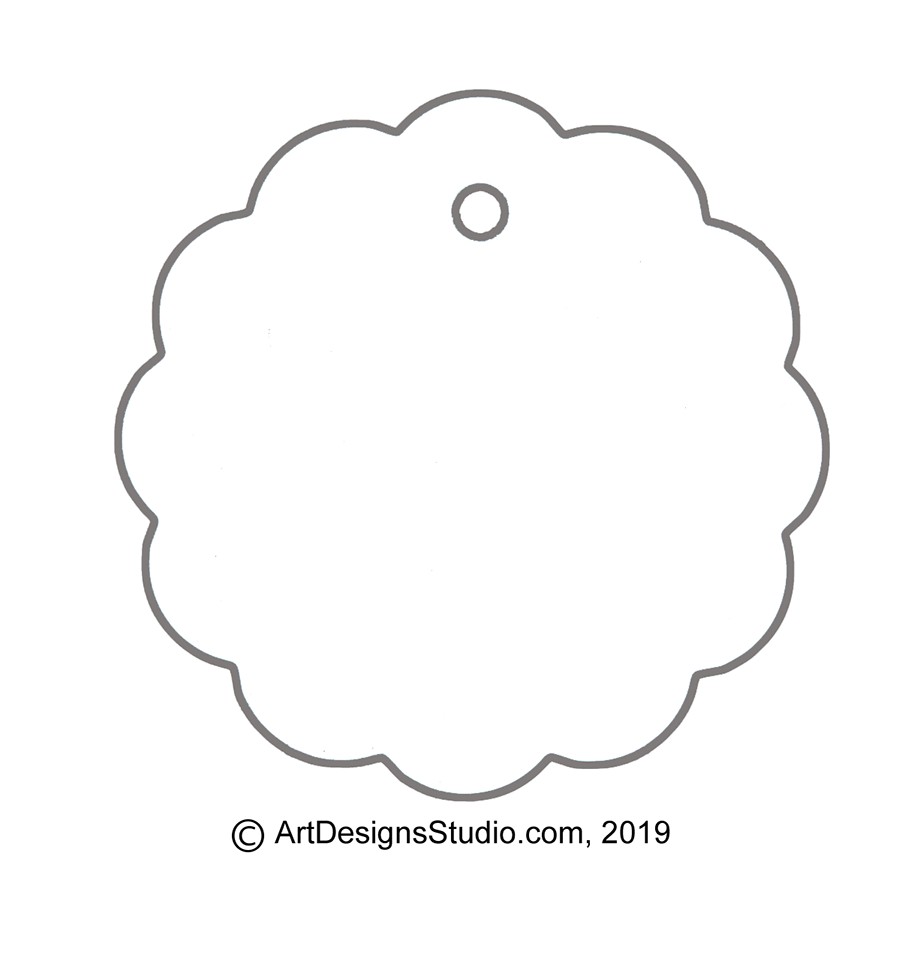
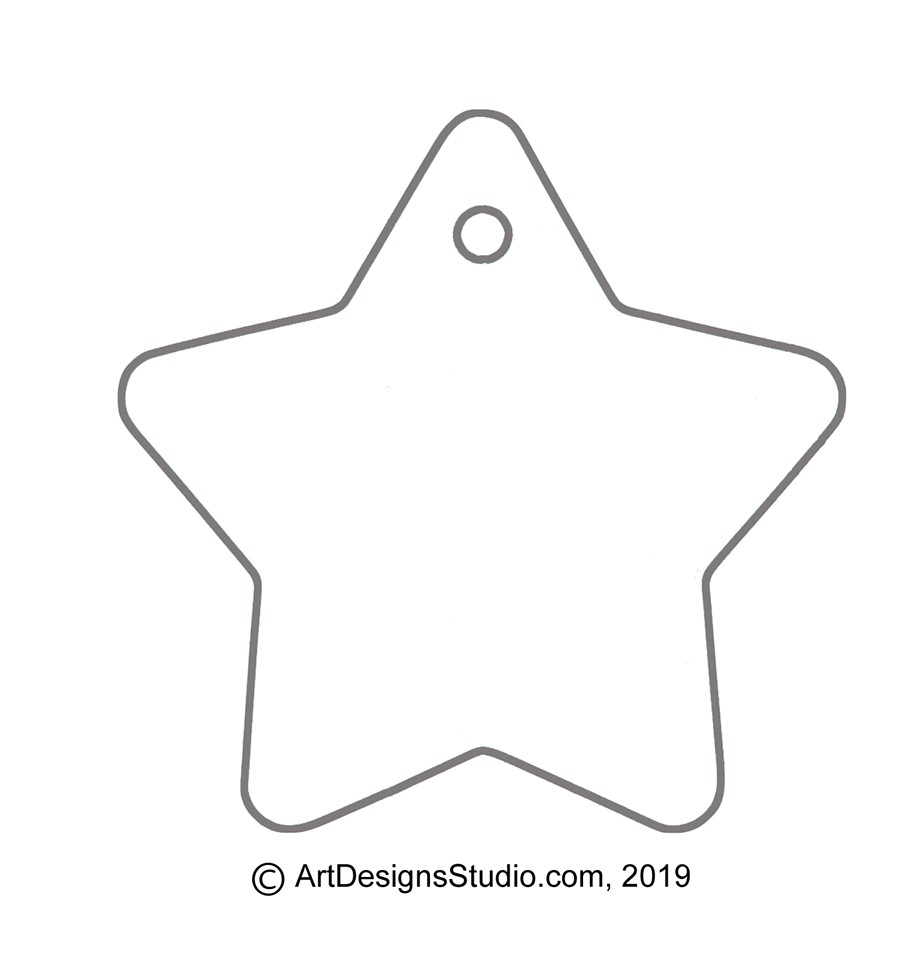
For my doodles I chose cardboard, kraft paper tags in a variety of shapes. The tags run around 2 1/2″ ( 6.5 cm) wide and up to 3″ ( 7.5 cm) tall.
Blank Digital, Printable Tags
Here are blank digital copies of the two tags that I have used to begin my 2019 Morgue File of Little Patterns.
Please click on the image and it will open a new window. Right hand click on the new, full-sized image and chose ‘save image’ to keep a copy on your computer.
Both patterns can be printed of card stock paper, directly from your computer printer so that you can create your own Morgue File tags.
Over the next month I will be posting a few each day. Two to three small designs that you can use with your pyrography wooden spoons, DIY Bullet Journal, and even as fun, applique quilt patterns. And, perhaps, my ideas will spark new ideas for you to create your own.
The DIY Book Making Journal, shown right, uses a pen and ink, gel pen pattern, worked on 140 lb. cold press watercolor paper, as the book cover design. This is a stitched book that holds 32 pages, also worked with the same watercolor paper.
The book boards – front and back cover – use light weight, brown kraft paper to cover the heavy cardboard pieces and to cover the stitched pages along the side of the book.
If you haven’t played with bookbinding yet, these links will get you stared.
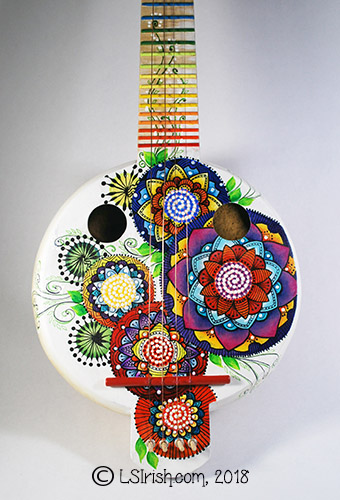
…you unite the joy of gourd art crafting, the joy of bright and vibrant colors, and the joy of music? You create this joyous gourd banjo with copper wire strings.
An extra large kettle gourd with some damage around the stem area inspired this fun gourd musical instrument project. While I did not take step-by-step photos … I was too involved in the fun of creation to remember … I will share four easy ‘secrets’ that made the construction quick and accurate.
Supply List:
The general supply list is posted on the image below. Please click on this image and save it to your desktop.
1. How to cut any gourd along a perfectly level, accurate circumference line.
Clean and prepare the outer surface of your gourd as you normally would. Wipe any sanding dust from the outer surface with a damp cloth, then allow the gourd to dry completely.
Visually estimate where you want the cut line along the circumference. Make a mental note as to which area of the gourd you will be using (the down side) and which area you will be removing (the up side).
Fill your kitchen sink 2/3’s full of water. Hold your gourd throughout this step as level to your visual cut line as possible. Place the down side – the side of the gourd that will become your project – into the water. Push it down until the bottom is covered with water and the surface of the water is at your visual cut line.
Lift the gourd up from the water carefully. Your gourd will have a perfectly level, perfectly straight, perfectly even wet line around the circumference of your gourd. With a soft #2 to #4 pencil mark the edge of the wet line. You are ready to cut.
This is a great technique when you have an odd shaped gourd that has an un-level top. Plunge your gourd into the sink water until the bottom sits firmly against the bottom of the sink. The water line will now be an even measurement from the bottom of the gourd, making a perfectly level cut line.
2. How to sand any gourd top cut evenly and level.
While you are at the hardware store buying birch plywood for the face of your banjo, purchase three or four extra pieces. You will also need two sheets each of 100-, 150-, and 220-grit sandpaper, spray adhesive, and 1″ wide masking tape.
Work in a well ventilated area. Lay a strip of masking tape along one edge of the plywood. Your plywood is 12″ wide, while your sandpaper is only 11″. The tape protects the extra plywood from the spray adhesive.
Spray an even coating of adhesive over the 12″ x 12″ sheet of plywood. Lay one sheet of 100-grit sandpaper onto the board, aligning along the top edge – opposite of the tape. Lay a second sheet of 100-grit sandpaper against the first, so that the entire board is covered with sandpaper. Press firmly into place. Remove the masking tape. Let the adhesive dry well.
Cut off the extra 4″ strip of extra sandpaper that extends off the board.
Repeat these steps for your 150- and 220-grit sandpapers.
Clamp the board to a firm surface, your work table. You can lay your cut edge of the gourd onto the board and move the gourd in circular motions to evenly, and quickly sand the edge perfectly flat. Work the gourd through the three stages of sandpaper grit, starting with the 100-, then the 150-, and finishing up with the 220-grit.
3. How to fill the joint line between the gourd’s cut edge and the plywood face.
Even with the most careful cutting and sanding you can have small gaps in the joint between the plywood face and the gourd walls. Fill the gaps with Modeling Paste, also called Sculpture Paste. This is a water-soluble, acrylic-based, medium thick paste that dries quickly and can be sanded smooth.
Follow the directions on your jar. I prefer to lightly dampen the area that I will be filling. I let the area dry until there are no shiny, wet spots then fill the area with a light layer of modeling paste. Let this layer dry completely and lightly sand. If the area is not completely filled I repeat the application. Thin layers are easier for me to control, shape, and sand. Plus thin layers dry more evenly than thick applications.
Modeling paste – sculpture paste – can be painted using your craft acrylic colors. It’s perfect for those gourds that have rough or pitted areas on the surface!
A quick trick to insure that your jar of modeling paste lasts a long time is to thoroughly clean the jar rim and the inside of the lid after every use. Cut a square of plastic clinge wrap about 2″ larger than the jar opening. Place the plastic clinge wrap onto the jar’s opening, then put on the lid. The wrap seals along the jar’s rim, preventing your paste from drying out.
Like many crafters you have only so much limited time to create and craft. Do you want to spend that time actually working on your project or on researching, designing, and refining the pattern you will use?
We have over 3000 line art and craft patterns, ready to download directly to your home computer, in a huge variety of themes, ideas, and designs – Wildlife, Celtic, Wood Spirits, Architectural Accents, Landscapes, and so much more.