
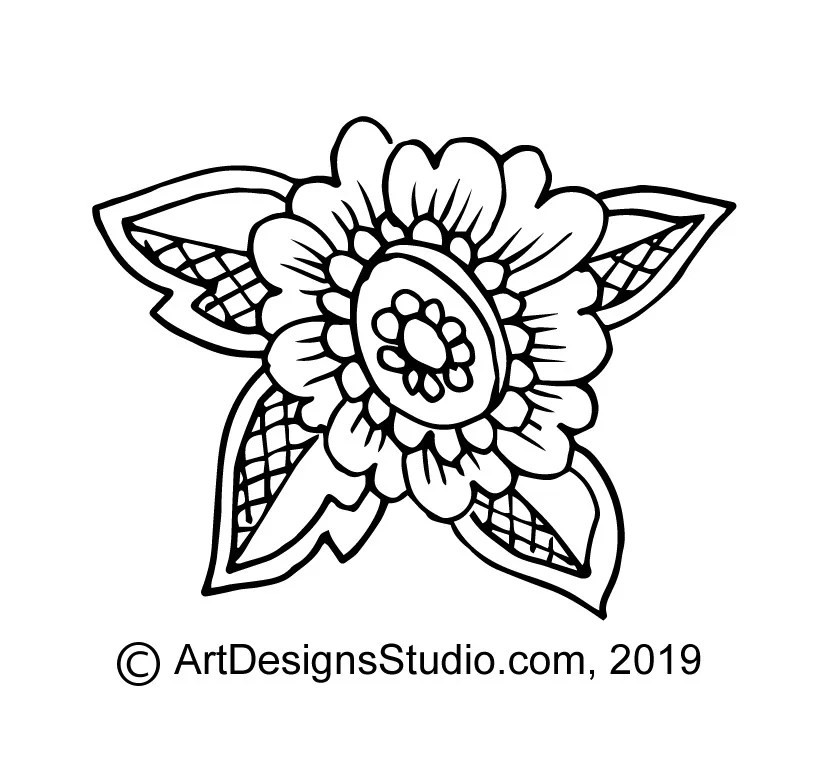
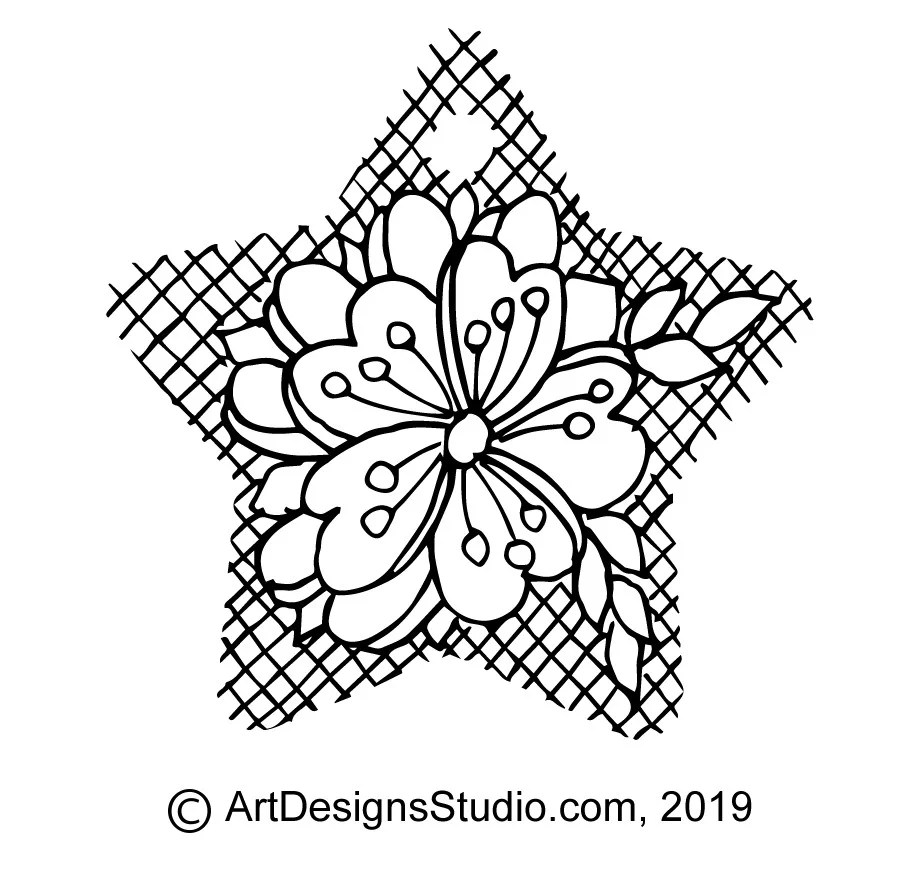
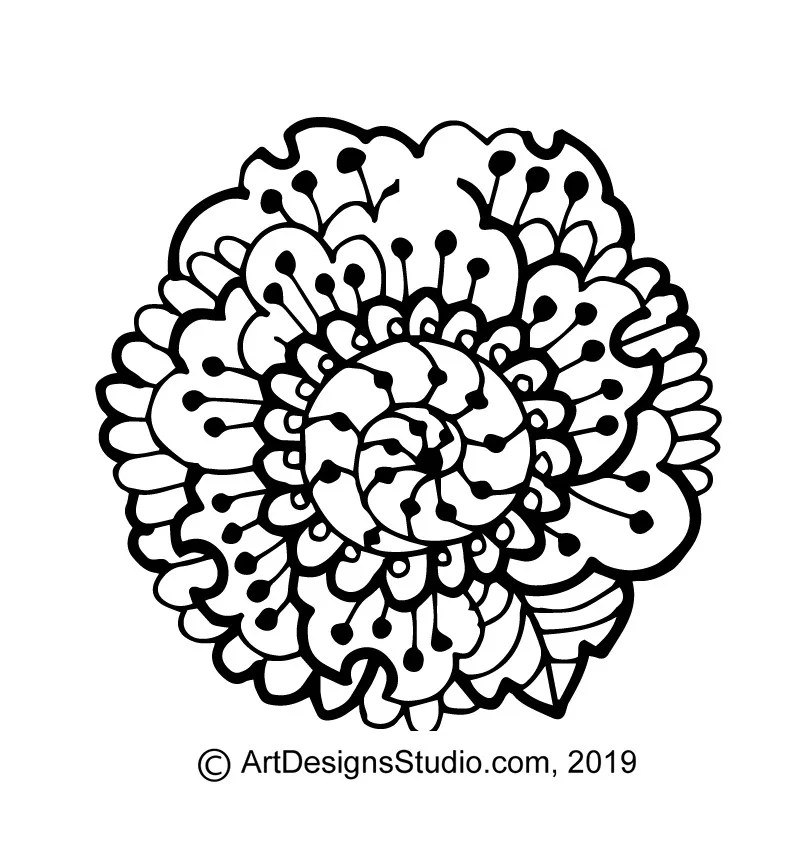
Small Pyrography Patterns


Small Pyrography Patterns Read More »
Small Pyrography Patterns Read More »

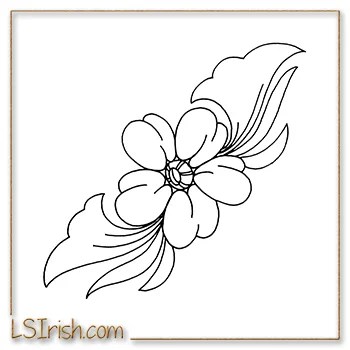
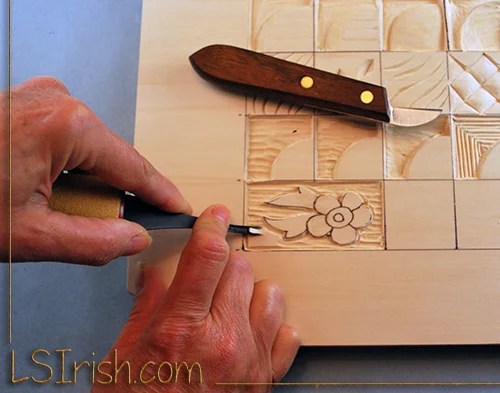
This simple flower wood carving is worked from the practice board project in Relief Wood Carving Workshop by Lora S. Irish. This practice board, which includes 22 specific techniques for relief wood carving and 3 small flower designs, allows you to learn and explore the cutting strokes each of your wood carving tools creates.

PRACTICE CARVING ONE
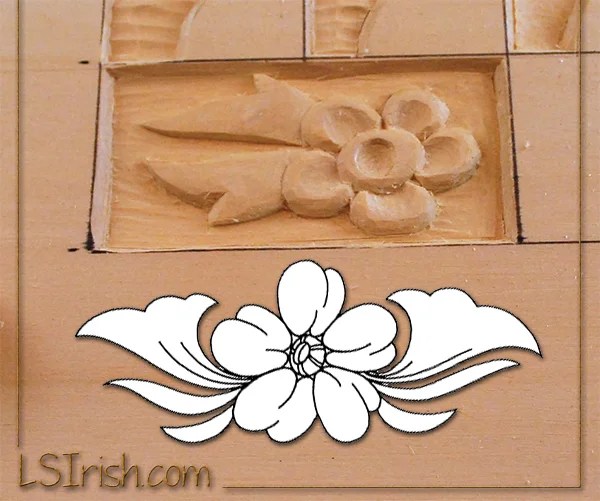
This super simple flower pattern will walk you through many of the basic techniques learned in this practice board chapter.
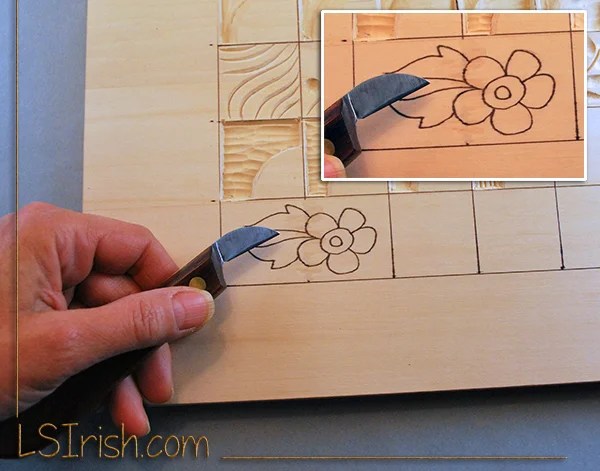 Step 1 Trace your pattern to your practice board using graphite paper.

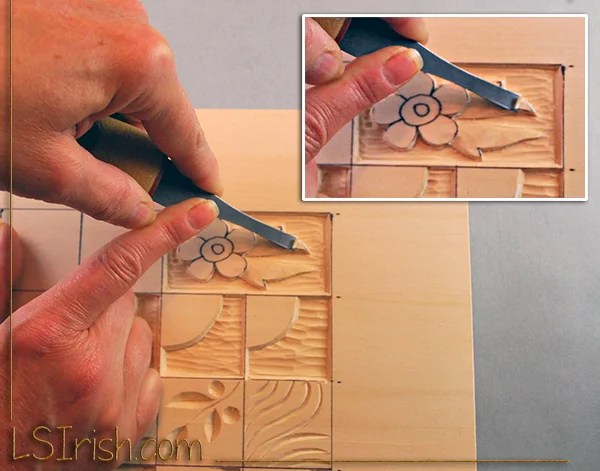
Step 2 Create a bench knife stop cut along the outer edges of the pattern. Cut triangular chip cuts in the background corners of the petals.
Step 3 Working with the grain of the wood rough cut the background using a medium round gouge.
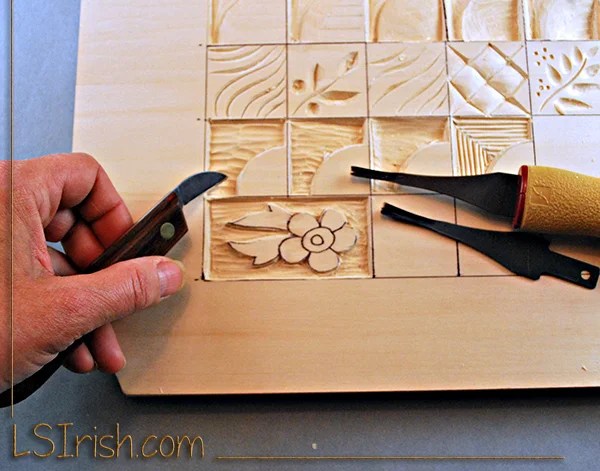
Step 4 Rough cut the background to a depth of 3/16”, making straight outer walls on your design elements.
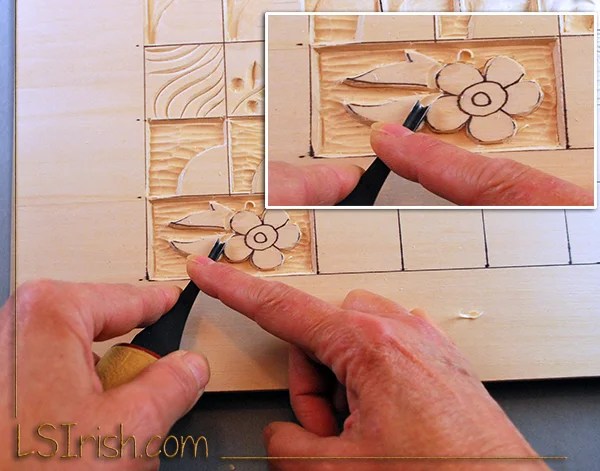
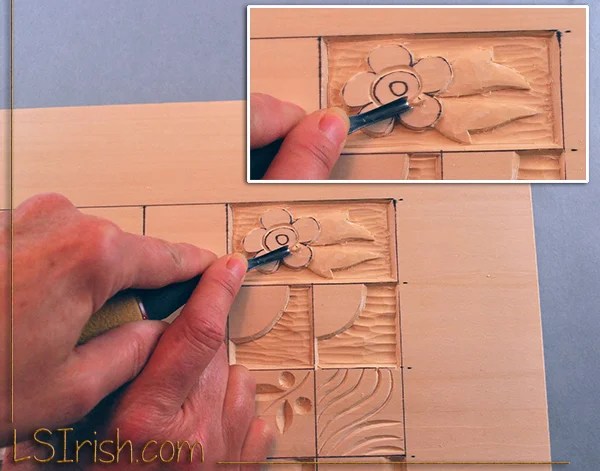
Step 5 Create a stop cut using your v-gouge between the leave elements and the flower petals.
Step 6 Using a straight chisel taper the base of the leaf into the flower petals. Taper the outer leaf point away from the flower. This gives the leaves a convex curve.
Step 7 Taper the long sides of the leaves towards the background using your straight chisel.
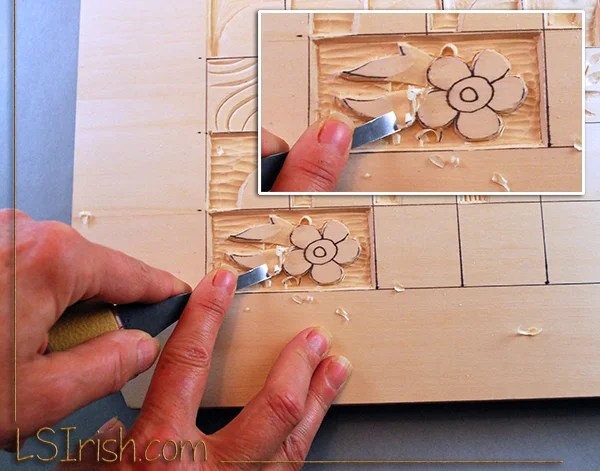
Step 8 V-gouge stop cut the center circle of the flower.

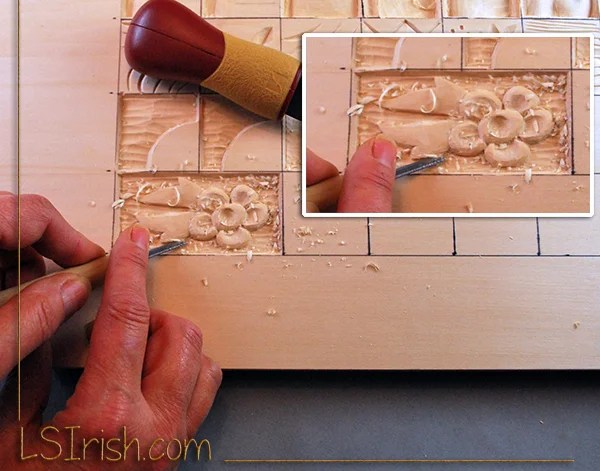
Step 9 Using a medium round gouge or medium u-gouge create a concave indent inside of each petal.
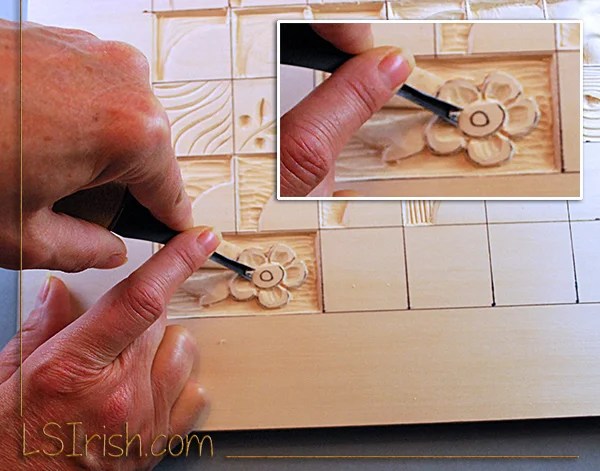
Step 10 Separate each petal using your v-gouge and a stop cut.
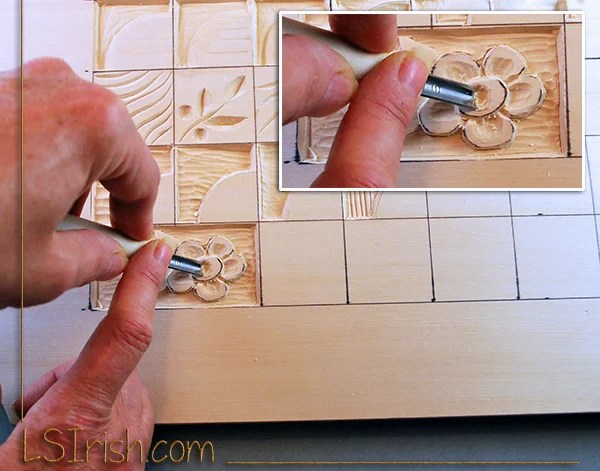
Step 11 Up-end a medium or large round gouge to cut the inner circle of the flower center.

Step 12 Using your straight chisel round over the outer edges of the petals.
Step 13 Smooth the carving by shaving each element – leaves, petals, and flower center. Re-cut the intersection joint lines between the elements and the background.
Step 14 with a few more cleaning cuts and a touch of sanding using 220 grit sandpaper this carving will be completed and ready for either the painting steps or the finishing steps.
 Relief Carving the Wood Spirit
With this book any carver can stand beside the workbench of acclaimed artist Lora S. Irish and learn everything she has to teach about creating an expressive wood spirit. Lora clearly explains the relief carving process from start to finish: every cut, every tool change, and every depth check. The entire craft is here, from preparing the wood to roughing out and detailing the wood spirit to applying a long-lasting finish. No step is left out and no technique is left unexplained. The author shares her tips for creating realistic and detailed facial features like eyelids, windswept hair, beards, and the ever-important mustache. Best of all, when the step-by-step project is complete, Relief Carving Wood Spirits, Revised Edition offers 20 more original patterns to keep any carver busy for seasons to come.
Wood Carving A Simple Flower Read More »


As a beginning carver, the choice of carving tools available can be overwhelming. Which tools you really need to learn this craft and which tools you really will use can be a hard decision. There are several basic tool shapes that are standard to this hobby. Take a quick look at the different tool profiles available for your use.

Beginner’s Whittling and relief Carving Tool Kit
A basic relief carving or whittling tool set contains far more than just your carving tools and knives. Let’s take an in-depth look at some of the common supplies you may use in your carving craft. All photos in this article are large-sized and labeled. Please click on any image to show the full-sized photo.
Here is a quick visual close-up of some of my favorite carving tools. This grouping will eventually find their way onto the work table during any carving project. The vast majority of the tools show here are between 25 and 40 years old since most are inherited from my father’s many years of wood carving. Your investment in good quality tools will last beyond your life time.
Beginner’s Carving Tool Kit Read More »

What happens when you mix your pyrography, leather crafting, jewelry work, and lots of bright colors … You create unique pyrography leather jewelry. Another free, online project at LSIrish.com.

Leather Burned Jewelry Gallery of Ideas
Leather Burned Jewelry, Day One
Leather Burned Jewelry, Day Two
Leather Burned Jewelry, Day Three


Doodle Days #10 – Wood Burn Spoons, Wood Carved Spoons, Leather Work, Free Lora S. Irish Patterns to Download, DIY Bookmaking, Bullet Journals, Scrap Booking, Card Making, Applique Quilting, Pyrography, Wood Carving
Pyrography Leather Jewelry Read More »

Doodle Days #9 Wood Burn Spoons, Wood Carved Spoons, Leather Work, Free Lora S. Irish Patterns to Download, DIY Bookmaking, Bullet Journals, Scrap Booking, Card Making, Applique Quilting, Pyrography, Wood Carving,
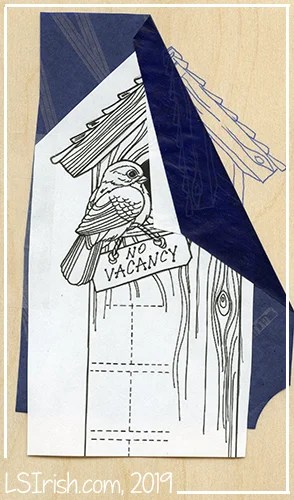
Tracing a Pattern
There are several ways to transfer a pattern to a carving blank – carbon paper, graphite paper and pencil rubbing. All three products transfer a pattern to wood, but which you use is determines by the craft you are working.
 Carbon paper
Originally used to make multiple copies of a typed or written document, carbon paper comes in black or dark blue. Tracings made using this product have heavy, dark, bold lines. Carbon paper is perfect for transferring patterns for long-term projects, as the traced lines will not fade or rub off, even after many hours of carving work. However, carbon paper creates a traced line that can not be erased with an eraser, and often can not be removed with fine sandpaper. I use carbon paper with my wood carvings, but never with pyrography.
 Graphite paper
This paper is lightweight with a waxed graphite coating on one side, and comes in both pale gray and white. When tracing a pattern, the graphite side is placed against the wood, resulting in a tracing with medium-gray colored lines. Graphite paper is available in sheets as small 8 1/2″ x 11” (216 x 279mm) and as large as 48” x 96” (1219 x 2438mm), and also comes in rolls several yards long. Graphite paper can be used several times, so keep previously used pieces for later tracings. This product works well for both carving and wood burning.
 Pencil Rubbing
To use the pencil rubbing method for transferring a pattern, rub a soft #2 to #6 pencil over the back of your pattern paper. The higher the number of your pencil, the darker or blacker the rubbing will be. Then, place the pattern face up on your carving blank and begin tracing it. As you trace along the pattern lines, a thin, light gray coating of pencil will be left on the wood blank. Pencil rubbing lines can be erased using a white artist’s eraser, making it an excellent method for transferring patterns for carvings that will include some pyrography work. This is my favorite form of tracing as it is so easily removed after your pyrography or carving work is done.
Simple steps for tracing a pattern
Tracing a pattern onto your carving blank is an important step; you want to make sure you center the pattern on the wood. Follow these steps to trace a pattern using graphite paper.
 1 Gather your supplies. To transfer a pattern to your wood blank, you will need a copy of the pattern, carbon paper, an ink pen, a ruler, a T-square, and tape.
 2 Mark the center of the blank. Using your ruler and T-square, mark the center of the carving blank using a horizontal center line and a vertical center line
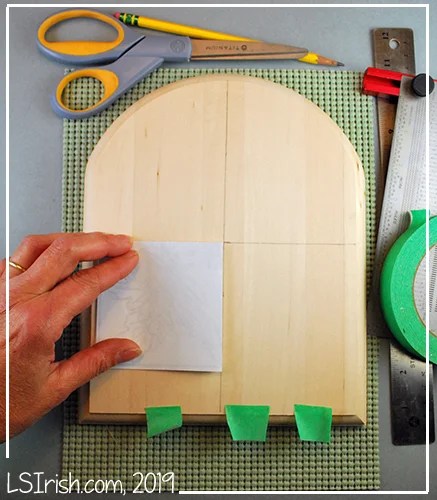

3 Align the pattern with the center lines. Fold the copy of the pattern into quarters. Place the pattern on the blank, aligning the fold lines in the paper with the center lines drawn on the blank. Tape the pattern into place .
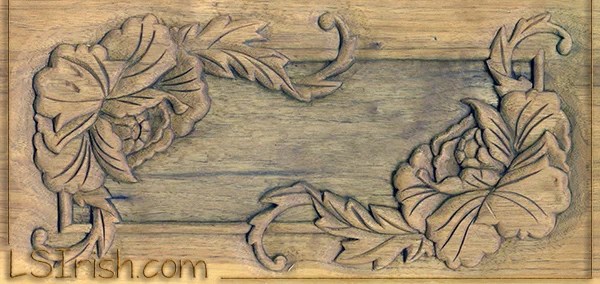
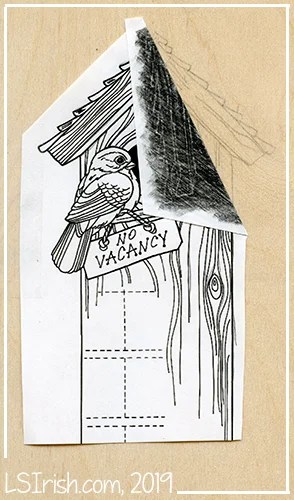
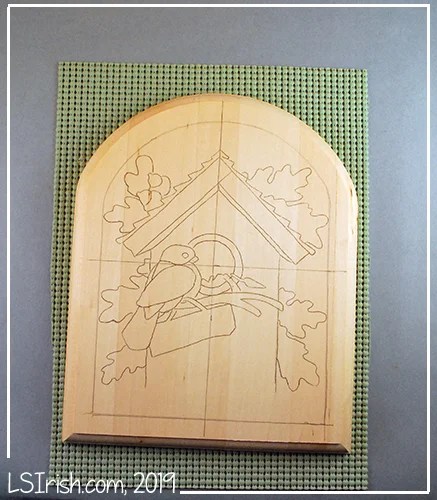
 4 Adjust the pattern as needed to fit the shape of the wood. For our sample tracing the board has a curved top that affects the placement of the pattern. By sliding the design down along the vertical line the square pattern is now centered to the square area of the plaque.
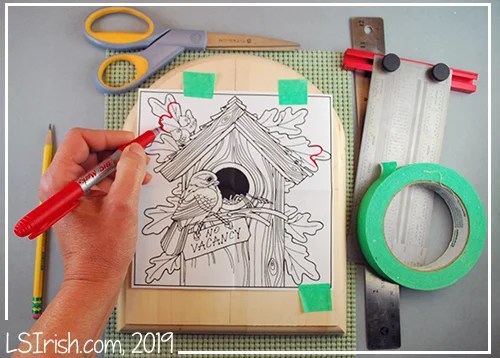
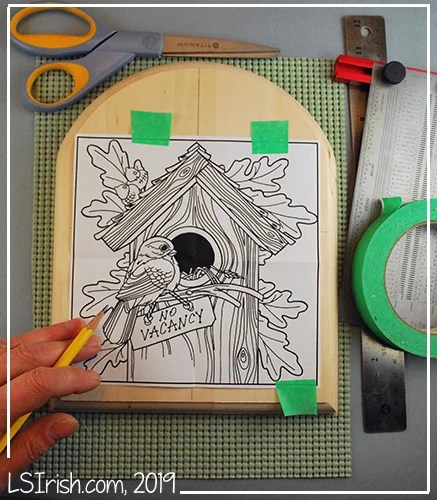
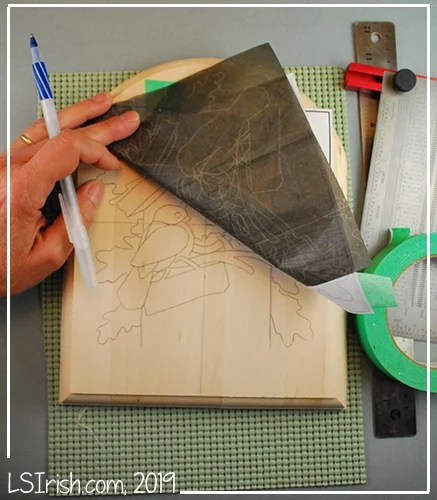 5 Place the carbon paper, and trace. Mark any adjustments necessary on your pattern. Slide the carbon paper in place under the pattern paper, and trace along the outside lines of your grouped elements. Check your tracing before you remove the pattern and carbon paper to ensure you have transferred all the necessary pattern lines .
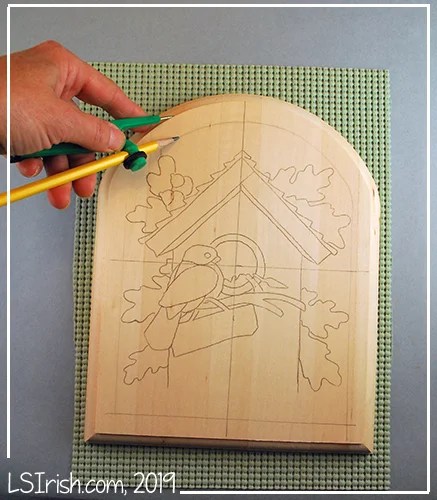 6 Create a border if desired. If you like, you can use a compass to create an outside border or margin line around the pattern .
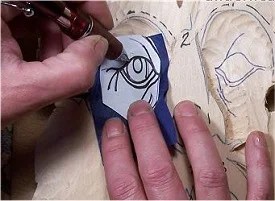
 7 Add in the details as you carve. As you progress through the carving stages, cut small pieces of your original pattern paper, secure them to your wood blank, and trace the fine line details to that roughly cut areas.
 8 Print several copies of your pattern. As you work you will often find that your carving will cut away some areas of the traced pattern or that your burned shading will obscure some areas of your traced line. You can cut small sections of your extra pattern out from the larger design and spot trace as needed.

How to Trace or Transfer Your Pattern Read More »

