Step 17 – Round the End of Your Spoon Handle
With your bench knife round over the end of the spoon.
Step 18 – General Shaving and Fine Shaping Step
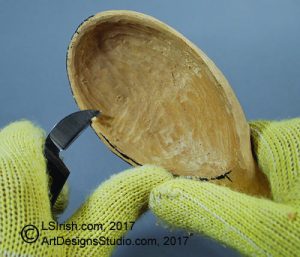
The basic shaping to the spoon is complete. Use your bench knife, chip carving knife, and round gouges to shave the entire surface of the spoon. Remove any high ridges left from previous cut strokes, refine the edge along the spoon bowl, and gently smooth out the inside of the bowl. Again, shaving is making the same cuts that you made before but with very light pressure and at a very shallow depth. This takes thin, paper-like slivers of wood, removing the rough look of the carving.
Step 19 – Sanding
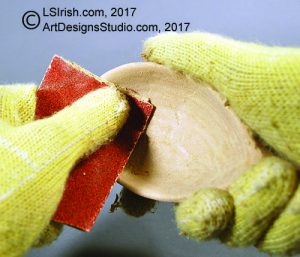
I use a progression of sandpaper for my spoon work, beginning with 100-grit sandpaper for the inside of the bowl, then to 150-grit for the inside and outside of the bowl areas, and then onto 220-grit sandpaper for the entire spoon. Sand with the grain of the wood in long, straight line strokes to avoid creating fine incised lines that can come from curling the sandpaper.
Check you sanding by running your fingers over the areas that you have worked. Often you will feel the areas that need more work that you might not be able to see. Finish your sanding by crumbling a large piece of heavy paper bag into a hand sized roll. Rub the paper bag over the entire spoon; this gives an extra-fine sanding and removes any remaining wood splinters or fibers. Remove the dust with a lint-free cloth.
Step 20 – Mineral Oil Finish
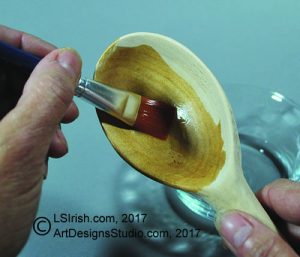
Mineral oil is a food-safe oil finish that can be used to give your spoon a slight sheen and to seal the wood for use. Apply one coat, directly from your jar or bottle. Allow that coat to rest for about five minutes on your spoon and then wipe the spoon down with a dry, lint-free cloth. Repeat … and your spoon is ready for us.
Thank you for reading! Please share this Lora S. Irish free online project with your family, friends, and fellow carvers.


