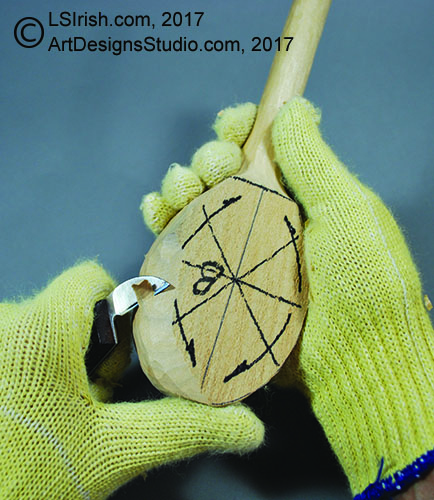
Step 7 – Marking the Grain of the Back of the Bowl
The direction of your grain will change as you work around the oval shape of the bottom of the bowl. As a general habit I mark the bowl bottom with a marking pen to remind me of the direction in which I want to cut in each quadrant of the back. I also mark the center point of the bowl back at the point that I want to be the deepest area in the bowl.
As I carve these marking lines will be cut away. Those marking lines also help me to quickly see what areas of the bowl back I have and have not worked. If there are marking pen lines in any area then I, obviously, have not shaped that area.
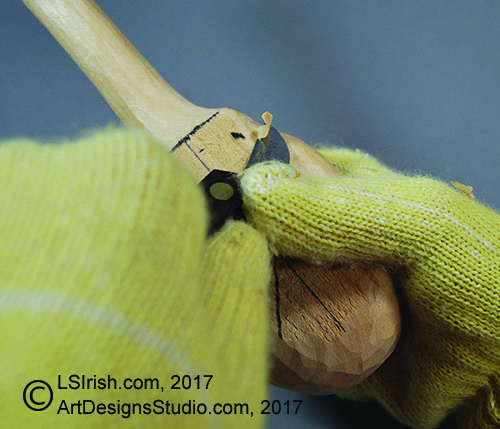
Step 8 – Bench Knife Shaping the Back of the Bowl
Use your bench knife or large chip carving knife to shape the back of the spoon bowl. Slowly work from the sharp outer edges of the back towards the center point of the bowl. Roll the bowl smoothly so that it does not have a square walled shape with only rounded corners – the entire back area should be worked.
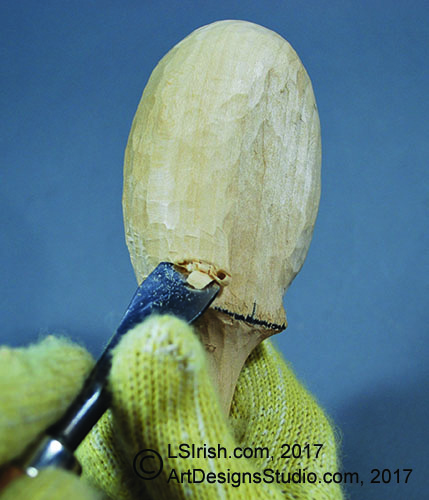
Step 9 – Defining the Ears on the Bowl Back
Use your wide round gouge to curve a line between the ear marking line and the bowl back. This is a light indent that will later visually separate the ears from the bowl. Each time you re-work the bowl to create its full round shape, rework the ear separation area.
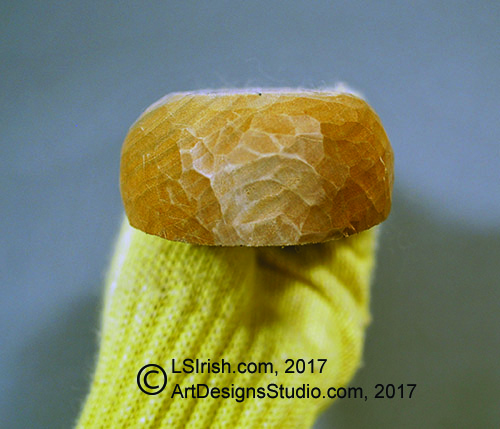
Step 10 – Checking the Round of the Bowl
Check your shaping several times during the process of cutting the spoon back to insure that your sides are evenly curving away from the front bowl edge. You can see at this stage in the shaping that my spoon bowl remains very square in shape with just the edges rolled.
As an easy option to cutting ears you can leave a small central section of your spoon back flat – at the original plane of the wood blank. That flat area only needs to be about the size of a small coin to work nicely and prevent your spoon for rocking.
To see that you have completely rounded the back of the bowl, hold the bowl up to eye level with the front of the bowl horizontal to the floor. You can glance across the top edge of the bowl back and see exactly where you need to do a little more work. In my photo you can see that I still have a high area just to the right of center that needs a touch more shaving.