Step 11 – Shaping the Inside of the Spoon Bowl
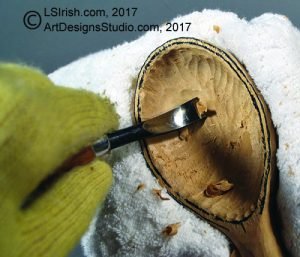
There are several specialty tools, in the supply list above, that you can purchase just for creating the curve inside of your spoon bowl. If you plan on creating a lot of spoon carvings they are well worth the investment. I personally prefer using both a wide sweep straight gouge and a bent round gouge.
Before you begin carving the inside of the bowl, wrap the bowl in a thick terry-cloth towel. Note in the photo below that I am using carving gloves and then holding the spoon inside the towel. As you work the inside of the bowl there is always the chance of the gouge slipping out of the cut and into the palm of your hand. Even the best carving gloves can not prevent a cut every time. Adding that towel layers gives you a firmer grip of the spoon bowl while adding several layers of terry cloth between you and your gouge blade.
Step 12 – Mark a Line Along the Outer Edge of the Bowl
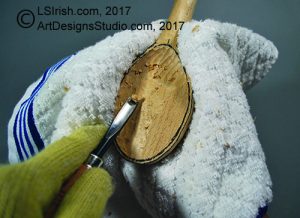
Use a marking pen to create a line about 1/8″ from the edge of the spoon bowl. Begin your bowl cuts along that line. Work from the outer edge of the spoon bowl towards the center of the bowl with your straight round chisel.
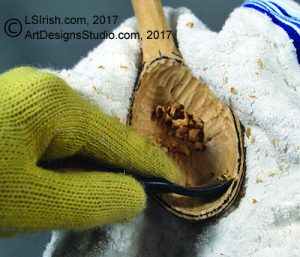
Step 13 – Using the Bent Round Gouge
As you work deeper into the bowl area change to your bent round gouge. Again work from the outer edge of the bowl in towards the center.
Step 14 – Begin Shaving with the Bent Round Gouge
Shaving strokes are simply very shallow cuts that dramatically reduce the gouge ridge lines left from the rough cutting. Although we will be sanding this spoon at the end of the carving session, the finer the shaving cuts that you make now will help the overall evenness and smoothness of the bowl inside area.
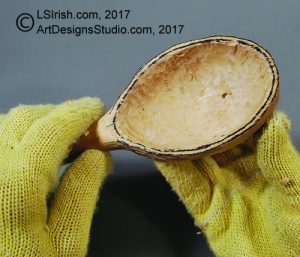
Step 15 – A Quick Check of the Inside Bowl Shape
Check your bowl for even thickness along the top edge of the spoon, and a general evenness to the curve going into the center of the bowl. Rub the flat of your thumb over the inside of the bowl, working from the center of the bowl towards the edge. You will be able to feel thick or raised areas easier than you might visually catch them.
Step 16 – Separate the Bowl Back Ears
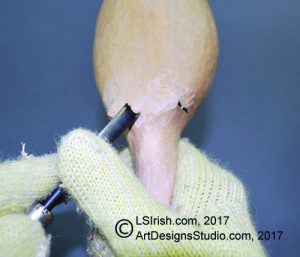
Use your straight gouge to carve a downward curve between the two outer points of your ear line on the back of your spoon. This separates the two ears. Round the sides of the ears slightly into miniature legs.
