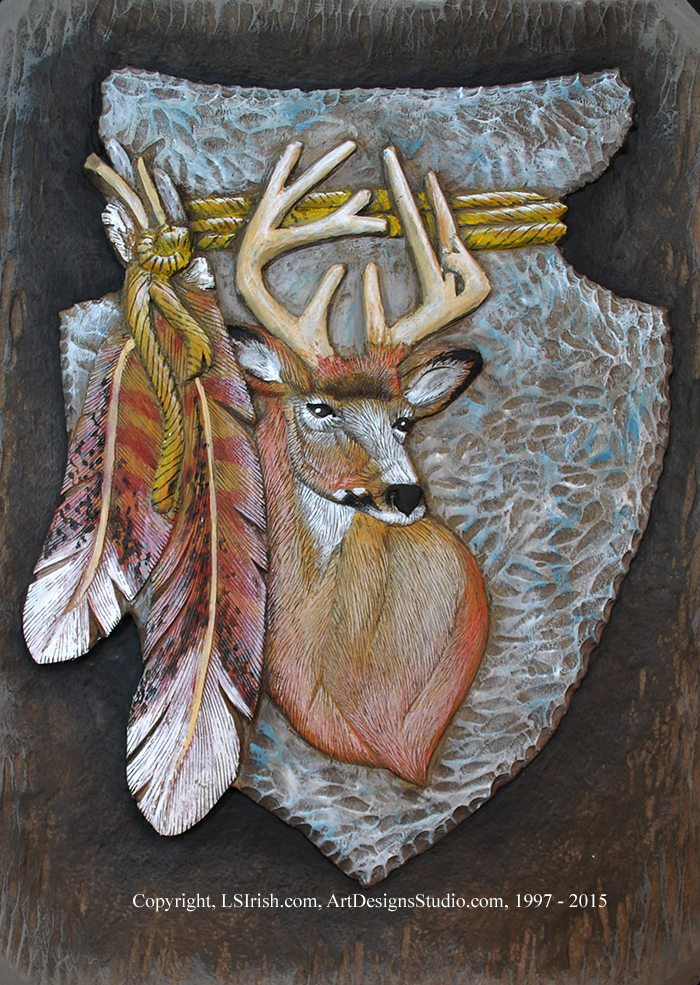
Dry Brush Painting – Mule Deer Relief Wood Carving Project
Supply List:
assorted flat soft bristle brushes
detail or liner brush
water and water pans
palette paper
paper towels
Acrylic craft paints
raw umber
titanium white
smoke blue – blue gray
indian mustard yellow
raw sienna
burnt sienna
carbon black
polyurethane or acrylic spray sealer
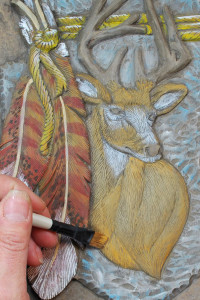 1 The technique is done by loading a flat shader brush with color. Remove the excess color on the palette so that only a small amount remains in the bristles. The brush is then dragged across the wood in as low a position to the wood as possible. Multiple coats will intensive the color without filling in the darker primed detail work.
Since the brush is so lightly coated with color only the high ridges of the carving receives paint. Several layers of gradually lighter color tones are added in one area to create variation in that area.
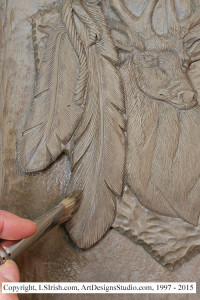 2 Mix one part of raw umber with one part of titanium white acrylic craft paints. Thin this mixture with a few drops of water. Using a sift brush work two coats over the entire carving surface. Brush any puddles or thick areas of paint out to retain your fine texture. Allow to dry thoroughly.
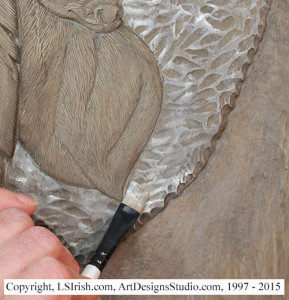 3 Load a large flat soft bristle shader with titanium white. On a clean area of your palette make several light brush strokes to remove any excess paint. Hold the brush low to the carving and drag its bristle tips across the high areas in the arrow.
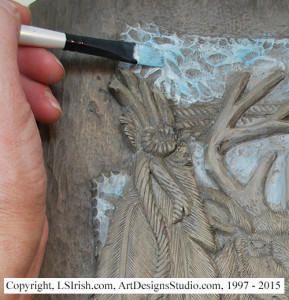 4 Use a blue-gray color to dry brush the arrow, working right over the titanium white. Allow a few white areas to remain.
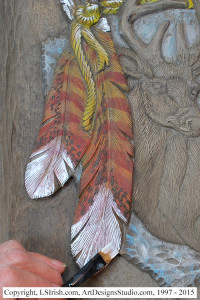 5 Using a mustard yellow or Indian yellow, dry brush the cords. Add a small edging of titanium white along the top edges of the cord.
Dry brush raw sienna to the entire areas of both feathers. Highlight the top half of each feather with mustard yellow. Work burnt sienna ¼” wide lines of dry brushing along both feathers. Titanium white is used to dry brush the v-shape in the bottom 1/3 of the feathers. Thin raw umber with a small amount of water. Using a detail brush, add random small dots to the feathers, as shown in the photo. Paint the feather shafts with white using a detail brush.
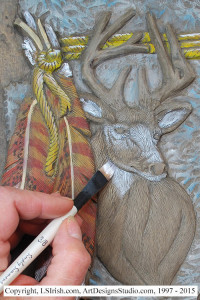 6 Using titanium white, dry brush the white markings to the mule deer. The white is applied to the center ridge of the mussel from the forehead ridge to the top of the nose, the eye lid areas above and below the eyes, and the inside areas of the ears. The lower mouth and chin are white, stopping where the jaw line angles towards the ears. Mule deer have a white bib at the top of the neck.
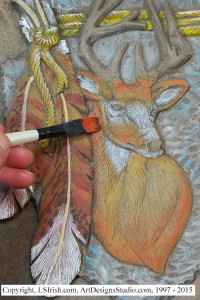 7 Apply a base coat of mustard yellow to the mule deer’s unpainted body areas by dry brushing. Work a dry brushing of raw sienna to the same areas. Use burnt sienna along the outer edges of each area, as shown in the photo.
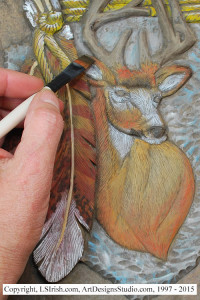 8 Dry brush the dark marking to the mule deer’s face. This includes the outer edges of the ears – both top and bottom, the lower edge of the forehead, and around the nose. The mule deer has two offset dark spots along the mouth line. Add a fine ridge of black along the ears by dry brushing. Using a detail brush apply black to the eyes and nose. Add a small dot of white in each eye.
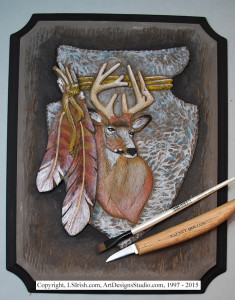 9 An illusion of greater depth can be created by working several light coats of dry brushed raw umber and black into the background where the background touches the design. Complete your painting steps by applying black to the pre-routed frame border. Turn your carving to the back and with a permanent marker sign and date your work!
Allow to dry, and then apply two to three light coats of polyurethane or acrylic spray sealer.
I hope you enjoyed this free online relief wood carving project. If you have questions, please email me at Lo**@*****sh.com.
