Rough Out Steps – Mule Deer Relief Wood Carving Project
 1 Using the bench knife create a stop cut, by holding the knife at a 90 degree angle to the wood, creating a thin, vertical slice to make the first stroke.
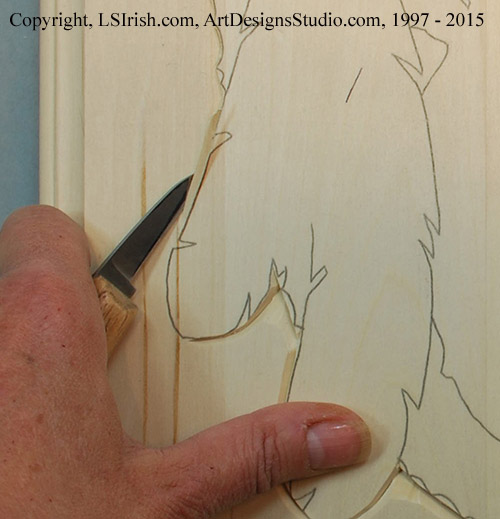 2 The second stroke of the stop cut is made by angling the knife-edge away from the boundary lines of the pattern. As the second cut is pulled a narrow v-shape trough is created.
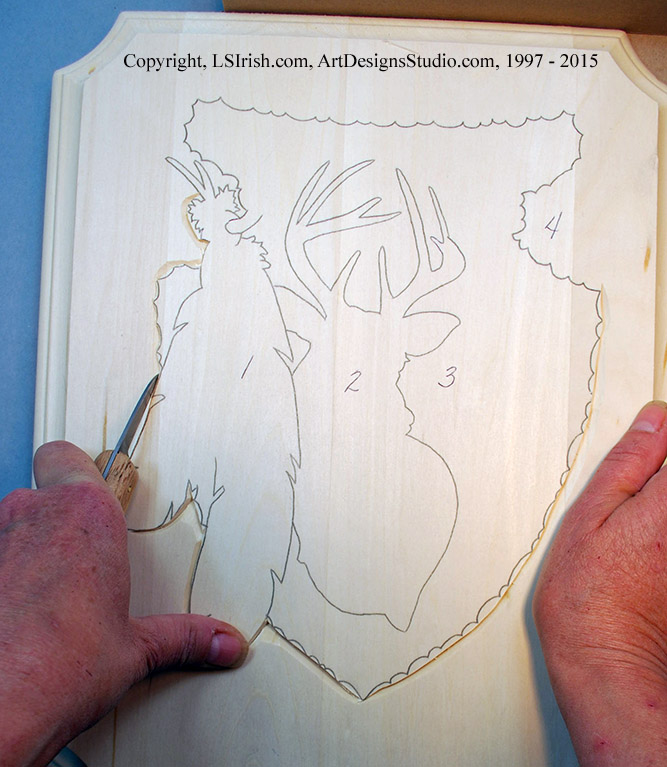
 3 Using a pencil and ruler mark a ¼” border line along the outer edge of the top carving surface of your plaque.
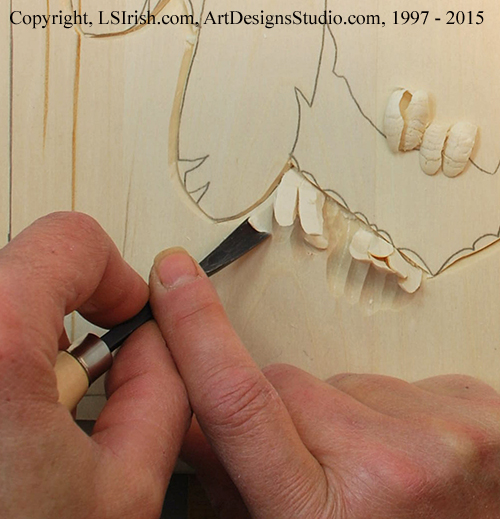 4 Using the large round gouge begin roughing out the background wood. Work your cutting strokes with the direction of the wood grain. The background area will be roughed out to a depth of 3/8” or ½ the total thickness of the wood plaque at its deepest point along the outer boundary of the design.
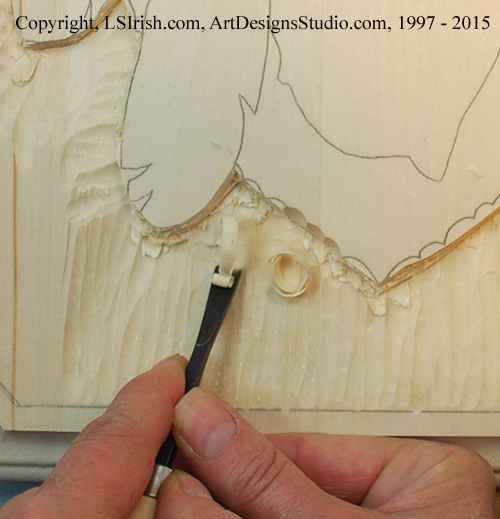
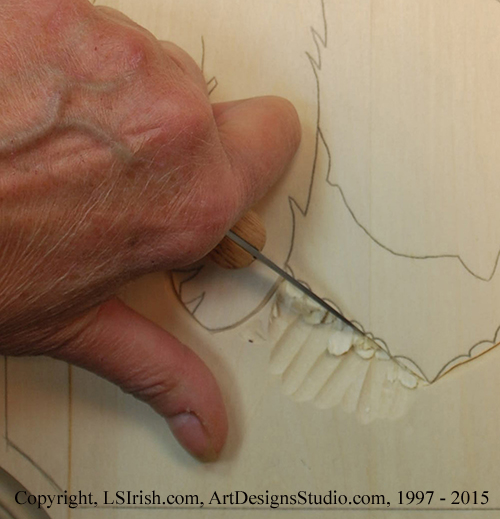 5 Use your bench knife to cut free the small chips left from the round gouge work. Slowly begin to lower the background area near the boundary lines to 3/8” deep, creating an upward slope as your work towards the outer pre-routed edge.
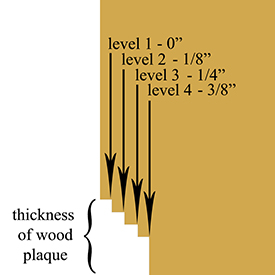
 6 As a general rule the deepest point of a relief wood carving is at one-half the thickness of the wood blank or plaque. For a ¾” board this places the deepest point at 3/8”. The one-half thickness measurement is then divided by the number of levels in your pattern minus 1, on average between 3 and 5 levels.
For our project this places level #4, the background, at 3/8”; level #3, the arrowhead, at ¼”; the deer, level 2 is at 1/8”, with the feathers lying on the uncarved surface of the wood.
The uncarved half thickness of the wood helps prevent the plaque from warping, cupping, or twisting which can happen over time to any carving.
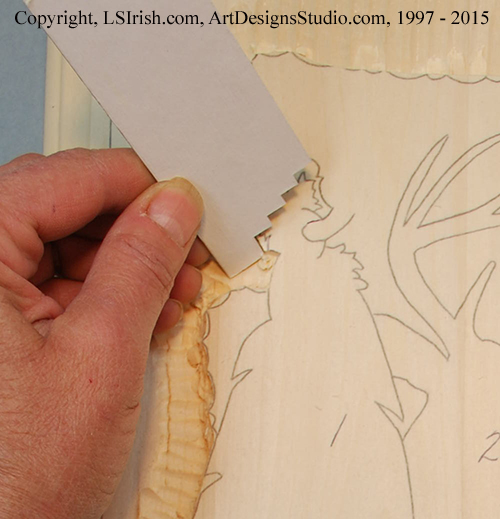
 7 A quick depth gauge can be created out of scrap chipboard. Cut small notches from the bottom edge at each finished depth of the carving. The gauge can then be dropped into your working area. Continue carving until that area’s notch touches an un-carved area in the wood.
 8 Complete the rough out steps for the background area using your large round gouge. This background slopes from the outer edge at the original level of the wood to the 3/8” depth at the design area.
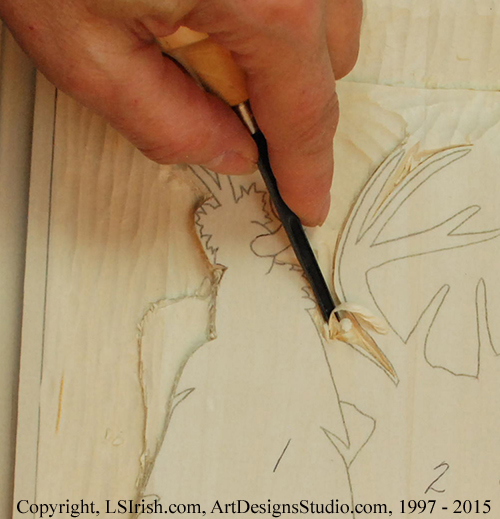 9 Use the tool that fits the area that is being worked. In this sample the v-gouge is used in the space between the antlers.