Working in Levels – Mule Deer Relief Wood Carving Project
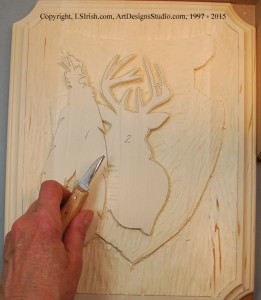 1 The rough out work on level 3 and 2 are worked in the same manner as the background rough out.
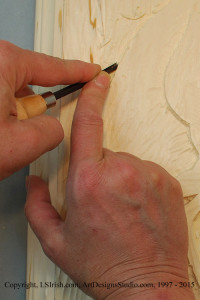 2 As you develop the different levels of a relief carving you can return to lower levels at any time to adjust their depth or to clean up some of the gouge marks. In this photo the v-gouge is used along the edges of two levels to create a clean break line.
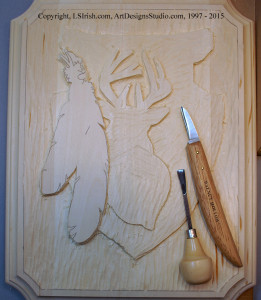 3 Continue working into level 2, the deer head, for the rough cut steps.
By working the rough cut stage in levels you are grouping areas or elements that all fall at a particular point in the depth of the carving. All of the deer’s features fall behind the feathers, therefore it is easiest to carve the entire deer head as one unit below the level of the feathers.
Smoothing the Levels
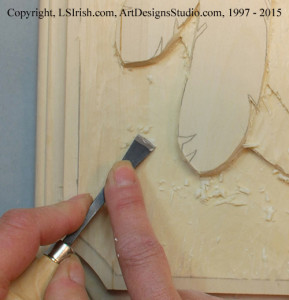 1 Once each level’s rough cut work is complete the high ridges left from the large and small round gouge can be removed with the straight chisel. Drop the straight chisel close to the surface of the wood. The tool’s edge will shave thin slices.
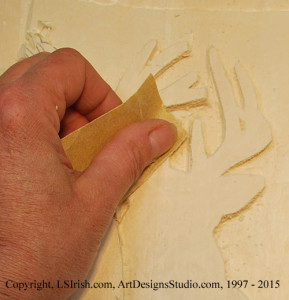 2 Lightly sand the carving using 220-grit sandpaper to remove any left-over ridges. Dust well with a dusting brush or a lint-free cloth.
Retracing the Pattern
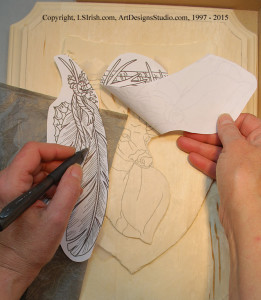 1 Cut the pattern into small sections along the level’s borders. Using tape secure each pattern section over the wood. Using graphite paper and an ink pen trace along the detail lines of the pattern.
Texturing the Arrowhead
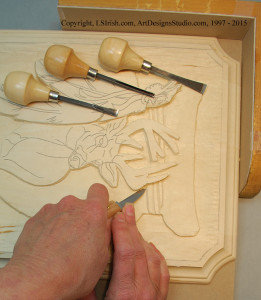 1 Through this section we will work to create the round-over curves of each element following the pattern guidelines.
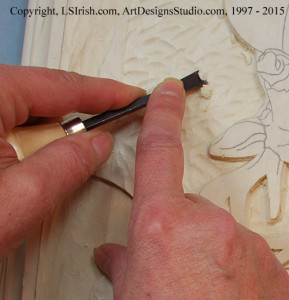 2 Using the large round gouge make small, short cuts into the arrowhead to create a stone chip texture.
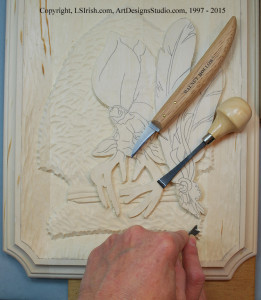 3 Hold the large round gouge in an upright position and use a push stroke to cut stone chips along the outer edge of the arrowhead. Use minimum pressure to ensure that you do not deeply set the edge of the round gouge into the background area.