During this free pyrography project session we will prepare the wood surface, trace your wood burning patterns, and explore the art style of pointillism.

Free Postage Stamp Pyrography Project, sponsored by Art Designs Studio :
Page 1Page 2Page 3Page 4, and Page 5


free pyrography pattern


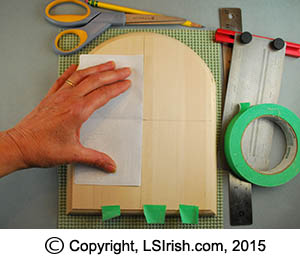
Begin this project by lightly sanding the board surface with 220- or 320-grit sandpaper to remove any wood fibers or ridge lines left from the manufacturing process.Work the sandpaper with the wood grain to avoid adding fine scratches that may show in your burning later. Remove the sanding dust with a lightly damp cloth.free pyrography pattern


free pyrography pattern


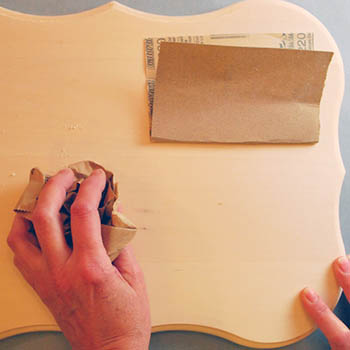
Brown craft paper or brown bag paper can be used as a fine-grit sanding media and leaves your wood surface with an extremely smooth finish. For this project we are using it as our final sanding media. You can also use heavy brown paper to clean your burning tips without damaging the polish of the tip wire.

Crumple a piece of brown paper bag paper. Use the crumbled paper exactly as you did the sandpaper to give your surface an extra fine sanding. Remove any dust with a clean area of your damp cloth.

lighthouse patternsLighthouses & Sailing Ships
Pattern Pack
Sea Life Pattern Pack

free pyrography pattern


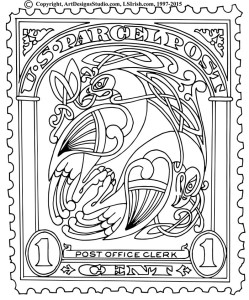
Print two copies of the Postage Stamp pattern with your computer printer – one for reference during the burning steps and one to use for your tracing pattern.Fold one copy of the pattern into quarters, folding once along the vertical center and then a second time along the horizontal center line.tracing a pyrography pattern


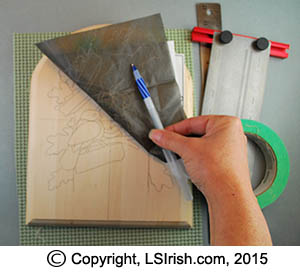
Using a #4 to #8 artist’s soft pencil, rub the pencil graphite onto the back side of the pattern paper. Completely fill the area with a solid rubbing.tracing a pyrography pattern


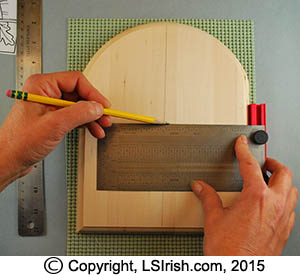
With a ruler, lightly pencil mark the center vertical and horizontal lines of your wood surface. Place the pattern onto the wood surface, printed side up. Match the fold lines of the pattern with the pencil guidelines on your wood.tracing a pyrography pattern


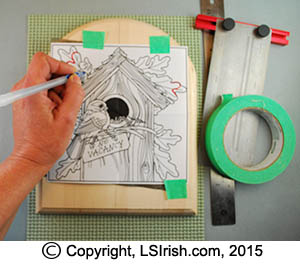
Tape the top edge of the pattern paper to the board using masking tape or painter’s low-tack tape. With an ink pen trace the pattern lines. Remove the paper pattern.Pencil tracing lines are easily removed after you have completed the wood burning using an artist’s white eraser. Avoid colored erasers that can leave dye streaks on your finished wood burning.tracing a pyrography pattern

free wood burning pattern


This free pyrography patterns is for your personal use only.Click on the image to the right to open a new window with a full sized tracing pattern.Right hand click on the patterns and select ‘Save Image’.  Save your image to your desktop.free wood burning pattern


free wood burning patternLandscapes Pattern Package
Country Living Pattern Package


 Copyright, Lora S. Irish, 1997 – 2015  Art Designs Studio.com, 1997 – 2015
All International Rights Reserved
Use of any information, images, or text in digital or printed format or in
any magazine, book, or booklet is strictly prohibited without the written, hard copy permission of the author, Lora Irish.

This is new work, created after May 2013, by Lora S. Irish. Use in part or whole by any publishing
company is strictly prohibited without a written, signed, and dated contract for this new work with the author.

June 01, 2015