Pyrography Styles – Pointillism
Pyrography is so much more than just outlining your pattern and burning the background to black. Any art style can be created, using a wood burning tool and your selected pen tips.
 Pyrography Styles Handbook by Lora S. Irish, at Amazon.com
Let’s look at Pointillism in this day’s post.
Pointillism, also called Neo-Impressionism, was introduced in the late 1880’s by Georges Seurat and Paul Signac. There is a great Wiki article on this painting style – read more here.
Pointillism began as a new way to blend colors on a canvas. Instead of blending two or three colors to create a new color, small, tightly packed dots of the two colors visually created the new third color. So instead of mixing and blending cadmium yellow with ultramarine blue to create a medium green, a very small dot of yellow was painted next to a small dot of blue. Your eye then blends the two color dots into the new green tone.
To learn more about Pyrography art styles, please visit Amazon.com for your copy of Pyrography Styles Handbook by Lora S. Irish – Your comprehensive guide to the 7 major styles of woodburning: crosshatching, realism, pointillism, shaded drawing, engraving, silhouette, and texture painting. LSIrish.com is an affiliate of Amazon.
 Please see our article, Color Wheel or Who is Roy G. Biv?
If a yellow-green was wanted the artist would paint two small dots of yellow next to the blue. If you wanted a darker green, then the artist used two touching dots of blue with one dot of yellow.
The idea of using dots instead of strokes directly impacts how we as wood burning artists can create a pyrography image. Where Neo-Impressionists used color dots, we wood burners use heat setting for pale, medium and dark dots, and density to create pale tonal area to almost solid black areas in our work.
 For more reading on pyrography and wood burning techniques, please see our pyrography navigation menu.
This Celtic Bird Postage Stamp burning is also worked in the Pointillism style, and available for free here at LSIrish.com. This post includes the free Celtic Bird postage stamp pattern.
 The cougar pyrography project will take you, step-by-step, through a fun, pointillism work.
This entire design is worked using only a small dash stroke made with a ball tip or loop tip pen. How hot the temperature setting is and how densely you pack those dash strokes gives the sepia value range – pale areas, medium toned areas, and black areas.
This post included the free Cougar pattern and is one of the step-by-step projects included in Pyrography Style Handbook.
Posting tomorrow on Silhouette style burnings !!!!
Pyrography Styles – Pointillism Read More »


 Relief Wood Carving Canada Goose Project, Part One


 Russian Birch Bark Carving
 Altered Art Wood Carving


 Working with Your Patterns
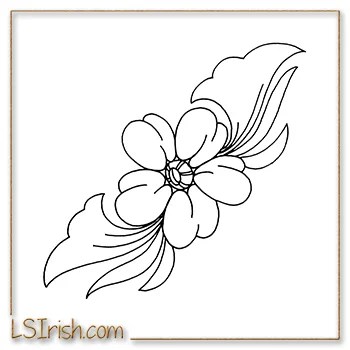
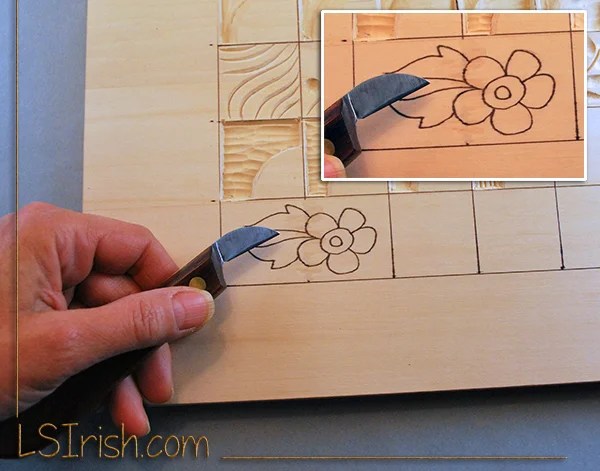
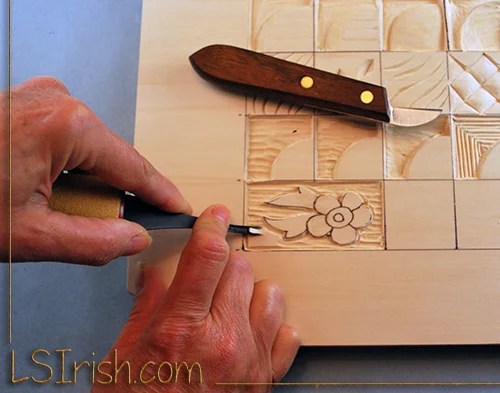
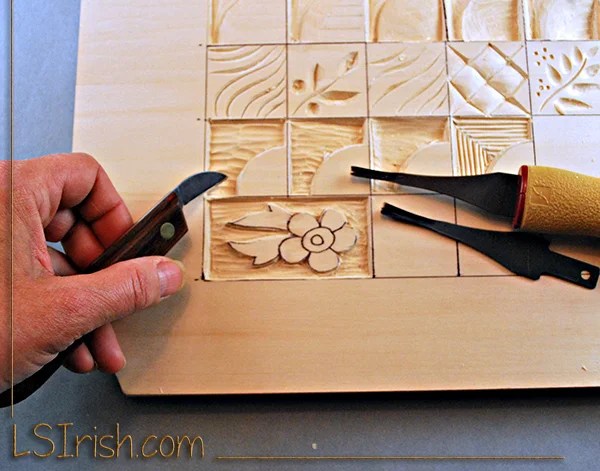
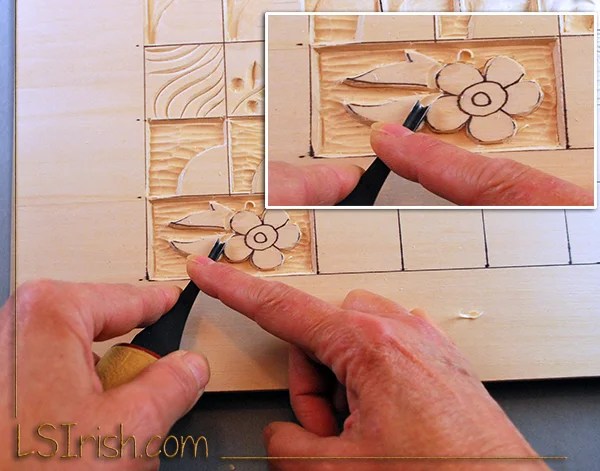
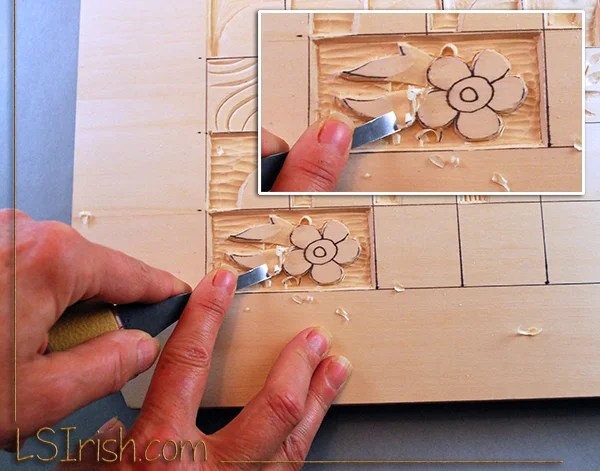
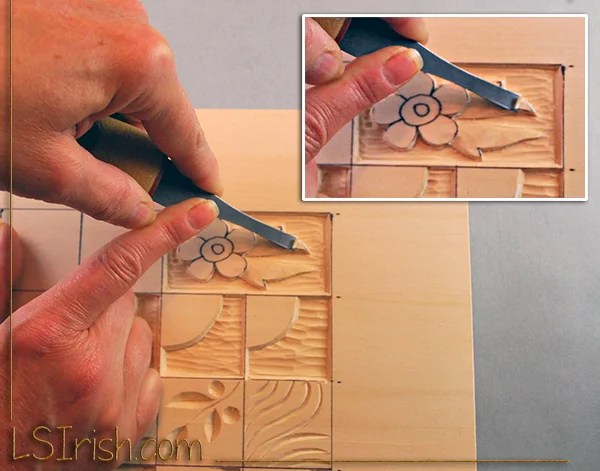
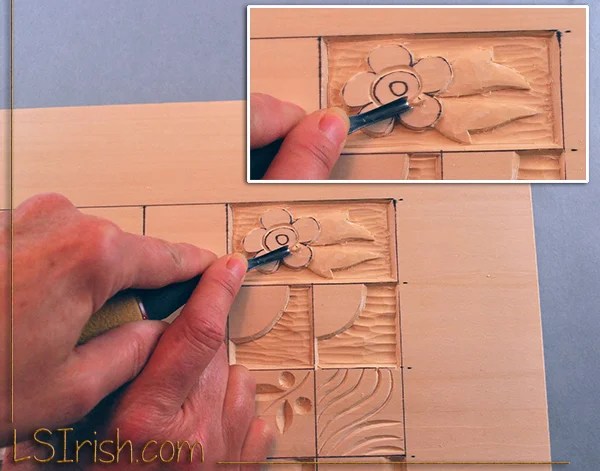
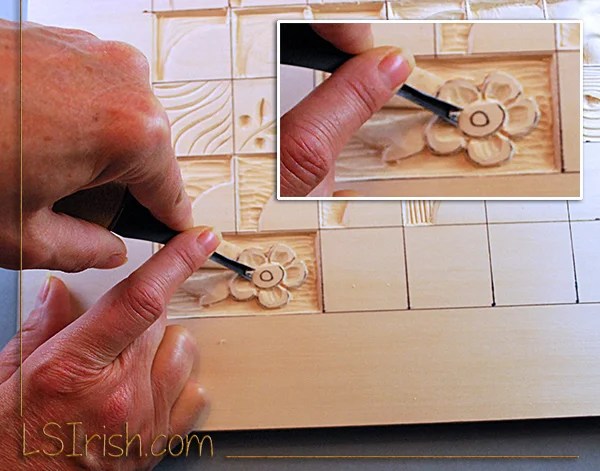
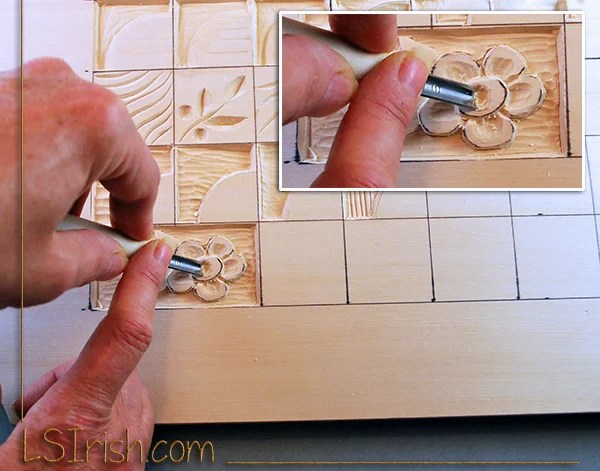
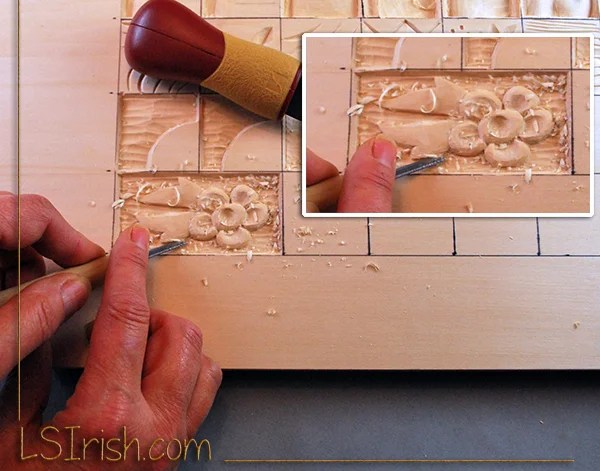
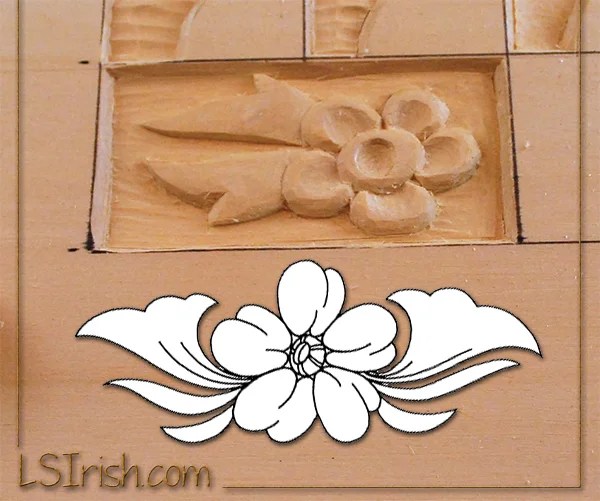
 Wood Carving A Simple Flower