beginners project

back to the basics of wood carving

Back to the Basics of Wood Carving
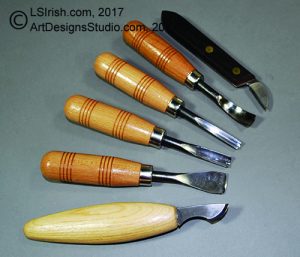
Wood Carving Tools for Carving a Wooden SpoonWhat tools do you need to start carving?

This common question is very hard to answer because the tools and knives you may be using one year from now could well be very different than those that I suggest for a newbie carver.

Shown right is a set of spoon carving tools that include several sizes and profiles of round gouges.


Relief Carving Workshop by Lora S. IrishRelief Carving Workshop: Techniques, Projects &
Patterns for the Beginner (Fox Chapel Publishing)
Comprehensive Guidebook from Lora S. Irish with
Easy-to-Learn Step-by-Step

Instructions & Exercises
Paperback – Illustrated, March 1, 2013


wood carving toolsYour First Carving Tools

If you are just starting wood carving I strongly suggest a simple set of carving tools.  Sets are available in 6 to 12 tools, and often come with a storage box or cloth roll.  Select a medium-sized tool profile set of 1/2″ wide or less that includes at least a straight chisel, skew chisel, large round gouge, small round gouge, and a v-gouge.

A mid-quality beginner’s tool set of five to six tools will cost between $40 to $75.

To this set add the best bench knife or large chip knife that you can afford.  Your bench knife is your primary tool in carving and the better quality steel makes all the difference in how easy your carving flows through the cuts.  A high-quality bench knife often runs around $35 to $60.

Interchangeable blade sets are also excellent for the new carve.  As an example I use the FlexCut 11 piece Interchangeable set all the time for whittling, relief, and cane carving.  This set has every tool profile that a new carver needs while keeps your initial costs low.  I also have used the same Ramelson Beginner’s Set for nearly twenty years with great success.

You will also need a sharpening set to keep the edge of your new tools crisp.  Sharpening tools can include ceramic stones, a leather strop, honing compound, and a slipstrop.  Estimate another $50 to $75 for your sharpening set.

All of these tools are explored in Beginner’s Whittling and Relief Carving Tool Kit.

What I do not recommend for the beginning carver!

1. I don’t use any sets that are available from the large arts and crafts box stores.  These sets are very inexpensive because they are not manufactured from high quality steel.  Often they come un-sharpened or only partially sharpened, which means that you must conquer sharpening techniques before you ever put a knife into the wood.

2. I don’t recommend high-end, extra-high quality tools for a beginner.  I know, those sets are just beyond beautiful and the very best you can buy.  And I know that I just told you to buy the best bench knife you can afford … But … neither you nor I know whether you will love wood carving with the intensity that I do at this point in your new hobby. We also can not predict what style of carving you will finally chose.

These tools can be purchases after you discover that you are addicted to carving!  You can purchase high-end tools individually which means you can add to you beginner’s set one tool at a time.

So, at this time, save that money to purchase wood.

3.  While I do list utility knives as a possible starting tool kit I do not recommend them.  Utility knives are made to be disposable and do not have the steel strength that true wood carving tools do.  Utility knife blades can crack, split, and pop at any moment, and create a danger of injury.

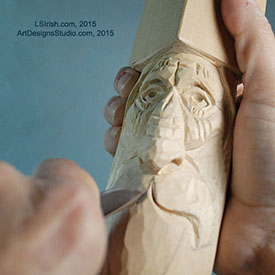
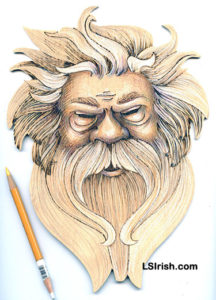
Cutting the slope of a wood spirits mustacheCarving Styles

There are many different styles of wood carving and each has its own set of specialty tools.  In the next year, as a new carver, I strongly recommend that you give all of these carving styles a try.  Most long-time carvers work several different styles on a regular bases.

Whittling is often done with one medium-length bench knife or pocket knife.  A few extra tools may be in your whittling kit and could include a small v-gouge, a small u-gouge, and perhaps a medium or large round gouge.


Chip Carving uses a set of three short blade knives, often set on a slight angle from the handle.  I personally use a large chip carving knife as my primary bench knife.

Hardwood Old World style carving uses heavy handled, large bladed tools that are moved through the wood using a leather or wood mallet.  The straight chisel, skew chisel, round gouge, and v-gouge are the main tools used.

3-D Carving uses a basic set of tools that include chisels, round gouges, v-gouges, and a pocket knife, bench knife, or utility knife.

Relief Carving uses a very similar set of tools to 3-D carving with the addition of bent-back gouges, dog-leg gouges, and the bull nose chisel.

Cane Carving, as relief and 3-D, uses a basic tool set with the inclusion of a draw knife, dowel sets, and clamps.

Power Carving is a style that uses rotary tools with diamond, steel, or ruby bits to do the basic work.  A basic 3-D or Relief Carving set of tools is then used to dress out the carving.
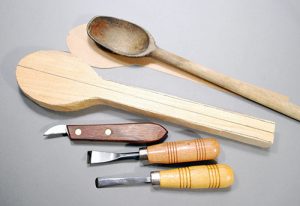


The Art of Spoon CarvingBeginner’s Whittling and Relief Carving Tool Kit

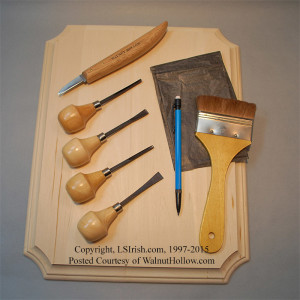
This in-depth tutorial explores all the tools, knives, and carving aids that I have accumulated over twenty years of wood carving.

Some were inherited from my father, who was a gun stock carver.  Some are sets that I have purchased and used over the years.  Of course, some are just fun specialty tools that I have added to my kit.

While you may need to purchase your bench knife, chip knife, and carving tool set to begin your new hobby, many of the tools listed in this tutorial you may already own in your woodworking or craft supplies.

Browse through the tutorial, consider what you already have on hand, and then make your selection.
Back to the Basics of Wood Carving Read More »

ArtDesignsStudio.com

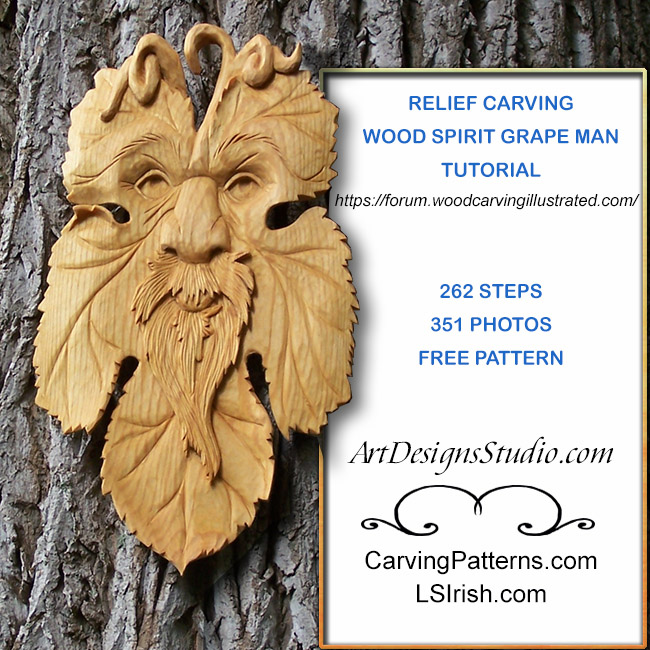
Free Relief Carving Tutorial

free wood carving wood spirit project

I want to take a moment and thank Fox Chapel Publishing, and the Wood Carving Illustrated Magazine forum’s moderator BobD for helping me get the Relief Carving Wood Spirit Grape Man WIP tutorial re-posted with all of the original images, photos, patterns, and guides.

I am grateful for the privileged that BobD has granted me, that of “super moderator” status, which allowed me to go over the normal posting levels so that you could have the entire thread back together at one time, ready for you to begin carving.

It was originally posted in 2006 and during the forum crash lost the photo content of the project.

On 12/26/2017 I was able to re-upload the project in its entirety – 262 steps, 351 photos, and lots of great ideas and comments from the forum members that worked along with me.

If you have any questions, please post them to this thread. Please include the number of the post, which is in the upper right hand corner of each post, and if appropriate the photo number so that I can know exactly where you are in the project.

Over the next few weeks I will be working on re-posting the photos to some of the other in-depth projects that Fox has allowed me to share here with you.

Please be patient as I think there are more than a dozen large tutorials and quite a few small step-by-step to redo.

Go to: https://forum.woodcarvingillustrated.com/
Log In: Create an account so that you can view the images and post comments.
Scroll down to: Wood Carving tutorials
Click on: Relief Carving Wood Spirit Grape Man WIP

See ya there!  Lora Irish

Free Relief Carving Tutorial Read More »

Spoon, Fork, and Ladle Styles for Wood Carving

Wood Carving a Basic Wooden Spoon

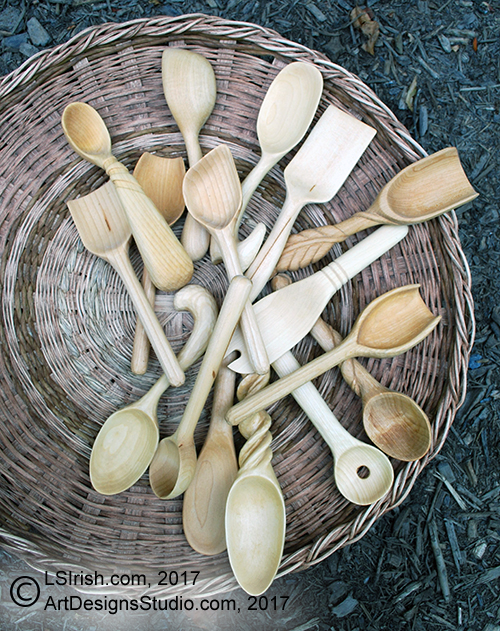
Today the steps for carving a basic wooden spoon have been posted on my new page – Wood Carving a Basic Wooden Spoon.    So go grab your carving kit, gloves, and a 3″ by 1 1/2″ x 12″ basswood blank and join me as we work through the general steps needed to create your own kitchen stirring spoon.

Now before we begin – before some retired mechanical engineer writes me that my project spoon is not a perfectly dissected ovoid or that my handle is not absolutely parallel to the center line of the bowl – just let me say that spoon carving is an art form that has natural imperfections.

Handmade spoons have dings, dents, bends, wobble curves, and even warping handles.  No matter how hard you try to sand your spoon perfectly smooth I guarantee that you will discover an area of five that need a little more attention.  If you want a “perfect spoon” buy one.  If you want to have fun, enjoy your carving, and be really creative … Carve One!

The Art of Spoon Carving Project

The Art of Spoon Carving
Discover why I carve spoons!
Spoon, Fork, and Ladle Styles for Wood Carving, Traditional Spoon Styles and Shapes.
Four Methods to  Cutting a Spoon Blank
Wood Carving a Basic Wooden Spoon

The Art of Spoon Carving

Please share with your family, friends, and fellow carvers!

Wood Carving a Basic Wooden Spoon Read More »

What do you want to do today?

With a long, three-day weekend coming up in the US, you will have lots of time to fill with fun, new projects.  Below are just a few of the ideas you will find here at LSIrish.com or at my carving-pyrography pattern website, ArtDesignsStudio.com.

So … what would you like to do today?


 PYROGRAPHY WOOD CARVING
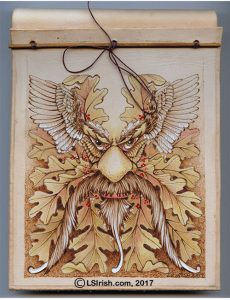
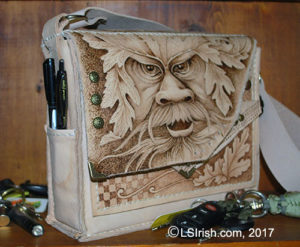
Pyrography Greenman Leather Bullet Journal CoverGreenman Leather Journal
free wood carving cane instructions by Lora IrishTwistie Stick Snake Carving
pyrography burned leather purseGreenman Slop Bag
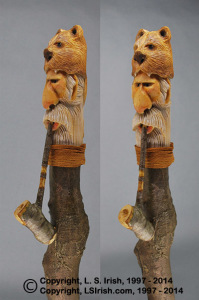
Carving the Wood Spirit
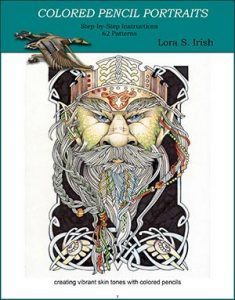
Colored Pencil Portraits, Adult ColoringAdult Coloring E-Project
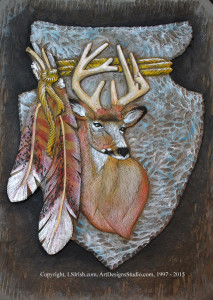
Mule Deer Relief Wood Carving Free ProjectMule Deer Relief Carving
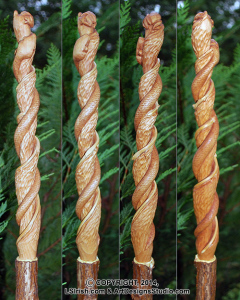
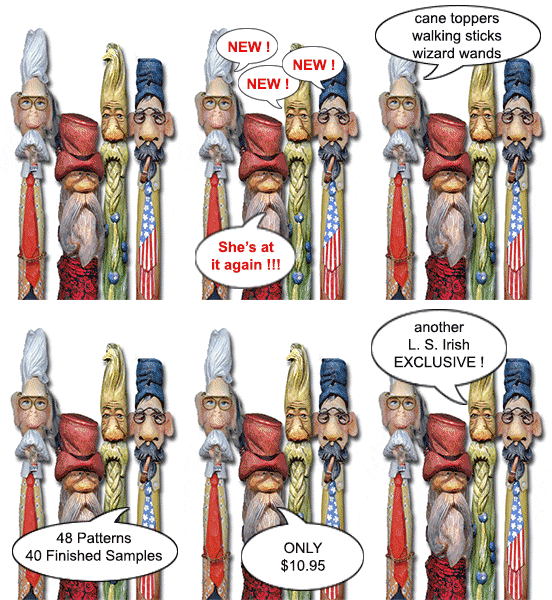
woodcarving walking sticksCane Carving Patterns
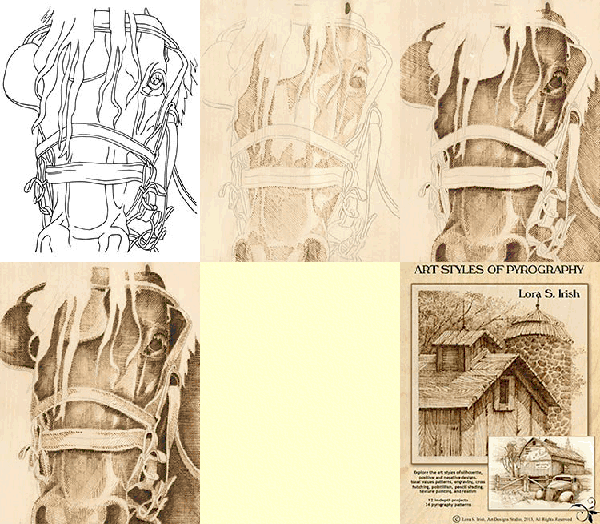
Styles of Pyrography E-BookStyles of Pyrography
E-Project
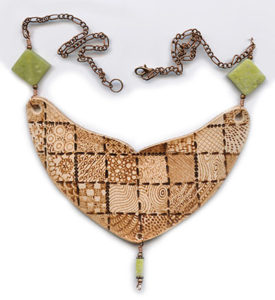
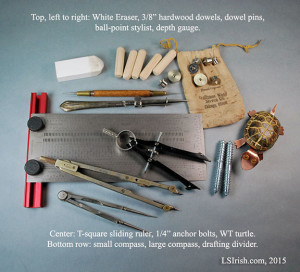
wood burned leather jewelryLeather Necklace Projects General measuring supplies for relief wood carving and whittling
Carving Tool Kit
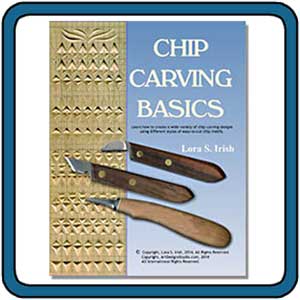
 Pyrography e-Project by Lora IrishMayan High Priest E-Project Chip Carving e-Project by Lora IrishChip Carving Basics
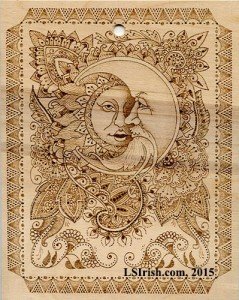
Henna Tattoo Moon Face PlaqueHenna Moon


Free Mountain Man Cane Pattern by Lora IrishFree Mountainman Project
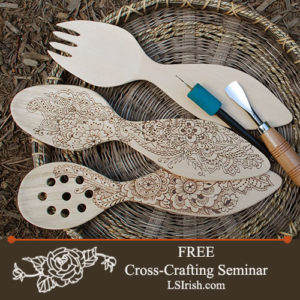
Cross Crafting Wood Carving. Pyrography, and Scroll Saw Free ProjectSpoon Carving & Burning
 Levels in Relief Carving
colored pencils and pyrographyColored Pencils in Pyro


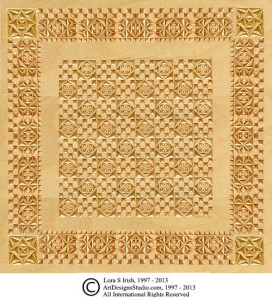
 chip carving game boardChip Carving Seminar
Celtic knot pyrography wood burning patternCeltic Knot Pyrography
 Ice Fishing Decoys
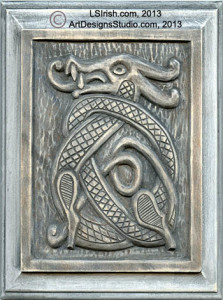
Mushroom Doodles Pyrography ProjectMushroom DoodlesCeltic Dragon Wood Carving by Lora IrishCeltic Dragon Carving
Sampler Pattern Package
126 line art patterns
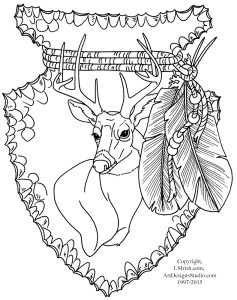
Free Lora Irish Mule Deer Carving PatternMule Deer Pattern Package

For more ideas, instructions, tutorials,
projects, and free patterns
check out the nav bars at the
top of this page, under the logo.

What do you want to do today? Read More »

pyrography landscape backgrounds by L S Irish

Pyrography Landscape Backgrounds

In Pyrography landscape burnings your background determines the time of year, the time of day, and the weather conditions of your scene.  Landscapes are worked from the farthest element in the scene to the nearest, foreground elements, which allows you to overlap foreground burnings over the paler background areas.  So those first few burning steps are extremely important in setting the stage for your main element, as a barn or church.

Landscape Pyrography Scenes by L S IrishLet’s look at a few examples of how you can create both seasonal and weather conditions in your landscape pyrography burnings.

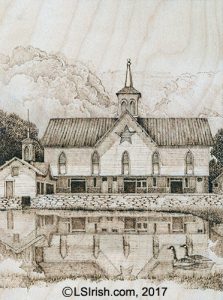
The wood burning, shown right, is from my book, Great Book of Wood Burning, and is titled The Star Barn.  Three strong elements set the time of day – the thick, low storm clouds in the farthest background point, the extremely dark trees just behind the barn on both sides of the barn, and the wide shadows of the roof overhang on the barn.

The roof barn overhang shadow is even on both sides of the face of the barn.  At the peak of the roof the there is almost as much shadow on the right side as on the left.  This places the sun in the 12 to 1 o’clock position.

All three elements tell you that this scene is mid-afternoon, high summer, and that the thunderstorms are eminent. This scene has atmosphere, weather, and tells a story about the conditions surrounding the landscape subject.

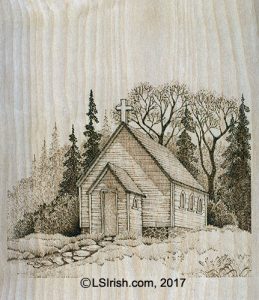
Wood burning a landscape, church, by L S IrishThe Country Church, also from the Great Book of Wood Burning, does not use clouds to suggest the time of year.  Instead the light speckling of leaves on the two deciduous trees behind the barn and the lack of fallen leaves on the ground set the time of year as early spring.

The top edge of the line of background trees has been packed with more burning strokes than the lower layer of the tree area, giving the impression that the leaves are just emerging at the tips of the branches.  The high grass – un-mowed – in the foreground shows the new spring growth.  Long shadows under the roof overhang are shown on the right side of the face of the church which places the sun in the 2 to 3 o’clock position in the sky.

With a little planning and forethought you can take either of these two landscape pyrography scenes into a different time of year, time of day, or weather conditions.  Let’s see how!

Clear, sunny day setting

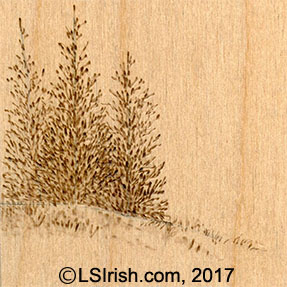
landscape pyrography wood burning by L S IrishA clear, sunny day has few or no clouds in the sky.  If you chose to add clouds they hand high in the sky and display both the top and bottom edges of the cloud.  Clear days create a deeper tonal value in the background elements as well as casting very crisp shadows.

Clear, sunny sky backgrounds allow you to burn the background trees, mountains, or farm fields in varying tonal values which separates one area of the background from another.  In my sample you can see three distinct trees with the middle tree in front of the other two trees.

Misty or foggy morning

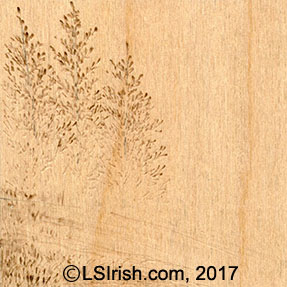
Creating pyrography wood burned landscapes by L S IrishEarly morning fog is simply a cloud that has settled against the earth.  That cloud is full of fine water particles that obscure your vision.  The lower to the ground the cloud lies the less you can see of your background trees or fence line.

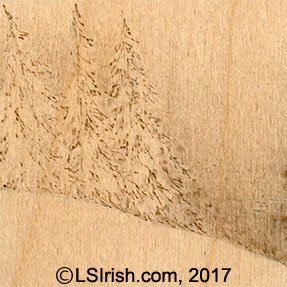
Note in this sample burn that while the tips of the pines are burned at a pale-medium temperature setting, the lowest portions of the pines have little or no burning strokes.  The very bottom of the pines are not burned, which implies the heaviest area of fog the lies along the edge of the hill.

The slight slope of the ground is further implied by the diagonal shading strokes that is worked from the left to the right, under the pines.  As those shading strokes flow to the right they become paler, implying that the fog is becoming thicker the farther down the hill it lies.

Early evening, sunset

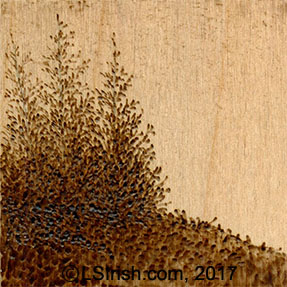
Creating pyrography wood burned landscapes by L S IrishAs the sun slips behind the horizon of your scene it creates a graduated variation in the sky with the brightest, or palest area along the horizon line and with the sky becoming darker as the sky nears the top of your pattern.  Note that the palest, un-burned point, in this sample is in the lower right corner, just above the grassy slope.

Because the light is coming from behind the pines and at a low angle to the pines, all of the pines on our side of the scene are in shadow.

In sunset scenes, because the tree line is in shadow, the pines are burned as if they were one tree and not three trees.  The deep shadowing obscures the individuality of the the pines.

Winter snow

Creating pyrography wood burned landscapes by L S IrishSnow scenes can seem hard to burn because of all of the pale, white areas in the scene.  So instead of burning the snow on the background trees, you burn the atmosphere around those background trees.

Snow clouds are just like fog and mist.  They hang low against the ground and are more dense the closer to the ground they lie.  This is because each small snow flake casts a small shadow – the higher the number of flakes, the more small shadows you have.

For this sample there is no burning of the grassy slope because it is fully covered with snow.  The pines have only a few strokes, at the tip of the branches, where the branches touch the ground, and at the top of the pines.  This leaves the larger areas inside of each pine un-burned, implying that the snow is sticking to the branches.

The background atmosphere – the snow cloud – is burned in a deeper tonal value and becomes paler the higher it reaches into the sky.  This cloud shading also helps to emphasize the snow on the pine branches, giving a darker tonal value to where the sky shows between the pine branches.

Work in Progress

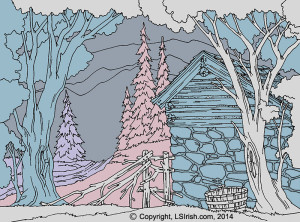
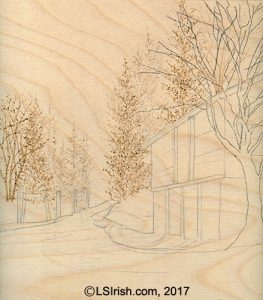
landscape pyrography wood burning by L S IrishThe current project on my table is a landscape scene of an old bank barn that lies right at the edge of a dirt road.

I have the first step of this project completed, which is the farthest background elements of the distant trees on the left side and the trees on the right that fall behind the barn.

Because the deciduous trees on both sides of the background only have their trunks and branches burned I can at this point in the work chose to make this either an early morning scene or a snow scene.

How I treat the land lying under both of these tree lines will determine the time of day and the weather conditions.

Here are my choices:

If I do not burn the land area, this will become a snow scene and I will leave the deciduous trees without leaves.

If I chose to lightly create a tonal value shading in the land this will become an early morning scene.  I can decide the time of year by how thickly I fill the tops of the deciduous trees with leaves – a thin layer of leaves means springtime, a thicker layer of leaves means summer, and a medium layer of leaves and the impression of fallen leaves on the ground implies an autumn setting.

If I chose to add heavy shadows, worked in a medium tonal value, under the trees I can create a specific time of day.

Check back tomorrow to see what I chose to do!

Practice pattern

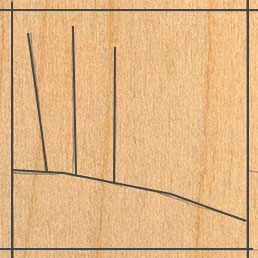
While you wait for the next posting you might enjoy doing a test sample for weather, time of day, and time of year yourself.  On a birch, poplar, or basswood board create a four square grid with each square measuring 3″ along the sides.

Wood burning a landscape scene by L S IrishThe pattern for these background trees is simply the line at the top of the grassy slope, and a line for each central trunk of each tree.  Because the trees are created using a short, quick stroke with either the loop-tip or ball-tip pen, you only need a few lines to guide you as to where you will burn your pines.


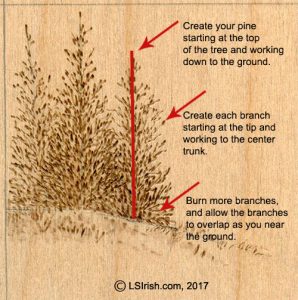
wod burning landscape scenes by L S IrishPines are burned from the top of the tree down to the ground line and from the outer tips of each branch towards the central trunk of the tree.  Place the branches randomly along the trunk, allow open air spaces between branches.

As you near the trunk you will have branches overlapping which will create the natural deepening of the tonal value through the center of the tree.

Follow the four weather samples, above, to practice how you can determine and control the time of day, time of year, and weather conditions in any landscape.

OK … see you tomorrow with an up-date on my WIP barn landscape burning.

~ Lora


Pyrography Landscape Backgrounds Read More »

Scroll to Top