Marker Quilt Squares
A nice selection of permanent colored marking pens are a great media to express your creativity on your next quilt, pillow, or tote project.
 Supplies:
100% cotton fabric
Assorted color selection of permanent marking pens
Fine point black permanent marking pen
1″ wide masking tape
clip board
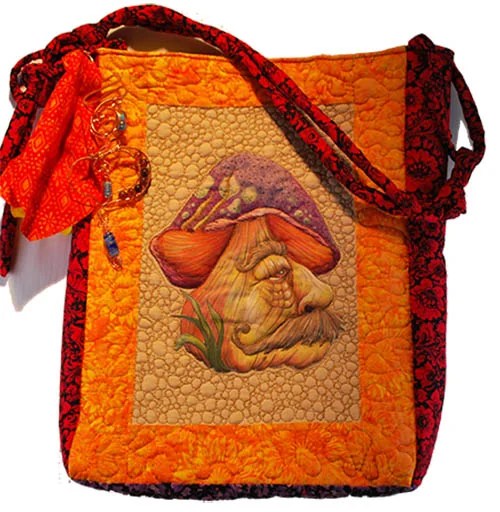
printed pattern – Mushroom Wood Spirits
Do a test square on the fabric you will be using before you begin painting your quilt square. Some brands of colored permanent marking pens can make other brands bleed.
1. Begin by choosing a pale color fabric. You can use a solid, tone on tone, and even a pale colored print. Cut your fabric to the size of your quilt pattern instructions plus 2″ on the wide and 2″ on the length.
2. Tape your printed pattern to the center of your clip board. Center the fabric square over the pattern, fold the excess fabric to the back of the clip board and using masking tape secure the sides. You will see the printed pattern lines through the fabric.
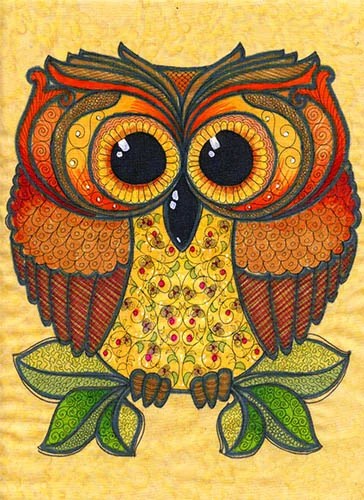
3. Permanent markers not only come in a nice, wide range of colors they are also available is several sizes of pen tip widths. For my mushroom tote and quilt square owl I used medium sized tip points for the main coloring and a fine point black marker for my outlining and detailing.
 Since the marking pen colors are translucent some of the color of the fabric will effect the final color of each area of your painting. If you are working on a pale green fabric with a bright yellow marker the area will become a bright yellow-green color. You can use a scrap of your fabric as a test square for each color that you want to use.
4. Begin each area with your palest color, then add layers of gradually darker colors to create realistic shading and gradual changes in color. You can work several layers of marker color over one area, allowing each area to dry for a few moments to intensify the final color tone.
5. Complete all of the color work then let your fabric dry thoroughly. Now use the black fine point marking pen to add your details, outlines, and to sign your artwork.
6. Set your colored art using a dry, cotton setting on your iron. That’s all you need to do to turn any pattern into an original painted quilt square.
When you get your’s done I would love to see it!!!!!
My sample is worked on a finished block size of 8″ x 11″ with 2 1/2″ orange boarders. The Sides of the tote were cut at 3 1/2″.
 |
 |
These two samples are ready to become quick, fun throw pillows.
Retro Owls
Marker Quilt Squares Read More »
