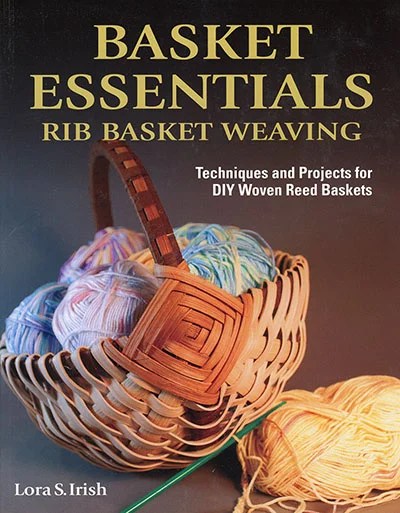
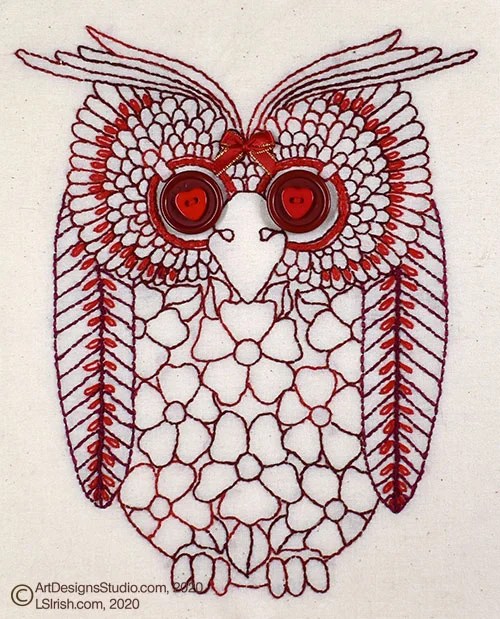
Redwork Embroidery Christmas Angel

Redwork Embroidery Christmas Angel
Christmas Calicos Pattern Pack
Supplies:
14″ square of unbleached muslin
large embroidery hoop
embroidery needles
your favorite shade of red embroidery floss
Christmas Calicos angel pattern
scrap booking gel pens
white acrylic craft paint
embroidered rose accent
Our great-grandmothers didn’t have acrylic paints and gel pens in their embroidery craft kit but we do!
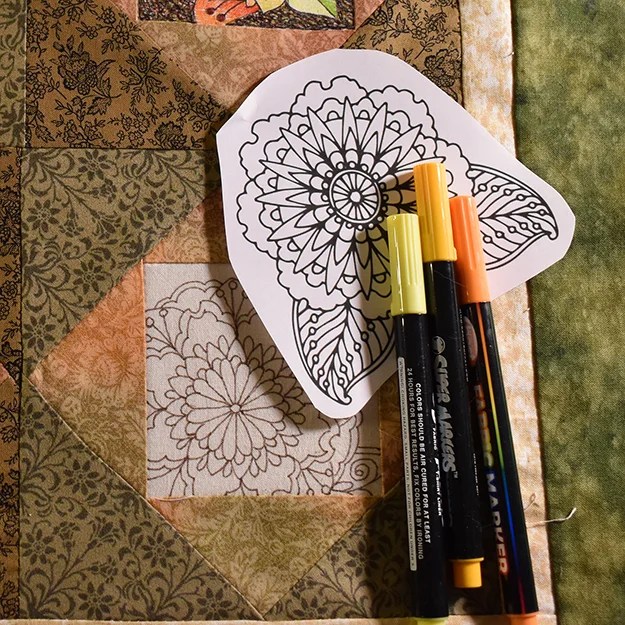
So after you have finished your embroidery stitching get them out onto your craft table and have fun adding bits and accents of bright colors to the inside areas of your design. You can use layers of gel pen colors to create intense color tones, add darker or lighter shades of gel pen over an area to make highlights and shadows … and even use different colors to make your own calico fabric patterns.
Some pale gel pens do require multiple colors. For my white I chose to use acrylic craft paint.
If you get a little out of the line with the gels or if you have small openings in your stitch word, use a matching red gel pen to go over the embroidery floss. Use embroidery patches, accent flowers, small bows and ribbons, and even tiny buttons to dress her up.
Once everything is completed and your redwork angel has dried over night, give it a nice ironing to permanent set the colors. She is ready for her permanent hoop frame and to be placed on your mantel !!!!
Have fun ~ Lora
Redwork Embroidery Christmas Angel Read More »


 Click for a full sized, printable image.