Colored Pencil Application
Multiple thin, gently applied layers of colored pencil create the final intensity of your work. Keep your pencil points sharp and use as light a pressure on the point as possible. Use several colors, layered one over another, to create new colors in place of using just one color.
Add layers of white, 20% french gray, or soft cream to create paler tones or use carbon black, black cherry, and indigo blue to push your colors into shadow tones. Do not hesitate to use unrelated or unexpected hues in one area of the work. As an example, adding a layer to two of bright cadmium yellow to a skin highlight can create a shock-value or surprise effect to a cheek bone or to the top of the chin.
On average a well worked portrait can easily have twenty or more layers of color. Each layer of work goes quickly and on average your portraits may be completed within a few hours. The first layers of your portrait are the most important as they are used to establish the deepest shadows of the face. Keep these layers extra thin so they can quickly be adjusted to increase or decease any particular shadow.
Eventually the colored pencil work will not accept any new layers because of the wax or chalk build up that comes from the type of pencil you use. You will be see a slight sheen developing of the surface of the work as you near this point. Chalk based hobby pencil reach the non-acceptance point faster than artist quality pencils.
If you have reached the non-acceptance point before you have completed your shading when using wax based or watercolor pencils lay a sheet of facial tissue over the artwork. Gently pat the tissue against the colored pencil work. The tissue will pick up and remove some of the wax allowing you to apply a few more layers of color.

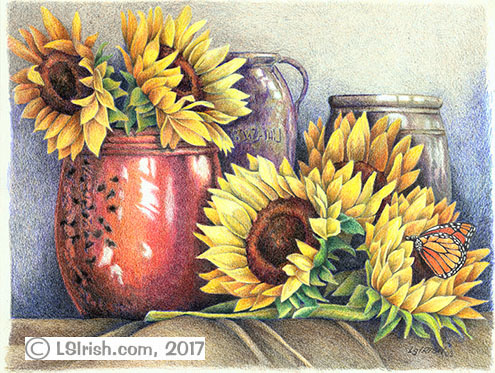
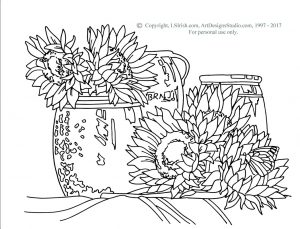
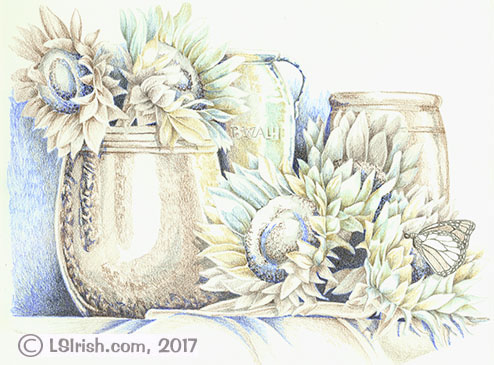
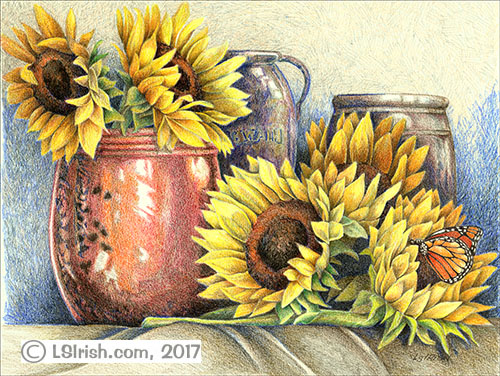
The sunflower still life is worked from a pattern in the Great Book of Floral Patterns, by L. S. Irish.
You can use an artist’s kneaded eraser to gently lift the chalk build-up from hobby quality pencils. Kneaded erasers also will lift areas that have become too dark too quickly. Gently press and lift the eraser against the color area. Since kneaded erasers can be pulled, twisted, and shaped you can even use a thin edge of a kneaded eraser to work pale highlight lines into you portraits.
 Click on the image above for a free, full-sized pattern of
our Sunflower Jars Colored Pencil Still Life.
Sometimes we all make a mistake! When that happens take a small piece of transparent tape and gently lay the tape over the error. Do not push the tape against the paper, instead use a sharpened pencil or pen and work a few lines on top of the tape where the error lies. When you lift the tape only those areas that have been worked with the pen will have the coloring removed.


