Doodle Days #13 – Blue Jean Painting, Wood Burn Spoons, Wood Carved Spoons, Leather Work, Free Lora S. Irish Patterns to Download, DIY Bookmaking, Bullet Journals, Scrap Booking, Card Making, Applique Quilting, Pyrography, Wood Carving
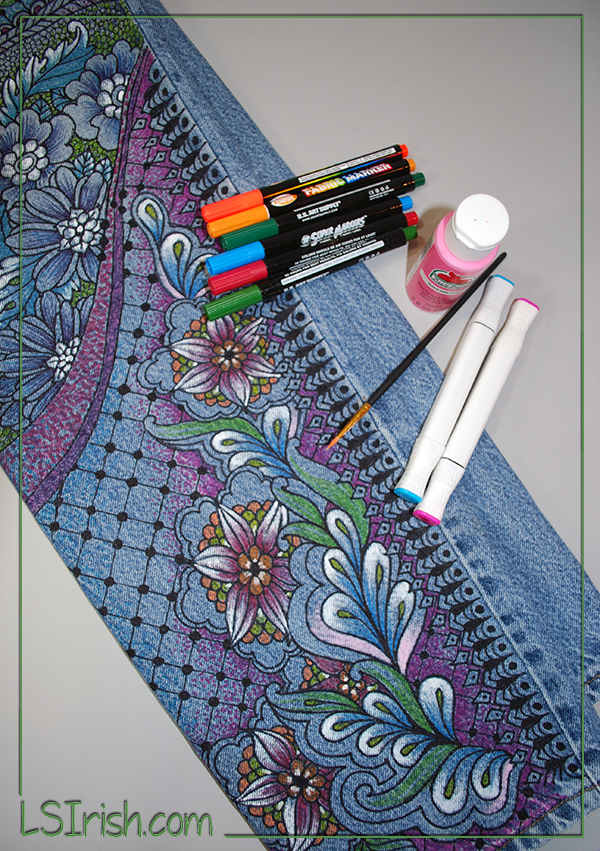
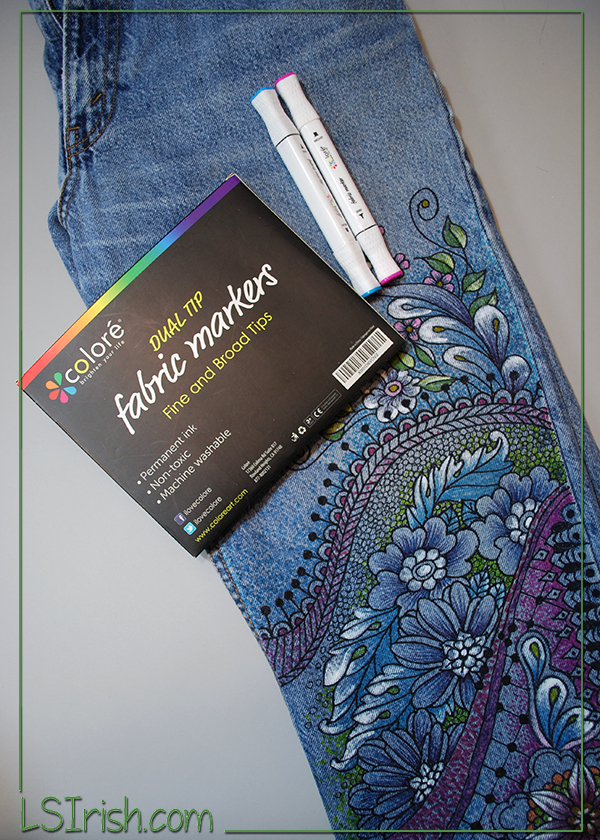
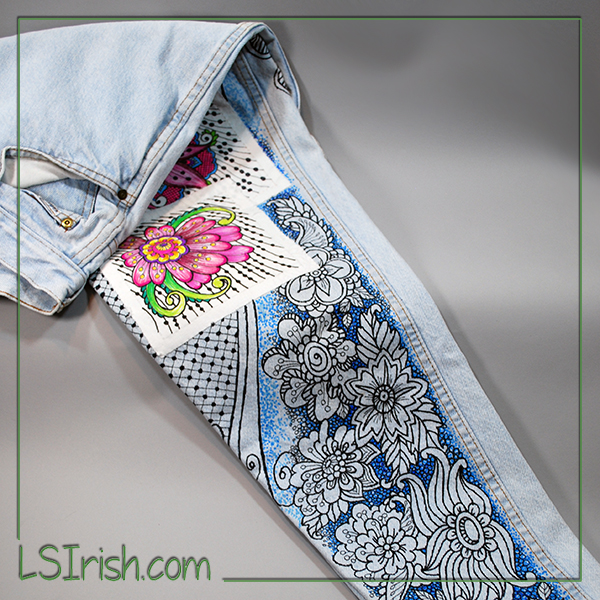
Painted Blue Jeans using our Free Doodle Patterns
Supplies:
1 pair of medium-blue blue jeans 1 cork-backed ruler 1-3 fine-point black fabric pens 1 set of 18 to 24 colors, medium-point fabric marking pens 1 set of assorted color fabric marking pens 1 piece of scrap cardboard, large enough to slide inside the pant’s leg steam iron
Step 1: Pre-wash your jeans to remove any starch or stabilizing chemicals. Dry the jeans thoroughly before you begin painting.
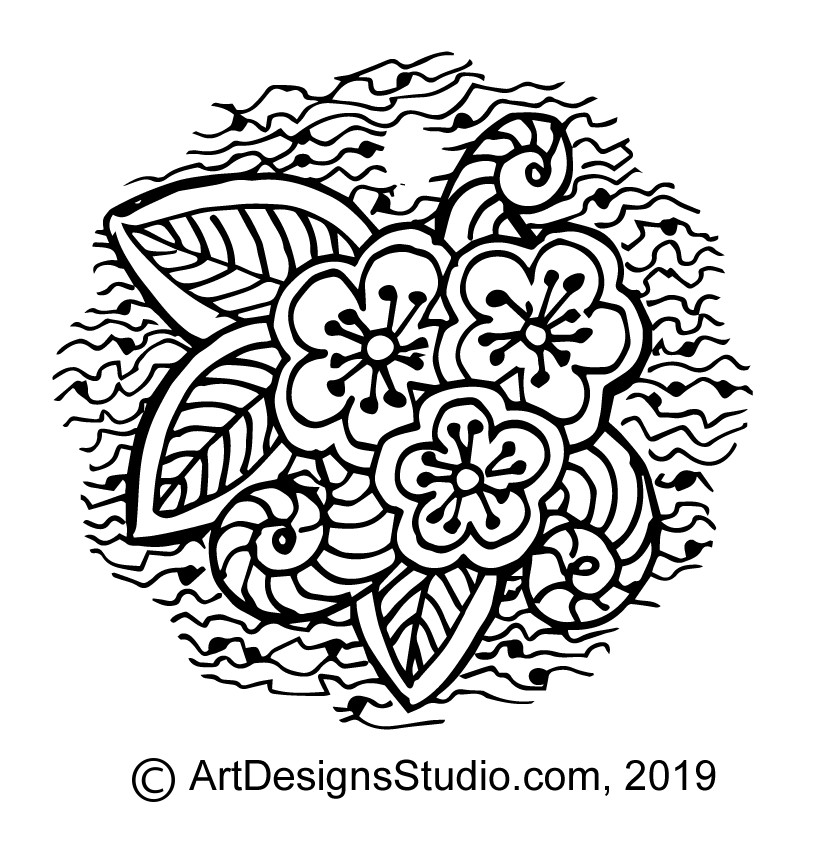
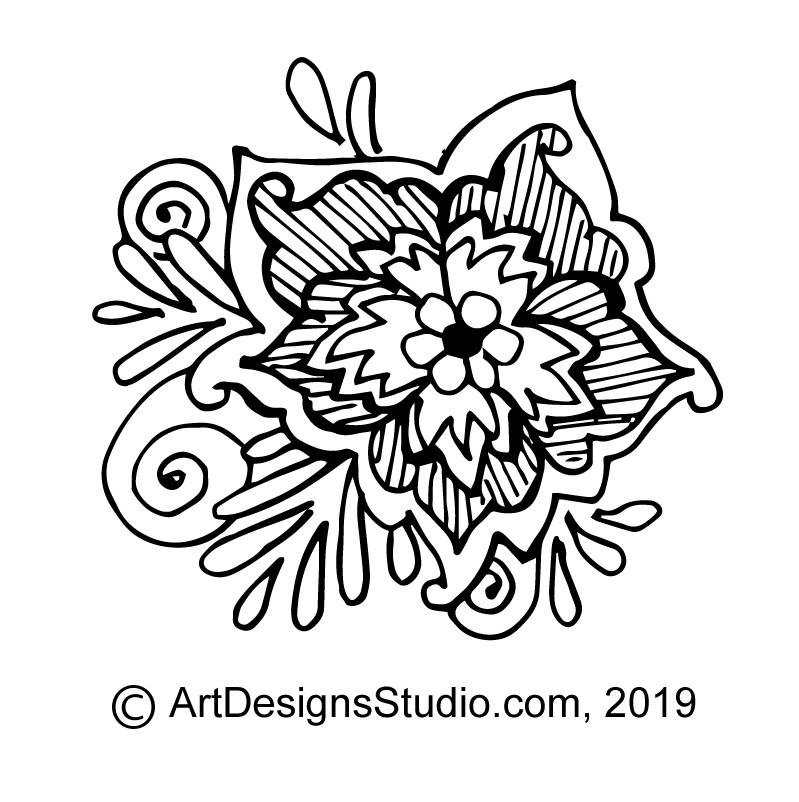
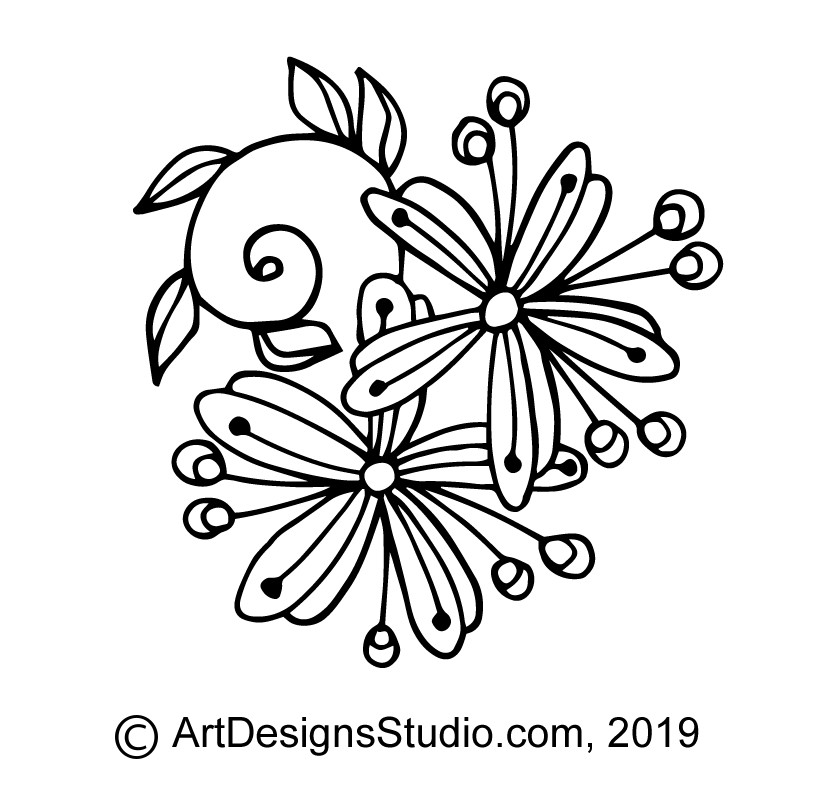
Free Doodle Pattern #043
Step 2: Download your copies of our Free Doodle Patterns, here on LSIrish.com. Type doodles into the search box in the header. We are on numbers 043 to 045 today, which should give you a nice selection of designs to use.
Step 3: Cut the scrap cardboard to fit inside of the pant’s leg, so that one end of the cardboard comes out the pant’s leg at the bottom. You can move this cardboard as you work to protect the jeans from color blending through to the other side of the jeans.
Step 4: With a black fabric marking pen begin doodling … use a light pressure on the pen tip for the smoothest and fullest line coverage. Mix your main designs with long flowing line breaks and fill patterns.
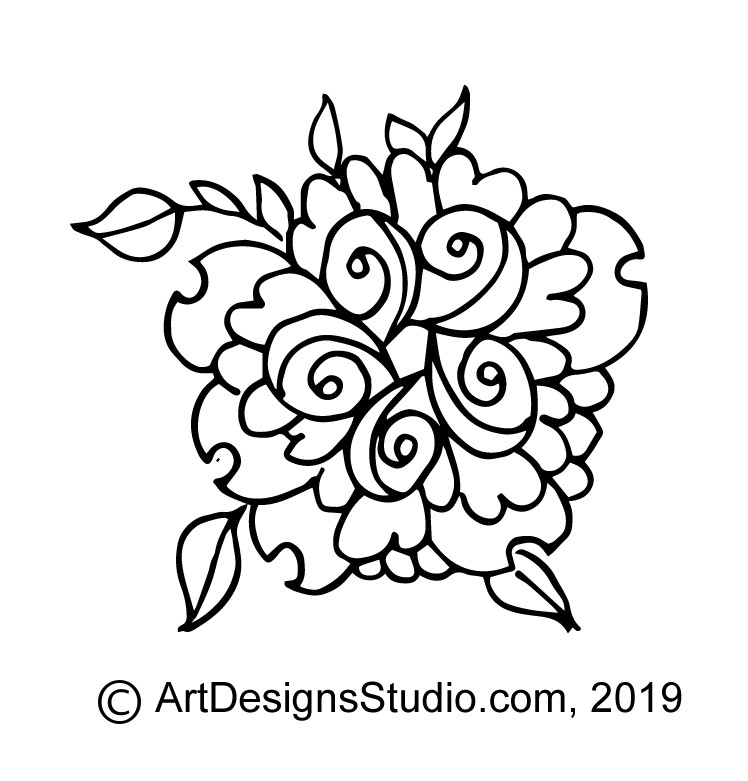
Free Doodle Pattern #044
Step 5: Use a cork-backed ruler, laid along the inner leg seam line for your measurements for the edge trim design. The cork will grab the fabric, keeping the ruler in place as you work. My inner leg trim was worked at 1/2″ measurements.
Step 6: Have fun adding colors to your design. Fill in some areas with a solid coloring, and in others just add a touch of line work. Let some areas remain unpainted to allow the blue jean color to become part of your design.
Step 7: Set your fabric pen colors according to your package directions. My set only required a hot, steam pressing to become permanent coloring.
Free Doodle Pattern #045
Step 8: Flip your jeans over and do the back side of the leg.
Step 9: You can create doodle designs on the 6 1/2″ square white cotton fabric pieces using this same method and add them to your pants. Fill in some areas of your pattern with the bright colors from your set. After the patch has been hot, steam ironed it is ready to sew into place, anywhere on your doodle jeans.
What could be more perfect for our Free Doodle Patterns than a pair of blue jeans? How about the fact that I picked up these brand-new, never worn jeans at my local church thrift shop for $1 !
Doodle Days #13 – Blue Jean Painting, Wood Burn Spoons, Wood Carved Spoons, Leather Work, Free Lora S. Irish Patterns to Download, DIY Bookmaking, Bullet Journals, Scrap Booking, Card Making, Applique Quilting, Pyrography, Wood Carving
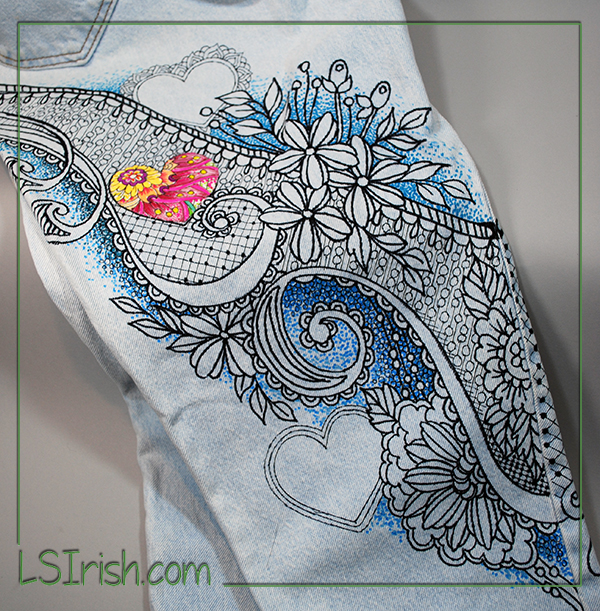
Why wear your slogan or favor designs on the sleeve of your t-shirt when you can paint them onto the legs of your favorite pair of blue jeans?
Supplies:
1 pair of pale-blue or medium-blue blue jeans 1 fine-point black fabric pen medium-point fabric marking pens – black, medium-blue, and pale-blue 1 set of assorted color fabric marking pens several 6 1/2″ squares of white cotton fabric needle and thread 1 piece of scrap cardboard, large enough to slide inside the pant’s leg steam iron
These are the specific sets of colors that I used to create my Painted Blue Jeans:
Step 1: Pre-wash your jeans to remove any starch or stabilizing chemicals. Dry the jeans thoroughly before you begin painting.
Step 2: Download your copies of our Free Doodle Patterns, here on LSIrish.com. Type doodles into the search box in the header. We are on numbers 040 to 042 today, which should give you a nice selection of designs to use.
Step 3: Cut the scrap cardboard to fit inside of the pant’s leg, so that one end of the cardboard comes out the pant’s leg at the bottom. You can move this cardboard as you work to protect the jeans from color blending through to the other side of the jeans.
Step 4: With a black fabric marking pen begin doodling … use a light pressure on the pen tip for the smoothest and fullest line coverage. Mix your main designs with long flowing line breaks and fill patterns.
Step 5: With the pale-blue fabric pen, fill the areas around your main designs with a tight dot pattern. Let the space between the dots increase as you move away from the central line of the design.
Step 6: With the medium-blue fabric pen, re-work the central area of the background with tightly packed dots.
Step 7: Using a fine-point black fabric pen, work a fill pattern over the pale-blue and medium-blue dot patterns. I used small, tightly packed circles.
Step 8: Set your fabric pen colors according to your package directions. My set only required a hot, steam pressing to become permanent coloring.
Step 9: Flip your jeans over and do the back side of the leg.
Step 10: You can create doodle designs on the 6 1/2″ square white cotton fabric pieces using this same method. Fill in some areas of your pattern with the bright colors from your set. After the patch has been hot, steam ironed it is ready to sew into place, anywhere on your doodle jeans.
Free Doodle Pattern #040
Free Doodle Pattern #041
Free Doodle Pattern #042
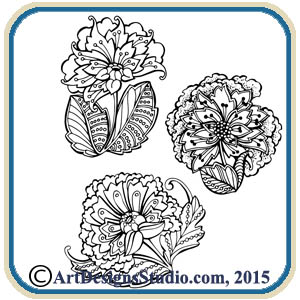
For more great pattern ideas for your painted blue jeans, please visit ArtDesignsStudio.com
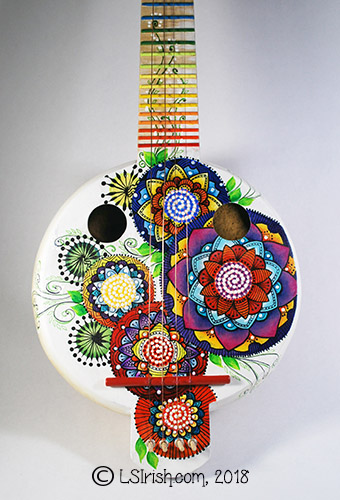
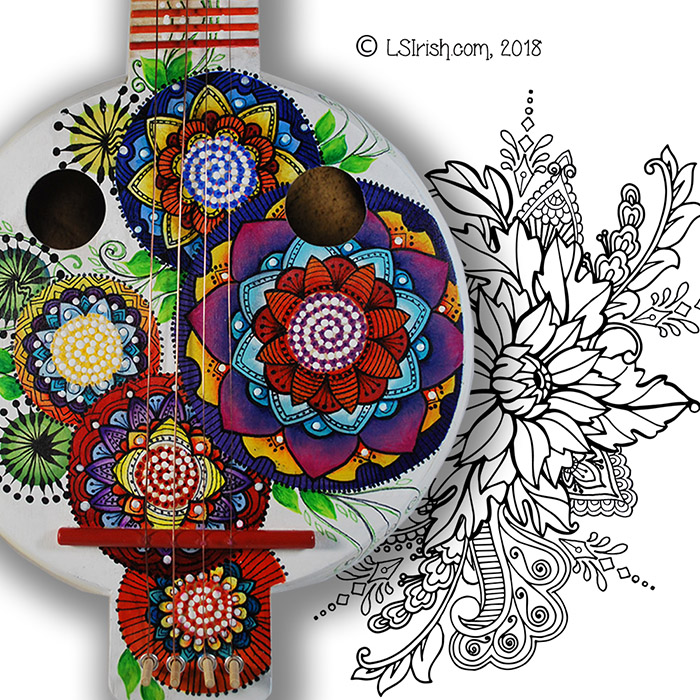
…you unite the joy of gourd art crafting, the joy of bright and vibrant colors, and the joy of music? You create this joyous gourd banjo with copper wire strings.
An extra large kettle gourd with some damage around the stem area inspired this fun gourd musical instrument project. While I did not take step-by-step photos … I was too involved in the fun of creation to remember … I will share four easy ‘secrets’ that made the construction quick and accurate.
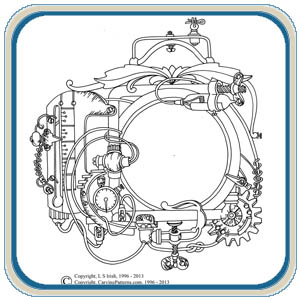
Supply List:
The general supply list is posted on the image below. Please click on this image and save it to your desktop.
1. How to cut any gourd along a perfectly level, accurate circumference line.
Clean and prepare the outer surface of your gourd as you normally would. Wipe any sanding dust from the outer surface with a damp cloth, then allow the gourd to dry completely.
Visually estimate where you want the cut line along the circumference. Make a mental note as to which area of the gourd you will be using (the down side) and which area you will be removing (the up side).
Fill your kitchen sink 2/3’s full of water. Hold your gourd throughout this step as level to your visual cut line as possible. Place the down side – the side of the gourd that will become your project – into the water. Push it down until the bottom is covered with water and the surface of the water is at your visual cut line.
Lift the gourd up from the water carefully. Your gourd will have a perfectly level, perfectly straight, perfectly even wet line around the circumference of your gourd. With a soft #2 to #4 pencil mark the edge of the wet line. You are ready to cut.
This is a great technique when you have an odd shaped gourd that has an un-level top. Plunge your gourd into the sink water until the bottom sits firmly against the bottom of the sink. The water line will now be an even measurement from the bottom of the gourd, making a perfectly level cut line.
2. How to sand any gourd top cut evenly and level.
While you are at the hardware store buying birch plywood for the face of your banjo, purchase three or four extra pieces. You will also need two sheets each of 100-, 150-, and 220-grit sandpaper, spray adhesive, and 1″ wide masking tape.
Work in a well ventilated area. Lay a strip of masking tape along one edge of the plywood. Your plywood is 12″ wide, while your sandpaper is only 11″. The tape protects the extra plywood from the spray adhesive.
Spray an even coating of adhesive over the 12″ x 12″ sheet of plywood. Lay one sheet of 100-grit sandpaper onto the board, aligning along the top edge – opposite of the tape. Lay a second sheet of 100-grit sandpaper against the first, so that the entire board is covered with sandpaper. Press firmly into place. Remove the masking tape. Let the adhesive dry well.
Cut off the extra 4″ strip of extra sandpaper that extends off the board.
Repeat these steps for your 150- and 220-grit sandpapers.
Clamp the board to a firm surface, your work table. You can lay your cut edge of the gourd onto the board and move the gourd in circular motions to evenly, and quickly sand the edge perfectly flat. Work the gourd through the three stages of sandpaper grit, starting with the 100-, then the 150-, and finishing up with the 220-grit.
3. How to fill the joint line between the gourd’s cut edge and the plywood face.
Even with the most careful cutting and sanding you can have small gaps in the joint between the plywood face and the gourd walls. Fill the gaps with Modeling Paste, also called Sculpture Paste. This is a water-soluble, acrylic-based, medium thick paste that dries quickly and can be sanded smooth.
Follow the directions on your jar. I prefer to lightly dampen the area that I will be filling. I let the area dry until there are no shiny, wet spots then fill the area with a light layer of modeling paste. Let this layer dry completely and lightly sand. If the area is not completely filled I repeat the application. Thin layers are easier for me to control, shape, and sand. Plus thin layers dry more evenly than thick applications.
Modeling paste – sculpture paste – can be painted using your craft acrylic colors. It’s perfect for those gourds that have rough or pitted areas on the surface!
A quick trick to insure that your jar of modeling paste lasts a long time is to thoroughly clean the jar rim and the inside of the lid after every use. Cut a square of plastic clinge wrap about 2″ larger than the jar opening. Place the plastic clinge wrap onto the jar’s opening, then put on the lid. The wrap seals along the jar’s rim, preventing your paste from drying out.
Like many crafters you have only so much limited time to create and craft. Do you want to spend that time actually working on your project or on researching, designing, and refining the pattern you will use?
We have over 3000 line art and craft patterns, ready to download directly to your home computer, in a huge variety of themes, ideas, and designs – Wildlife, Celtic, Wood Spirits, Architectural Accents, Landscapes, and so much more.
There is no question that adult coloring is such a success … it’s fun, it’s fast, and it’s easy.
But aren’t you ready for something more? Aren’t you losing interest in filling in little tiny areas of nonsense doodle designs? Have you had enough of coloring in one repeated pattern a hundred times across a sheet of paper?
You know you can do so much more than just fill-in-the-blank!
Let’s break out of the boundaries, let’s color outside the box, and let’s take on a new challenge … Adult Coloring Portraits.
Our new 149 page PDF E-Book, by Lora S Irish, Adult Coloring Portraits is now ready for download to your computer. It includes 6 step-by-step projects for creating brilliant, vibrant skin tones; 62 patterns for wood spirits, greenmen, pixies, elves, vampires, feathered shamans, dragons, and a small assortment of fun designs.
Let’s look at a sample portrait from our new E-Book.
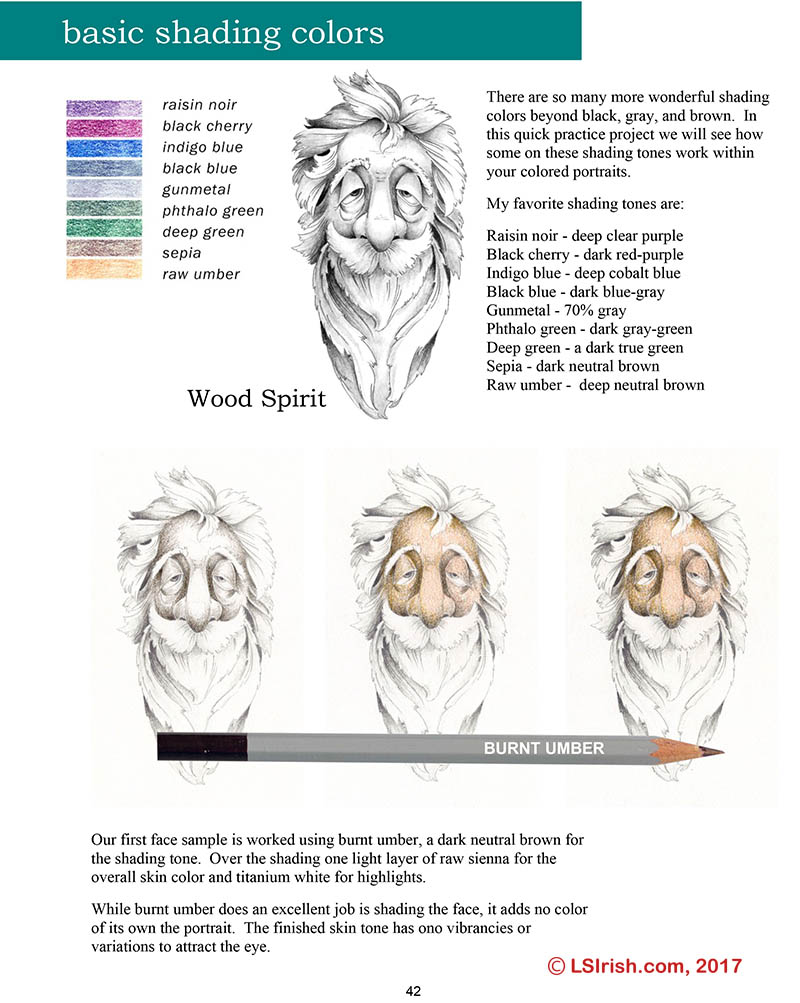
We think of skin tones as shades of white, black, brown, red, and yellow … but all skin coloring is simply a shade of orange. From very pale orange to deep, rich red-black, every human skin color can be created using the same set of colored pencils – a pale yellow-orange, medium golden orange, medium cadmium orange, red-orange, deep rust-orange, and burnt umber orange.
And we often think of skin shadow colors as shades of deep brown or black. Yet in colored pencils using a plain medium or dark brown dulls and dirties the face color.
So let’s start by exploring what other colored pencil shades you may have in your kit that will create those vibrant shadows in your portrait work.
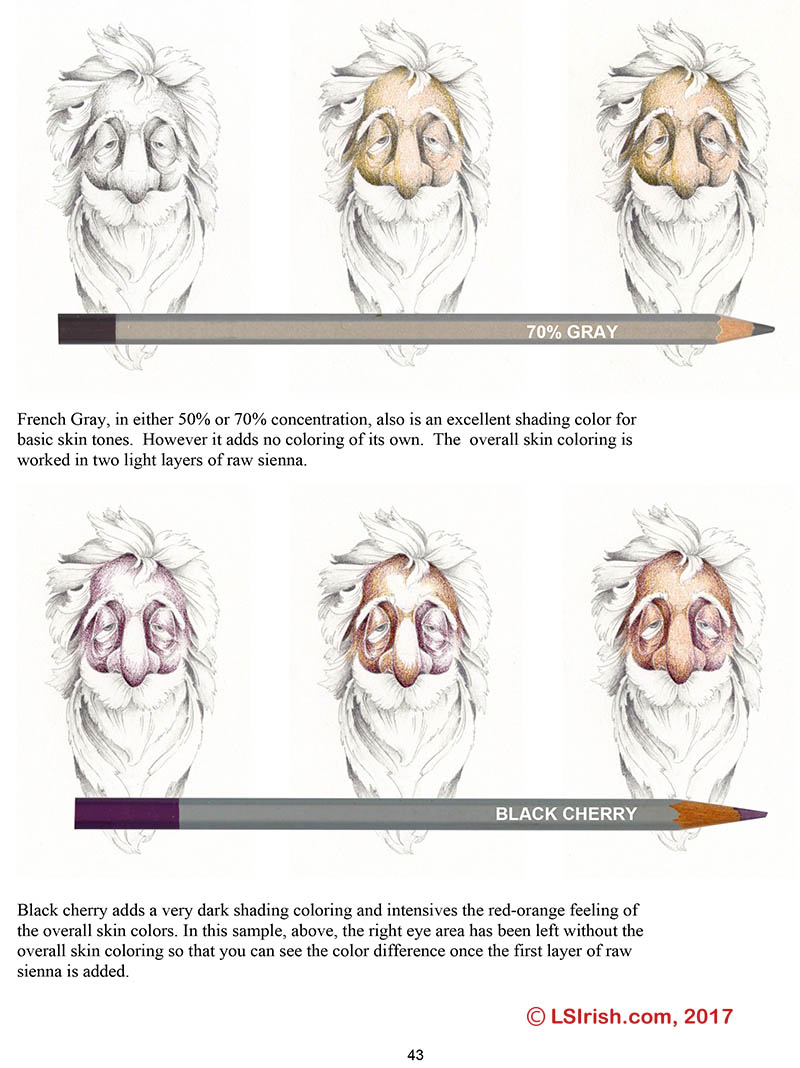
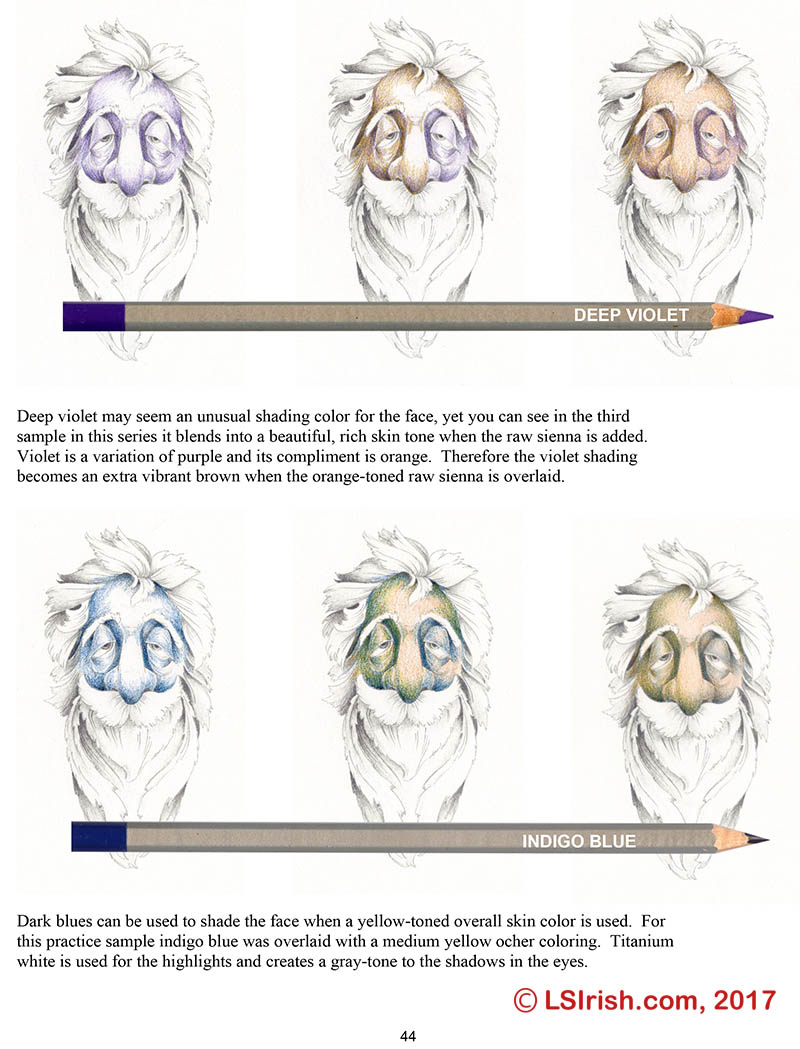
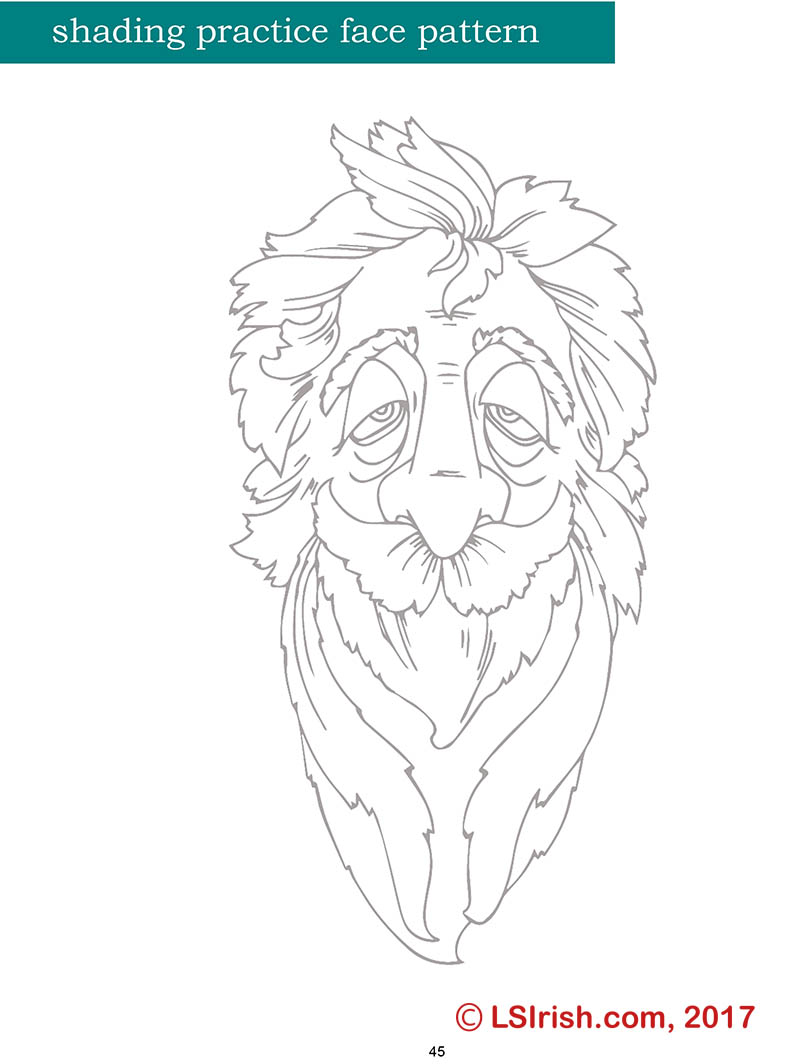
Here are five pages, directly from the E-Book, that show a few of the different shading colors you can used for your face – burnt umber, 70% gray, black cherry red, deep violet, and indigo blue – and how these colors interact with your overall skin color.
Click on the images, below, for a full-sized, 8 1/2″ x 11″, printable copy directly from our new E-Book, Adult Coloring Portraits.