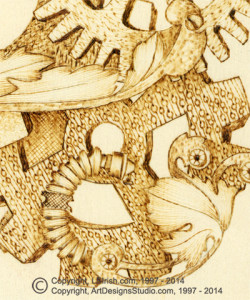
Step 11: For my last gear, lower right corner, I have used a line stroke with small open circles. Pull a small section of the line then add a small open circle, return to the line stroke then add one or two more circles.
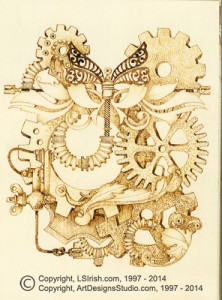
Using my spoon shader tip pen and a temperature setting between 3 ½ and 4 I have laid down a light layer of shading to some areas in the gear. This was done with a gentle touch and pull stroke that creates an even coloring of sepia over the area. Adding this layer of shading darkens both the area and the texture strokes that have already been burned into that area. Compare the photo in step 9 to the photo in step 11 to see where this extra shading has been worked.
 |  |
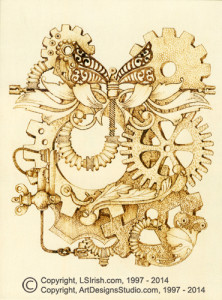
Step 12: This project is nearly complete in the burning steps. At this point I have set my plaque up on my table and stepped back from the work for awhile. Take time to look over your work to discover which areas are strong and bold compared to the areas that might need strengthening with a darker outline. I also check my shading to see where a slightly darker tonal value might be needed to push the element deeper into the background.
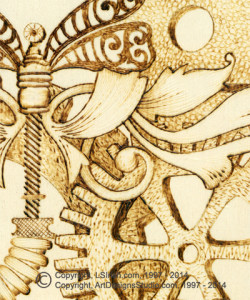
For my project I have darkened many of the perspective areas on the gear holes and teeth into my black tonal value. This added more black tones to the overall design and emphasized the teeth of the gears. I have add a layer of shading to largest middle gear to the bottom background gear to push these two elements behind the upper gears.
A few areas of black outline accents were added throughout the design, particularly in the leave elements and the dragonfly body.
The burning steps for this project are complete. Take time to use a white artist eraser to remove any remaining tracing lines from your plaque. Dust the plaque well to remove any eraser fibers.
You can stop at this point, leaving the project in the wood burning stage. If you do not want to add color, apply several coats of polyurethane or acrylic gloss spray sealer or paste wax to seal the project.
 |  |