STEP 4
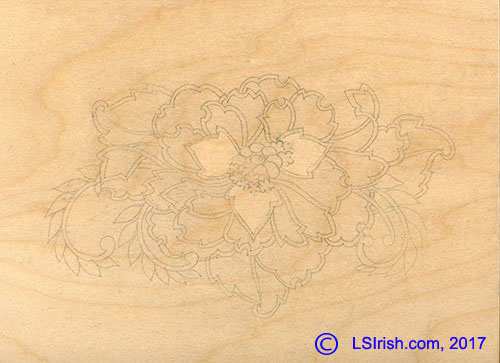
Cut a 12” length of frisket film. Loosen the paper backing at one corner. Place the corner onto the top corner of your board.
Slowly remove the remaining paper back while laying the frisket against the full surface of the wood.
Working form the center of the board towards the outer edges, rub the film to remove any air bubbles.
Frisket film is a transparent, thin plastic sheet that is low-tact. You can lay the film over your working area, then using a bench or kraft knife cut small areas of film to open those areas for coloration work. The surrounding film protects the adjacent areas from color application.
STEP 5
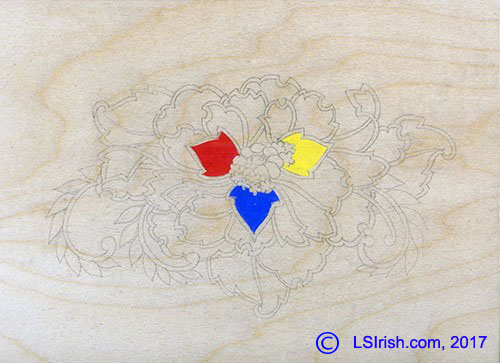
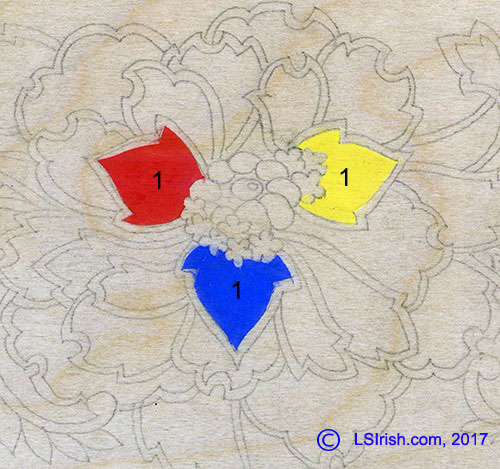
With your craft or bench knife cut along the inner lines of the center three petals, marked on the number pattern as 1.
Each new area that we will work in this project begins by cutting the frisket film for each flower petal that is numbered for that step.
WORKING WITH FRISKET FILM
The cut pieces of your frisket film can be saved and re-used on your project.
Set the cut frisket aside, face or tack-side up on your table. Paint the area that has been cut and allow that area to dry completely. You can now re-position the cut piece of frisket over the painted area and lightly press into place. The cut piece now protects your coloring from your color application in the adjacent areas of the design.
For clean, easy to lift sections, begin your frisket cuts at an outer edge corner, pulling the cut towards the center of the area. Return to that same corner and cut the second leg of the angle, again working towards the center.
STEP 6
Place a small amount of your pure red, yellow, and blue on a palette.
With a small shader fill in each area by laying the color with the direction of the wood grain.
You can start and end each brush stroke on the frisket paper; the film will protect the wood below.
One to two light coats will give you full coverage. Allow the first coat to dry completely, loosing any glossy sheen, before applying the second coat.
PRIMARY COLORS
Primary colors are the colors that can not be mixed or created from any other color. With these three colors plus black and white you can mix the entire color wheel spectrum.
Professional quality acrylic paints tend to be much more transparent than craft quality colors. Craft paints are mixed with a float media that has some opacity. While the color may be a pure hue – pure color – the float helps to block the color of the wood below it.
STEP 7
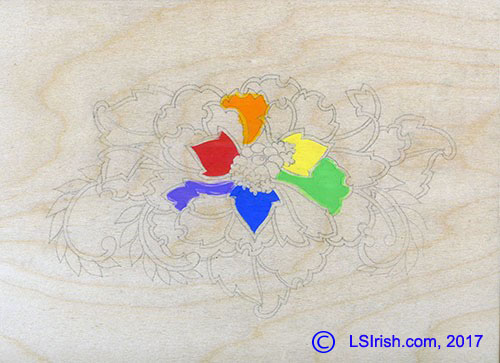
Cut and lift the frisket in the petals that are marked #2. These petals will become our secondary colors for the color wheel.
Pick up one brushful of red and place it on the palette. Add one brushful of yellow to the red. Mix well. The mixed color is your secondary color of orange.
Apply this secondary color to the petal that is between the red and yellow petals.
Repeat this step to create your mid-range green and purple.
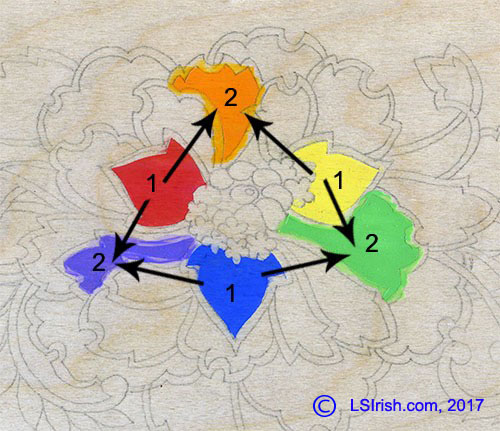
SECONDARY COLORS
Mix equal parts of two primaries to create a secondary color.
Red + Yellow = Mid-tone Orange
Yellow + Blue = Mid-tone Green
Blue + Red = Mid-tone Purple
I used the same shader brush throughout this project, and used that brush as my measuring spoon for color mixing.
This made mixing colors easy and accurate.
