SIMPLE COLORING LAYOUTS FOR YOUR PUMPKINS
 Your pumpkin painting does not need to be exact or a perfect, realistic match to a live pumpkin. Here are six simple ways to color and shade your patterns.
The finished sample for this pumpkin pattern is the Big Eyed Pumpkin and uses the Color Layout #4 with the palest color tone of orange at the top and deepening shades of orange as you work down the pumpkin. The speckled accents were added with a wide point felt medium green pen after the paint had dried.

1 Fill each section of the pumpkin with a solid color, working from the palest on the center section and darker shades of your color on the next adjacent section. Continue using slightly darker shades of your color for each new outer section until your pumpkin is complete.
This color scheme may require more that two coats to achieve a solid coloring. Let each coat dry before beginning the next.

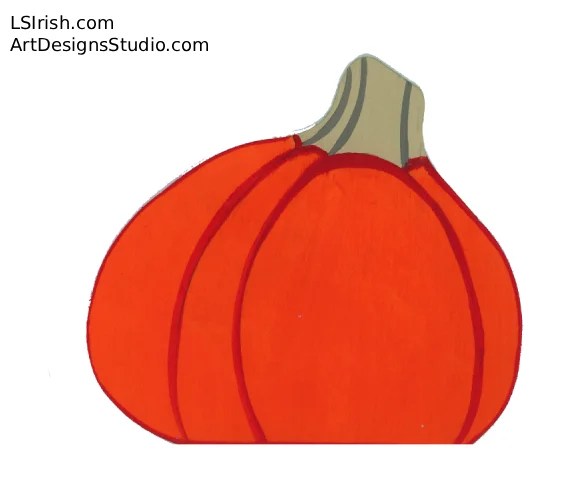
 2 Paint the entire pumpkin with one color. This sample uses a bright orange for the pumpkin and a frosted green for the stem. Two or more coats may be needed to create a solid coloring. Now use a darker shade of the same color to outline each pumpkin or stem section.
3 You don’t need to use long, solid, straight lines to outline your pumpkin sections. In this sample the end of a brush was dipped into dark brown paint, then touched onto the pumpkin outline areas to make a small, uniform-sized dot. You could also use dashed lines, small stars, little squares, and even lettering.

4 Shading can be created by using various shades of one color. In this sample the color is orange and worked from a golden yellow orange to a dark red orange.
The palest color is applied at the top of the pumpkin shape and each darker colors is used in a downward directions.
Half-loaded shader brush shading is added at the inner edge of each section using a medium brown. White highlights are painted over the orange shading.

5 Your color shading transition can begin at the center of the pumpkin shape. For this sample the golden yellow is painted to the center area of each pumpkin section.
A circle of the next deep color shade is then worked around that golden yellow coloring. Each new, darker color then halos the last color applied.
Allow each new layer to overlap the previous layer while that previous layer is still damp. This blends the two colors together. Let your brush strokes show. After your orange shading has dried add your white highlights.

6 The last color sample of this series starts with white as the center colored area. Each new shade of orange is then haloed around the last, working from the palest to the darkest tone.
Outline the pumpkin sections, using a #2 china liner brush, with the last orange color tone that you used in the shading.

Once your pumpkin’s shading is completed and dried you can add new decorative touches as splattering the pumpkin with a variety of color tones, adding a stenciled design over the coloring, or even adding a layer of glitter sparkles.
