Cut the Roof Scrapbook Paper: Cut two 3 1/2″ x 5″ rectangles from the paper bag colored scrapbook paper for a medium-sized bottle gourd. If you are using a small nest egg gourd, cut two 1 1/2″ x 3″ rectangles. For my Bee House gourds I chose heavy-weight scrapbook paper, but you can also use paper mache chip board, the outer covers of school notebooks or paper pads, or even cereal boxes to create your roof.
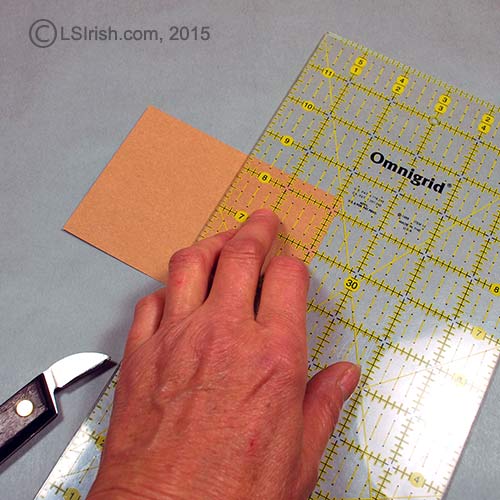
Roof Center Line: Place your ruler along the center line of the roof paper.
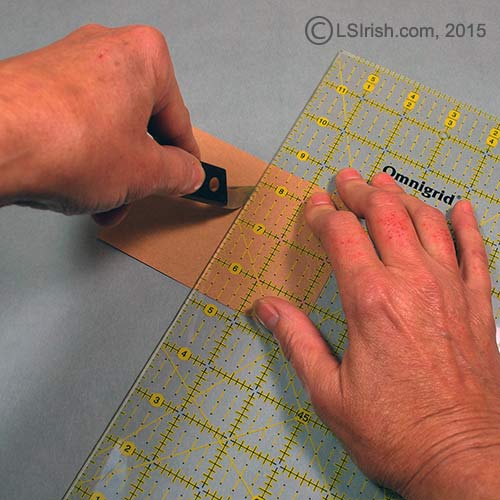
Score the Center Roof Line: Using the dull-edge, back-side, of your bench knife blade, run the blade along the ruler to score the center line of the roof.
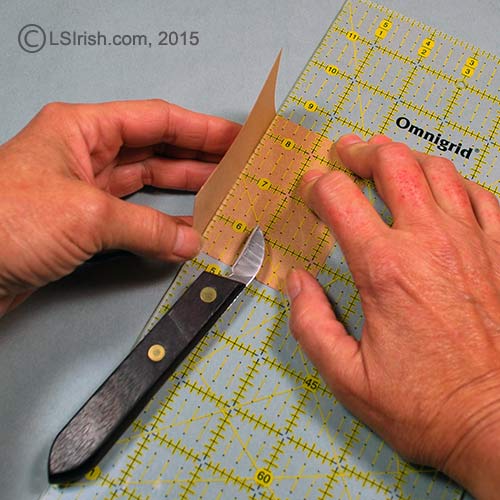
Fold the Roof: Gently lift the outer half of the roof scrapbook paper, along the side of the ruler, to fold the roof at the score line. Scoring the paper creates an accurate, sharp fold line.
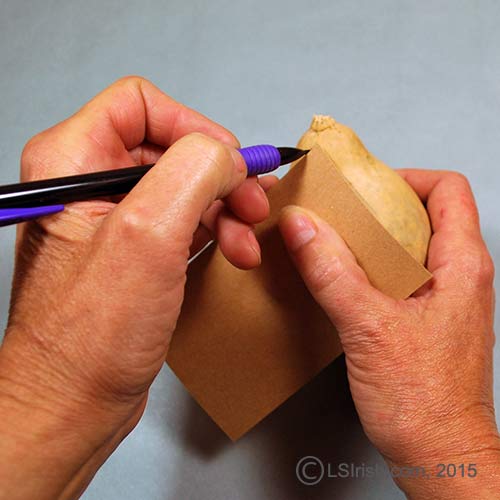
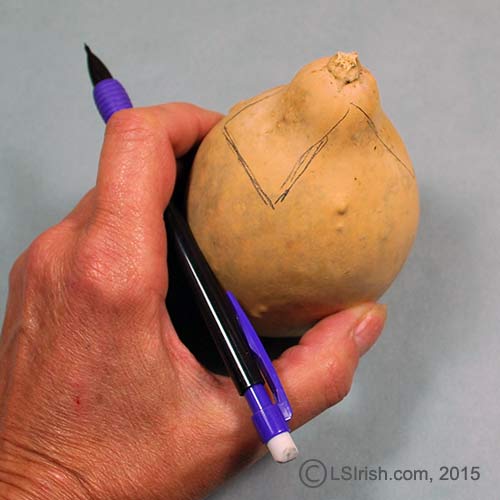
Mark the Roof Line to the Gourd: Place one corner of your roof paper against the top stem-area of your gourd about 1/2″ below the stem to create the 90 degree angle for the roof. With a pencil mark the roof line onto the gourd. Move the scrapbook paper roof to the opposite side of the gourd top and mark the second side of the roof cut.
Connect the Pencil Roof Cut Lines: Using your pencil connect the two penciled guidelines for the roof.
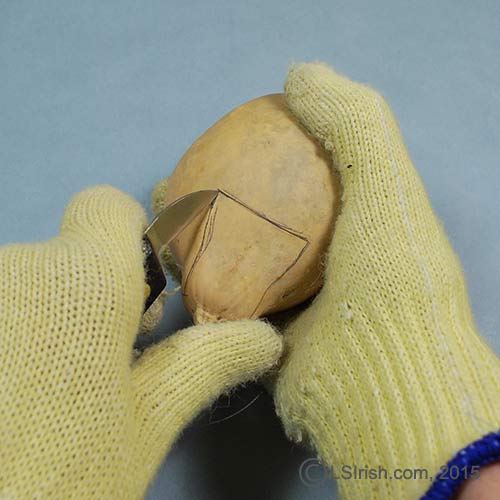
Cut Along the Penciled Roof Guidelines: Using an exacto knife or bench knife, cut along the penciled guidelines to remove the stem area from the gourd. Because smaller dried craft gourds tend to have thin walls work your cuts starting at the corner of the pencil line and pulling the blade away from that corner towards the second corner of the line. Cut all of the lines with one, shallow, light pressured cut to score the roof line. Repeat the shallow cuts until the blade cuts through the gourd walls.
Nest egg gourds, with their 1/8″ or less thick walls, easily crack during the roof cutting step. If this happens continue cutting the roof free from the gourd. You can repair the cracked area using an application of hot glue on the inside of the gourd once the roof is free.
I prefer to use a wood carving bench knife instead of a craft, utility, or exacto-styled knife. The bench knife has a strong, thin blade that is perfect for fine cut lines.
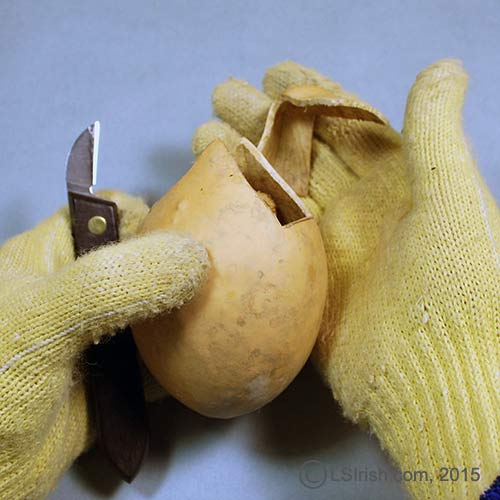
Remove the Roof Area: Once the knife blade has opened the roof guidelines, remove the stem area and set aside. You can use this piece later in the project to create a porch roof for your Bee House. Remove the seed pod fibers and seed from the gourd, set these aside to plant in your garden next year.
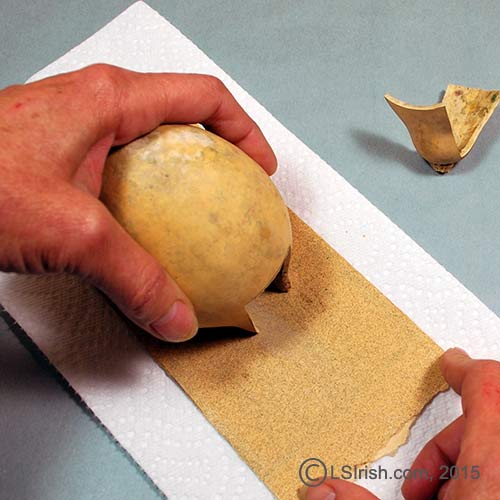
Sand the Roof Line Cut: Lay one side of the roof line onto 220-grit sandpaper. Gently move the gourd across the sandpaper to flatten the edge of the cut. This sanding will also flatten a small area along the bottom, straight-edge of the roof – the connecting line between the two sides of the roof line. Sanding the roof line sides allows your paper roof to flat.
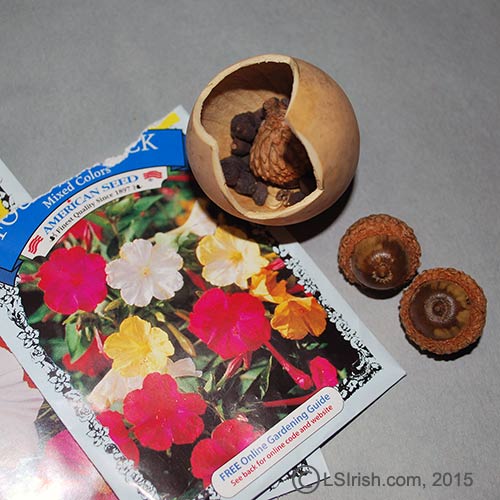
Making a Seed House: If you are using your Bee House as a Holiday Gift add a little something special by filling the inside of your bottle or nest egg gourd with garden seeds. Your finished House can be used during the fall and winter as a holiday decoration. When spring arrives your family or friends can remove the roof and plant your second special gift in their garden.
In my photo sample below I have added two Red Oak acorns, one package of Nasturtium flower seeds, and the nest egg seeds that came from the gourd. This gives my friend a fun Christmas tree ornament now and a full flower bed of bright color next spring, two trees for the future, and enough gourd seeds they can make their own Bee Houses next fall.
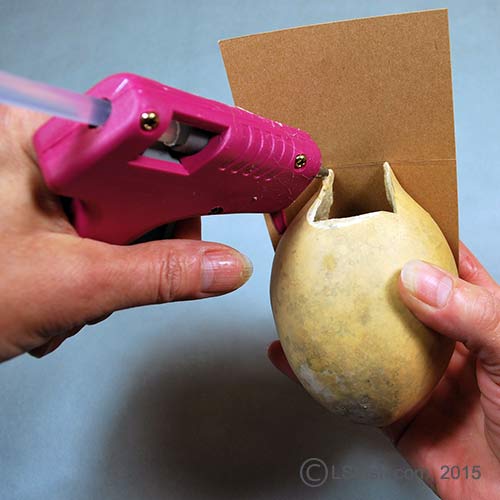
Hot Glue the Scrapbook Paper Roof: Apply hot glue along one side of the gourd’s roof line. Center the scored fold of the roof paper to the top center points of the gourd’s roof cut. Press one side of the roof against the hot glue to set into place.
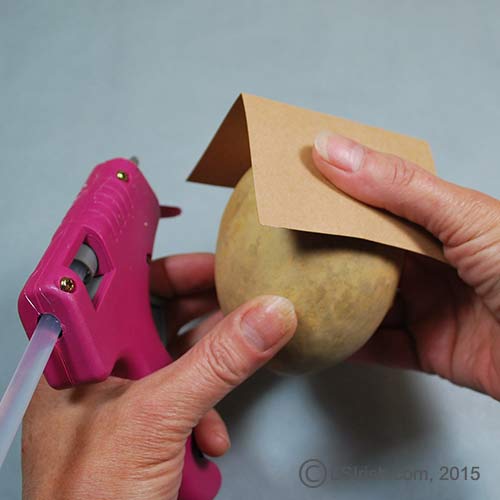
Hot Glue the Remaining Roof Paper: Apply hot glue along the remaining gourd roof edge. Fold the roof paper along the score line and press the second side of the roof paper into place.
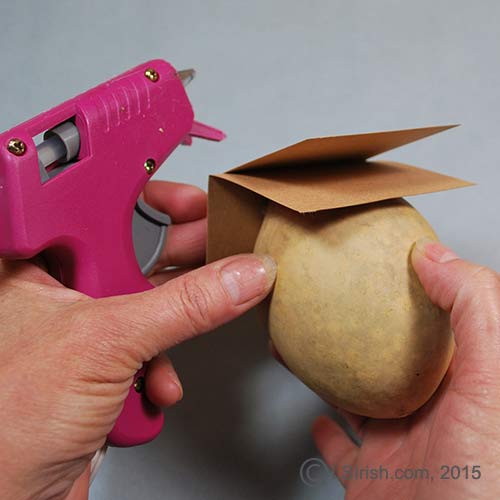
Adding a Second Roof: I made my Bee Houses to go outside, into my garden, as nesting houses for our wild bees and bugs that are beneficial to my flower beds. These gourds will give those insects a safe shelter over the winter months. I want the Bee Houses to last for several years, but also want everything possible that I use to create them to be biodegradable.
To add a little extra strength to my outside houses I add a second paper roof, gluing it directly over the first. These two layers of scrapbook paper will add a few months to a year to the life of the Bee House. So that you can see the second roof paper I cut this roof slightly smaller than the first. If you want outdoor Bee Houses cut this second roof the same size as the first.
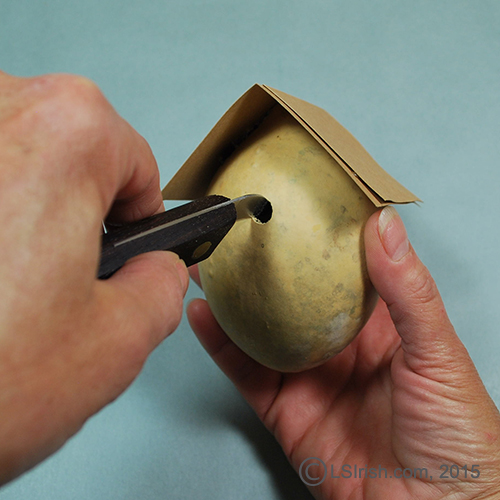
Cut the Bee House Hole: To become a home for wild bees and bugs, cut a small, 1/4″ sized hole in the gourd. For the sample Bee House the hole is centered between the bottom edges of the paper roof and under the center fold line of the roof. Hold your craft knife or bench knife on the point and gently roll the knife to cut the hole. Use a small piece of 220-grit sandpaper, rolled around a pencil, to sand the hole’s edges.
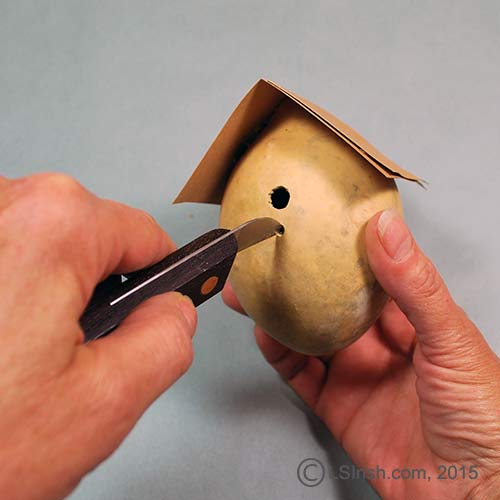
Cut the Perch Hole: Create a perch stick hole 3/8″ below the bird house opening hole using your bench knife or craft knife. This hole should be slightly larger than the diameter of your bamboo kitchen skewer.
Measure the Perch: Slide the bamboo skewer into the perch hole so that the skewer touches the inside back wall of the gourd. With a pencil mark the skewer about 1/4″ to 1/2″ beyond the gourd. Use your bench knife or craft knife to cut the skewer at the pencil line. Lightly sand the cut end with 220-grit sandpaper.
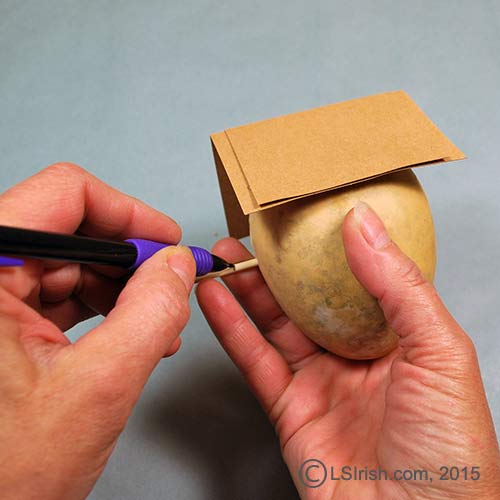
Hot Glue the Perch Stick: Place a small amount of hot glue on the skewer where the skewer touches the skewer hole. Slide the skewer into the hole until it touches the back wall of the gourd. Hold until the glue has set.
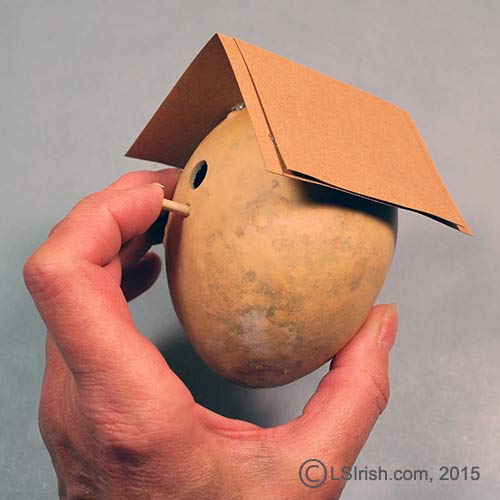
Ready for Roof Decorations: You have completed the basic construction of your Bee House and are ready to move onto the decorating steps.