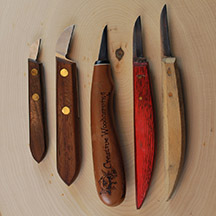
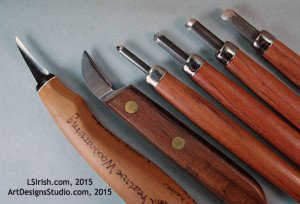
As a beginning carver, the choice of carving tools available can be overwhelming. Which tools you really need to learn this craft and which tools you really will use can be a hard decision. There are several basic tool shapes that are standard to this hobby. Take a quick look at the different tool profiles available for your use.
A basic relief carving or whittling tool set contains far more than just your carving tools and knives. Let’s take an in-depth look at some of the common supplies you may use in your carving craft. All photos in this article are large-sized and labeled. Please click on any image to show the full-sized photo.
Here is a quick visual close-up of some of my favorite carving tools. This grouping will eventually find their way onto the work table during any carving project. The vast majority of the tools show here are between 25 and 40 years old since most are inherited from my father’s many years of wood carving. Your investment in good quality tools will last beyond your life time.
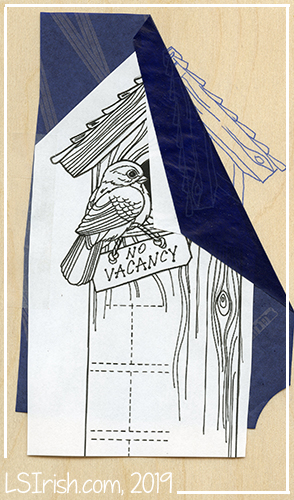
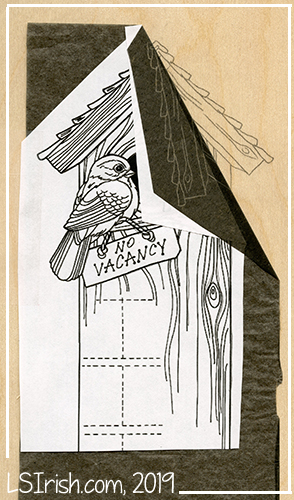
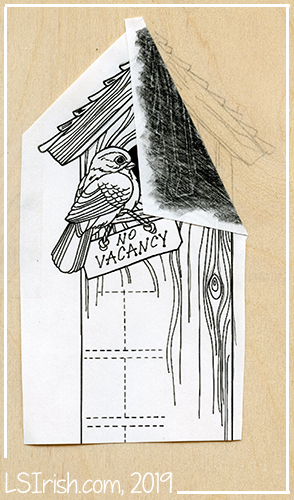
Tracing a Pattern There are several ways to transfer a pattern to a carving blank – carbon paper, graphite paper and pencil rubbing. All three products transfer a pattern to wood, but which you use is determines by the craft you are working.
Carbon paper Originally used to make multiple copies of a typed or written document, carbon paper comes in black or dark blue. Tracings made using this product have heavy, dark, bold lines. Carbon paper is perfect for transferring patterns for long-term projects, as the traced lines will not fade or rub off, even after many hours of carving work. However, carbon paper creates a traced line that can not be erased with an eraser, and often can not be removed with fine sandpaper. I use carbon paper with my wood carvings, but never with pyrography.
Graphite paper This paper is lightweight with a waxed graphite coating on one side, and comes in both pale gray and white. When tracing a pattern, the graphite side is placed against the wood, resulting in a tracing with medium-gray colored lines. Graphite paper is available in sheets as small 8 1/2″ x 11” (216 x 279mm) and as large as 48” x 96” (1219 x 2438mm), and also comes in rolls several yards long. Graphite paper can be used several times, so keep previously used pieces for later tracings. This product works well for both carving and wood burning.
Pencil Rubbing To use the pencil rubbing method for transferring a pattern, rub a soft #2 to #6 pencil over the back of your pattern paper. The higher the number of your pencil, the darker or blacker the rubbing will be. Then, place the pattern face up on your carving blank and begin tracing it. As you trace along the pattern lines, a thin, light gray coating of pencil will be left on the wood blank. Pencil rubbing lines can be erased using a white artist’s eraser, making it an excellent method for transferring patterns for carvings that will include some pyrography work. This is my favorite form of tracing as it is so easily removed after your pyrography or carving work is done.
Simple steps for tracing a pattern Tracing a pattern onto your carving blank is an important step; you want to make sure you center the pattern on the wood. Follow these steps to trace a pattern using graphite paper.
1 Gather your supplies. To transfer a pattern to your wood blank, you will need a copy of the pattern, carbon paper, an ink pen, a ruler, a T-square, and tape.
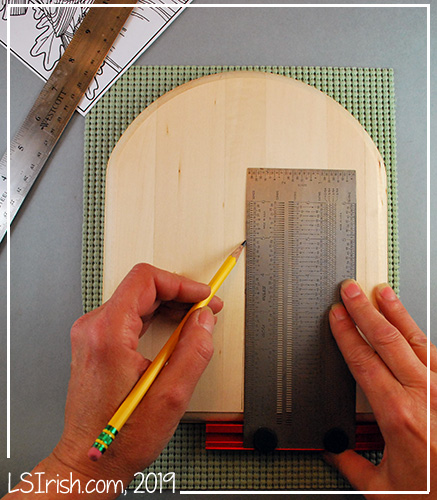
2 Mark the center of the blank. Using your ruler and T-square, mark the center of the carving blank using a horizontal center line and a vertical center line
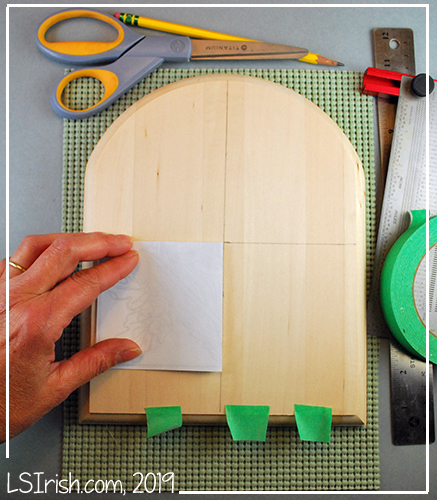
3 Align the pattern with the center lines. Fold the copy of the pattern into quarters. Place the pattern on the blank, aligning the fold lines in the paper with the center lines drawn on the blank. Tape the pattern into place .
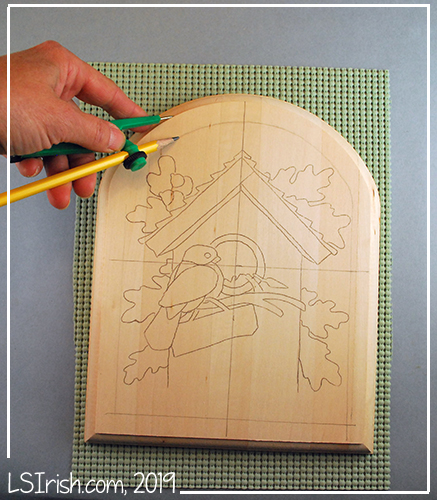
4 Adjust the pattern as needed to fit the shape of the wood. For our sample tracing the board has a curved top that affects the placement of the pattern. By sliding the design down along the vertical line the square pattern is now centered to the square area of the plaque.
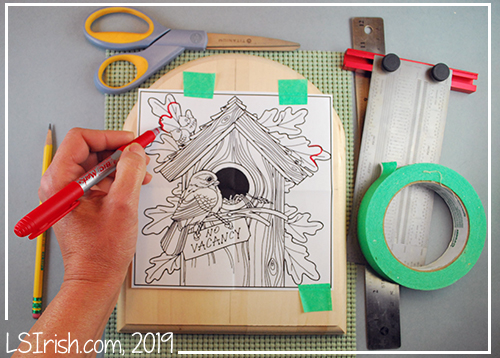
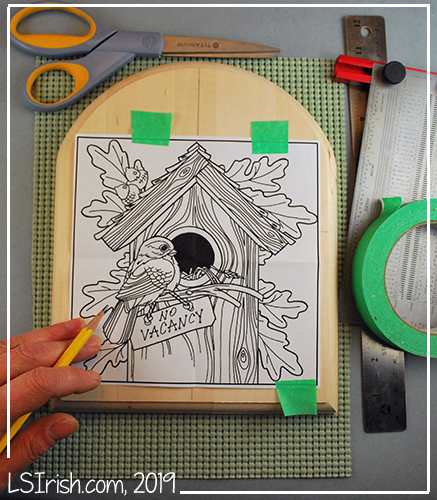
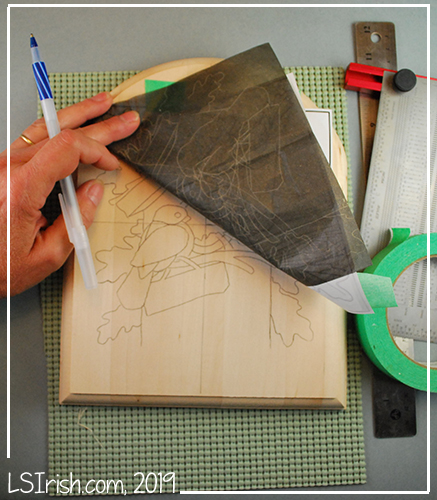
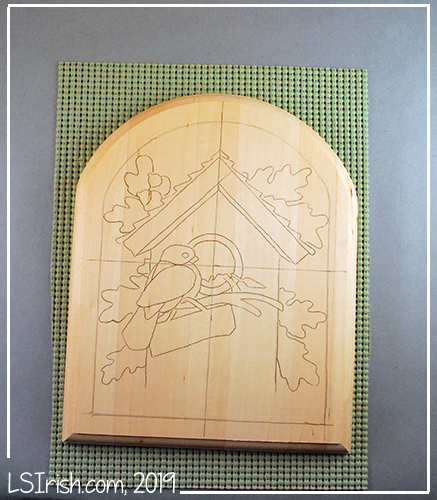
5 Place the carbon paper, and trace. Mark any adjustments necessary on your pattern. Slide the carbon paper in place under the pattern paper, and trace along the outside lines of your grouped elements. Check your tracing before you remove the pattern and carbon paper to ensure you have transferred all the necessary pattern lines .
6 Create a border if desired. If you like, you can use a compass to create an outside border or margin line around the pattern .
7 Add in the details as you carve. As you progress through the carving stages, cut small pieces of your original pattern paper, secure them to your wood blank, and trace the fine line details to that roughly cut areas.
8 Print several copies of your pattern. As you work you will often find that your carving will cut away some areas of the traced pattern or that your burned shading will obscure some areas of your traced line. You can cut small sections of your extra pattern out from the larger design and spot trace as needed.
Today is a “nose to the grindstone – shoulder to the wheel” day of work on the upcoming books from Fox Chapel Publishing. So I am off to work and will post something more substantial tomorrow.
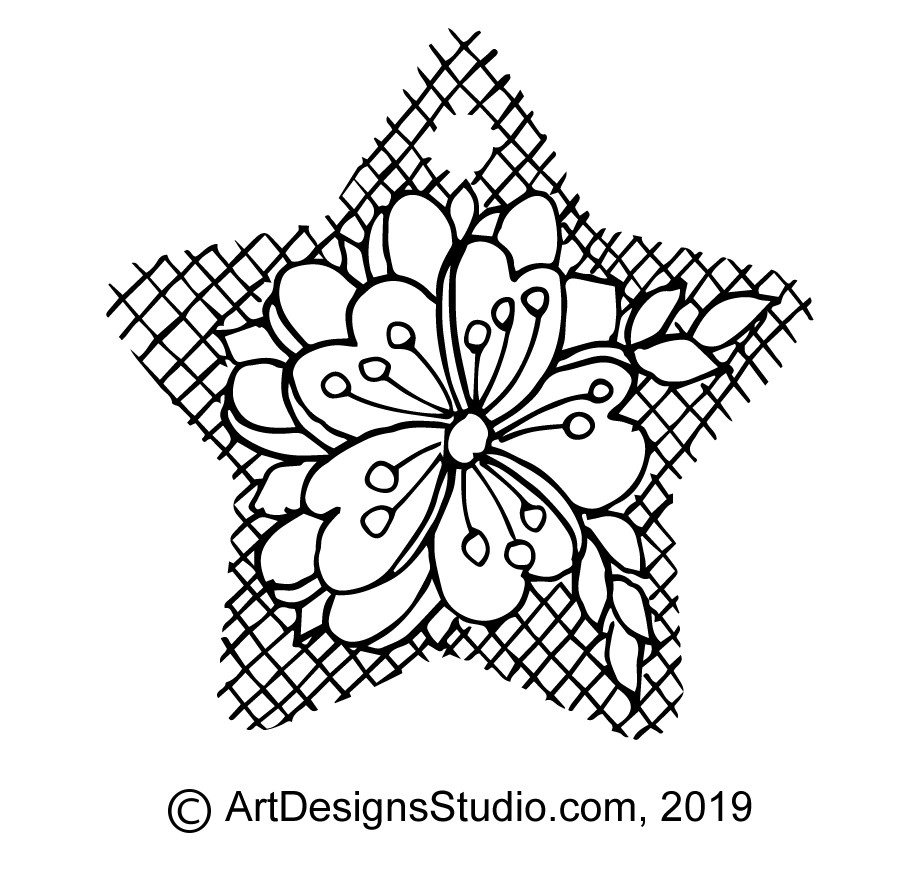
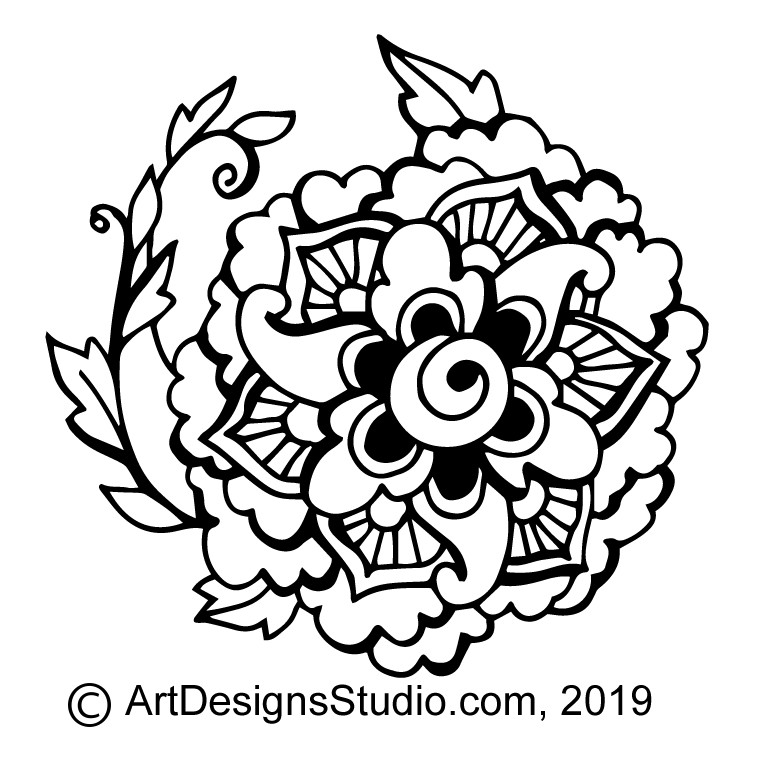
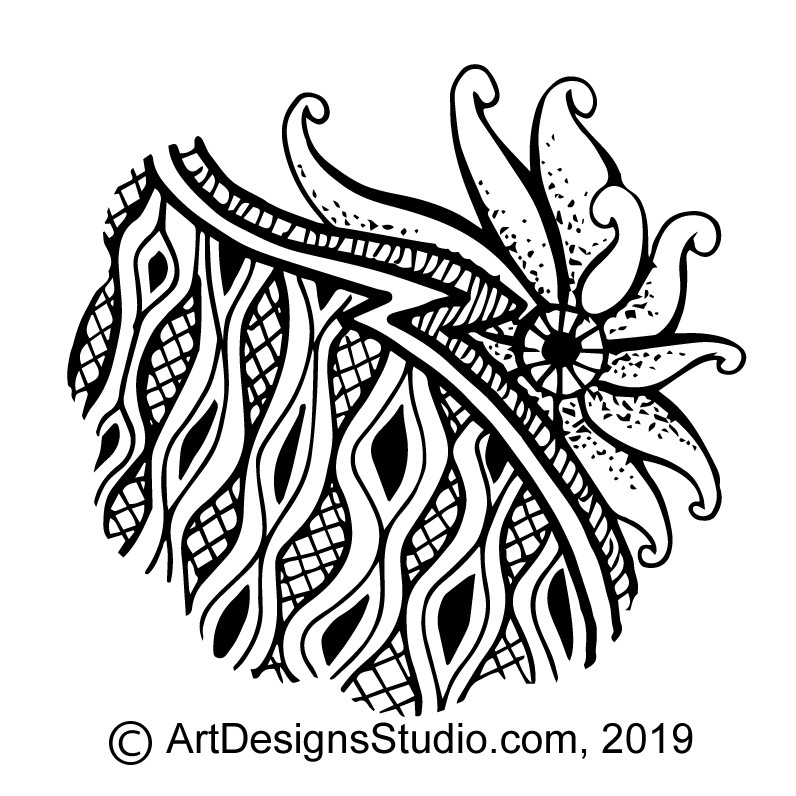
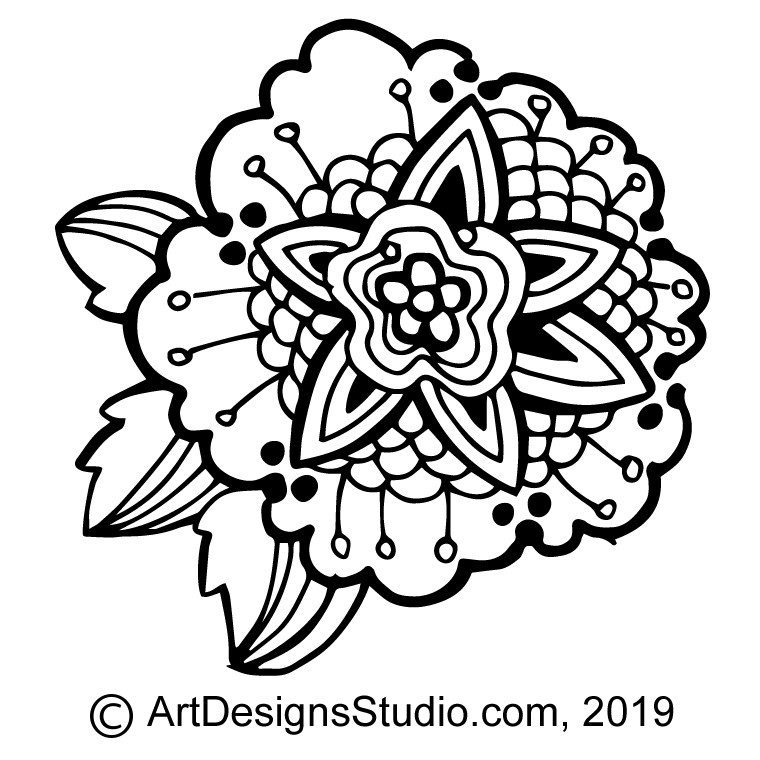
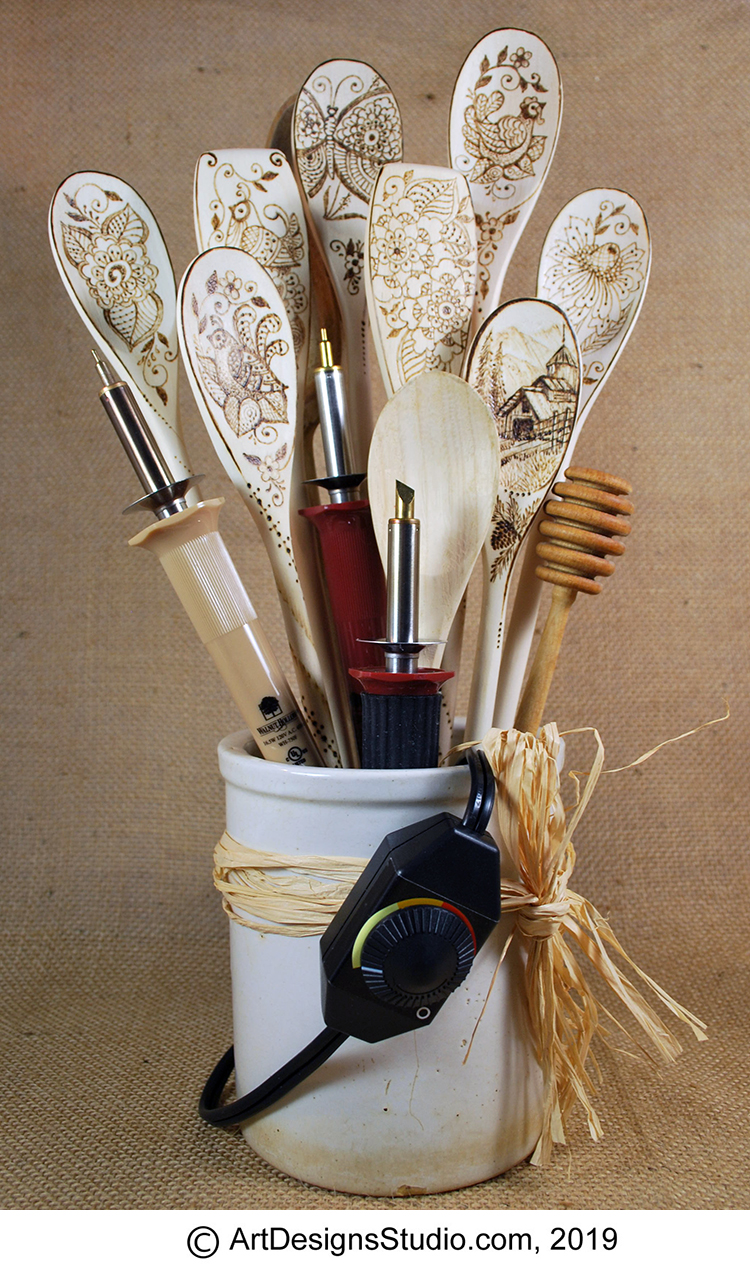
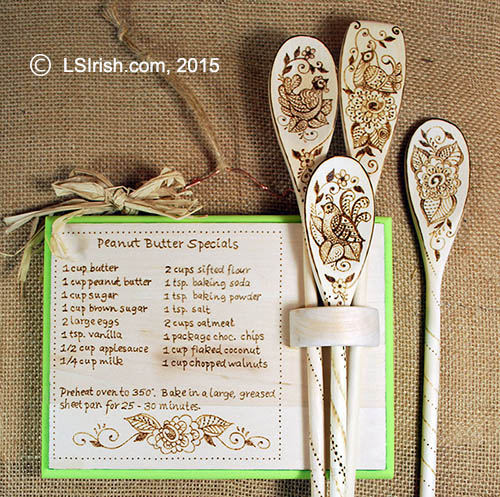
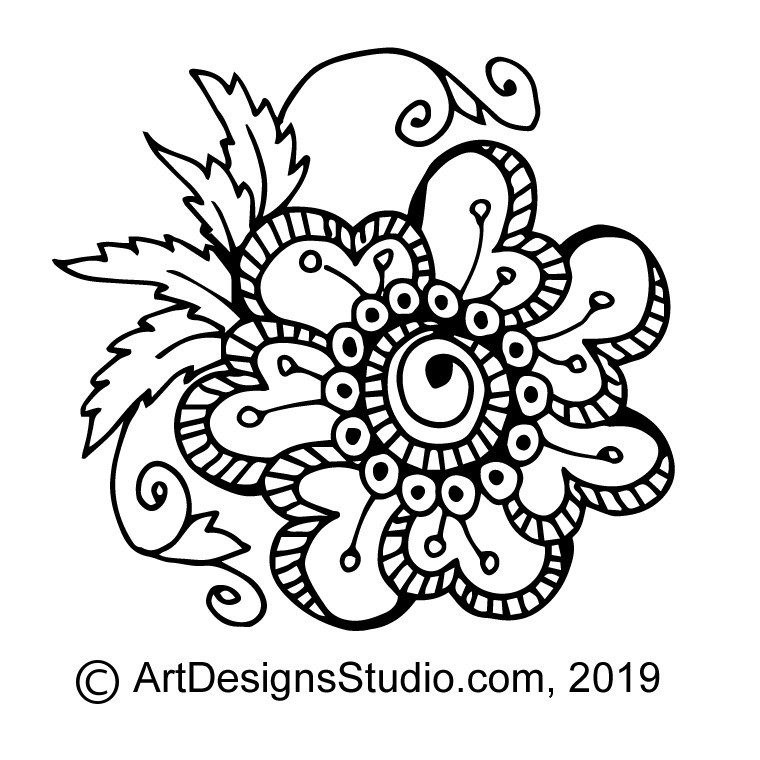
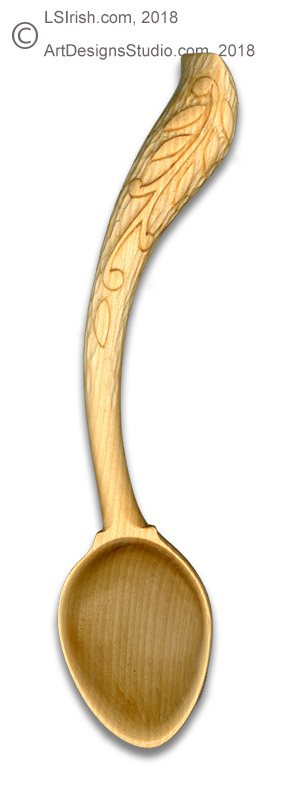
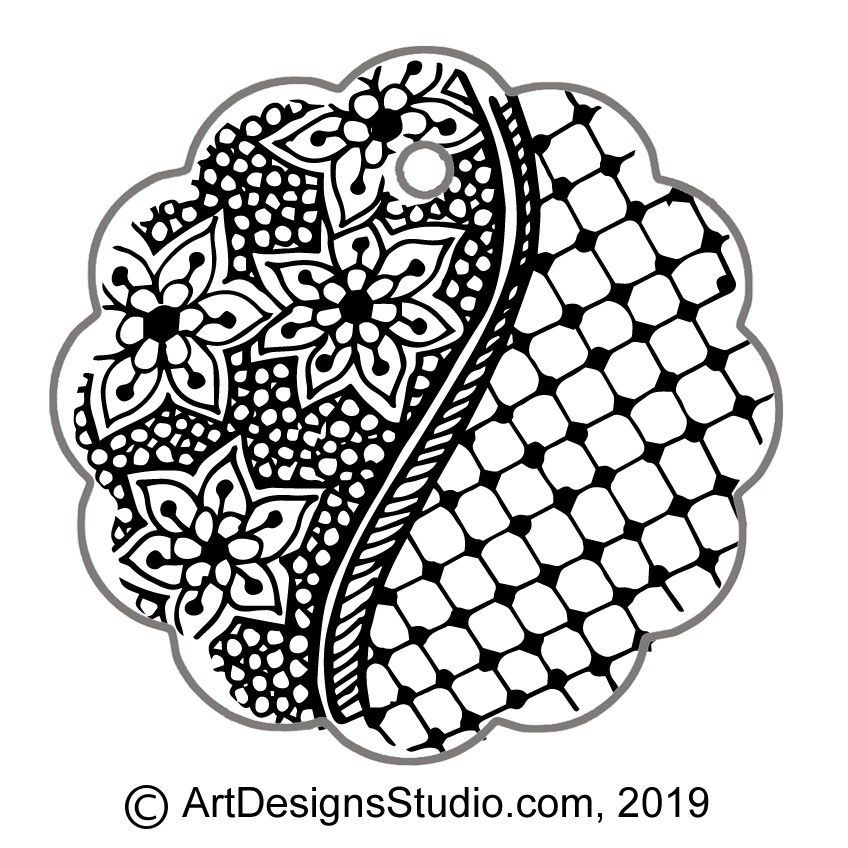
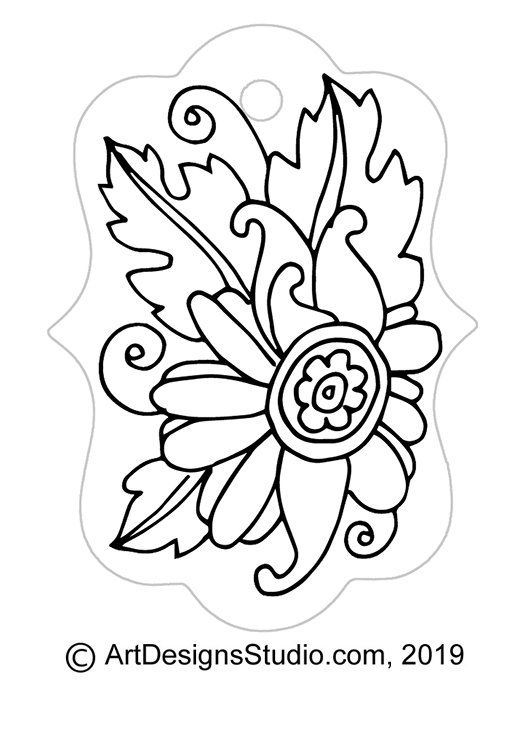
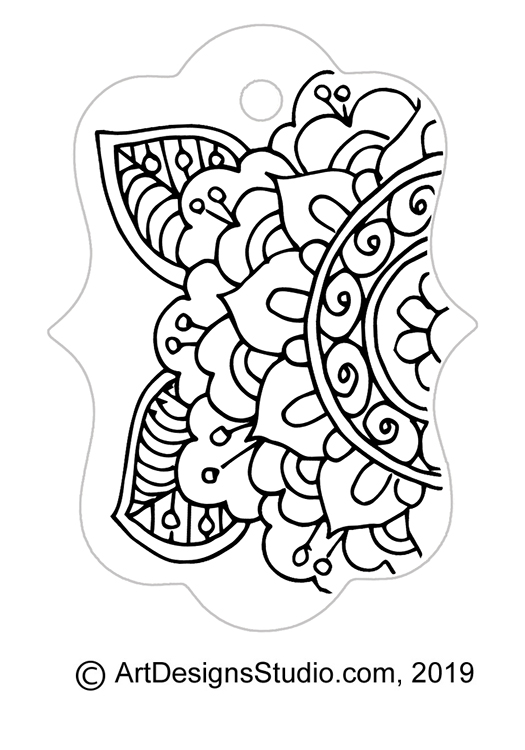
Wooden spoons make great projects for any pyrographer. The small bowls, front and back, of the spoon can become your background for these free doodle patterns.
Most manufactured spoons are made from bamboo, beechwood, birch, or poplar – all woods that are excellent for our wood burning.
Since your pattern work is burned – scorched – directly into the wood the design that you create becomes a permanent part of that kitchen utensil.
Happily as wood burners we are not limited to just spoons. Spatulas, forks, knives, and even rolling pins make great pyrography backgrounds.
While getting the Monday, January 7th free doodle patterns post ready I came across all of these links on wooden spoon wood burning, and wooden spoon wood carving. Since I had them all in one place I thought I would share them with you.
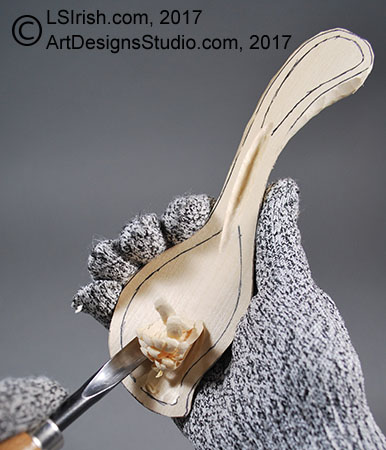
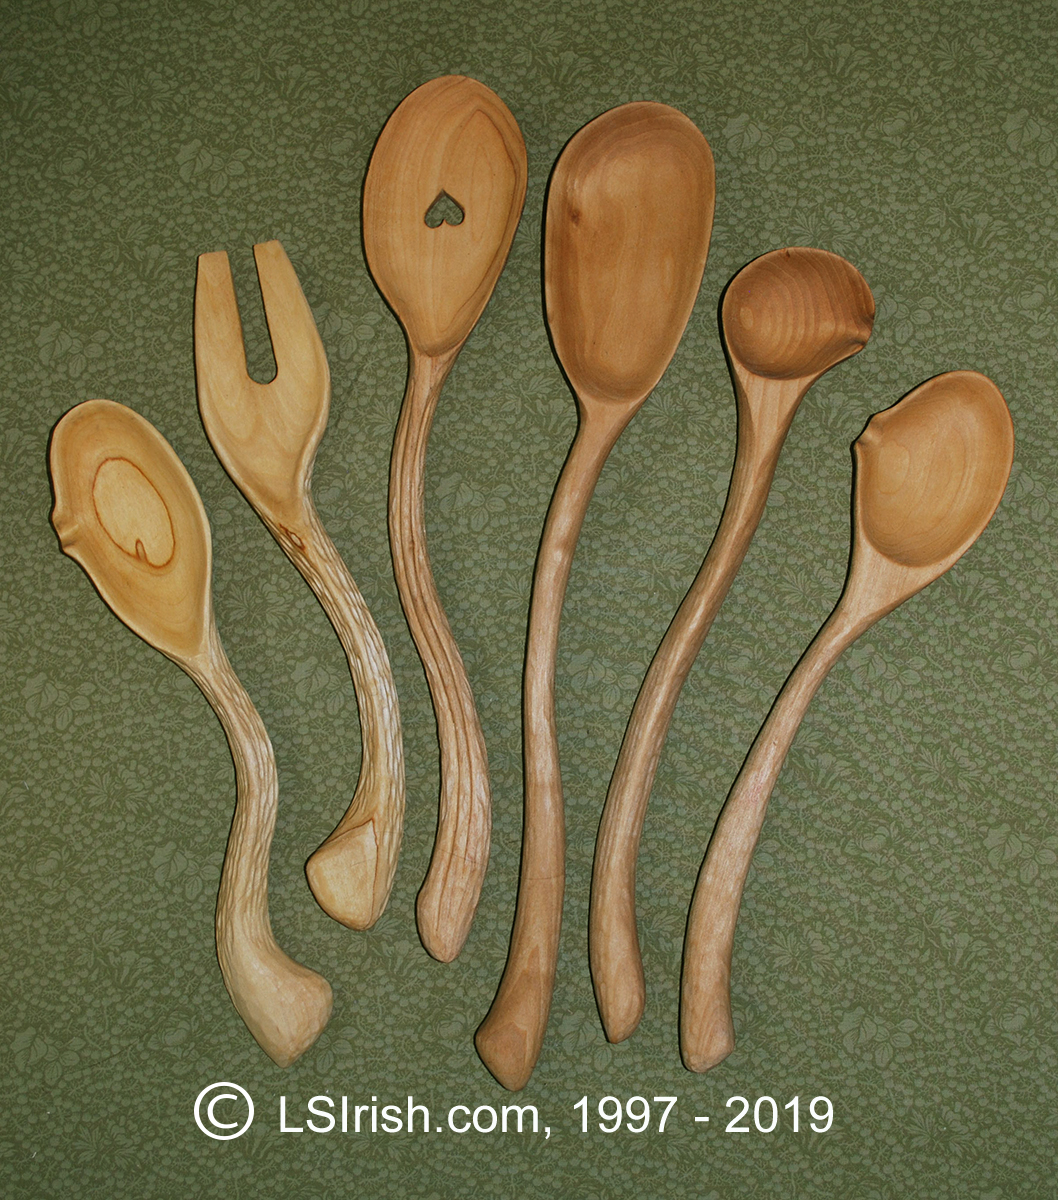
If you wood burn wooden spoons I think you might have some fun learning how to wood carve your own. Basswood blanks are a great wood to start your spoon carving journey. As your carving skills grow you can then move onto poplar, maple, and beechwood – all of which burn well.
If you are a new wood carver there is nothing more fun than creating your own kitchen spoons. Anything goes from the classic straight handle oval-bowled spoon to intrigue Welsh Love spoons, even modern twisted handle pouring ladles. Spoons are one of those ‘guaranteed’ success projects.