Walnut Hollow Woodburner Detailer
 A little history

Please click on the images in this posting for a full-sized photo!
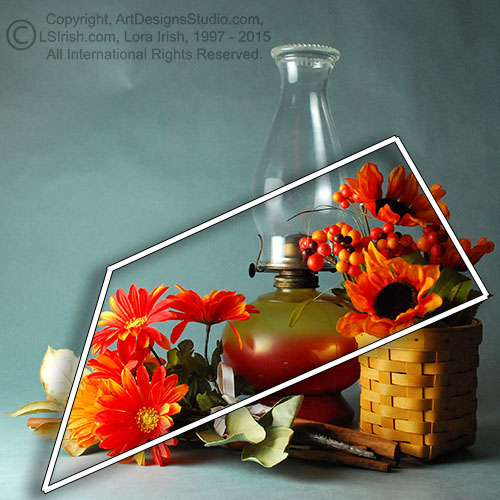
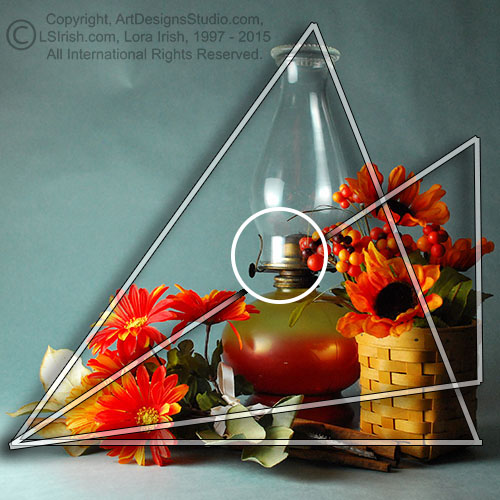
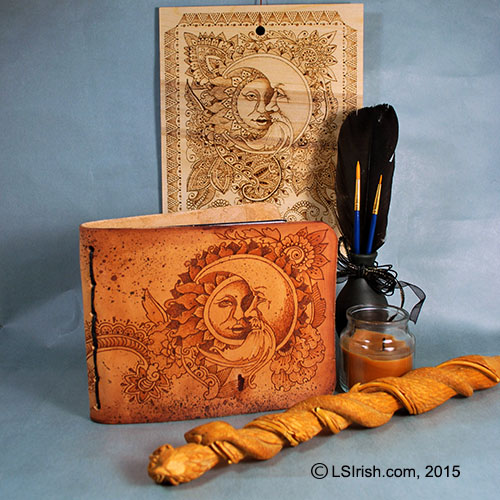
Henna Moon Pyrography Project
Walnut Hollow Woodburner Detailer – Introduction
Walnut Hollow Woodburner Detailer 2 – History of Henna Tattoos
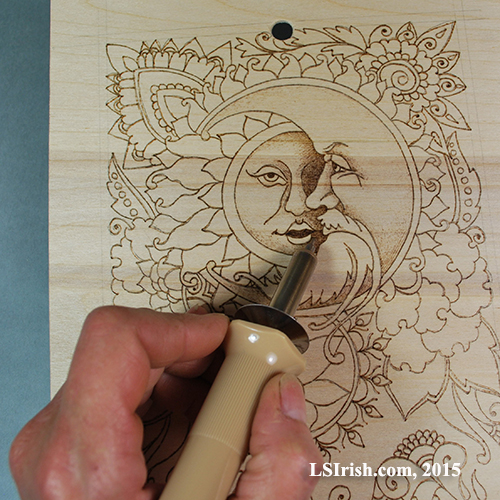
Walnut Hollow Woodburner Detailer 3 – Tracing the Pattern
Let’s take the Walnut Hollow Woodburner Detailer out for a test drive by working through two step-by-step free pyrography wood burning projects featuring Henna Tattoo designs.
I began my wood burning passion over three decades ago when I purchased my first Walnut Hollow burner. That first burner was a one-temperature tool with five interchangeable brass tips. You plugged it into your wall socket, waited a few minutes until the tip got hot, then did your project. Around 2005 I purchased a second Walnut Hollow burner. There was nothing wrong with the one that I already had, I simply wanted to have two different tools, each with its own tip, to make it easy to change tip profiles without unplugging, waiting for the tool to cool, then changing out to the new tip.
 Then about six years ago I got my first Walnut Hollow Versa-Tool that features a rheostat temperature dial control on the cord. I still actively use all three burners even though I do own a Colwood, RazorTip, and Optima – full temperature, high-end, total-control machines. For quick burns, adding a touch of detailing or lettering, adding an accent border around a relief carving, or for burning away the fuzz bunny wood fibers in my wood carving, this style of burner is perfect.
For someone just starting into Pyrography I always recommend that you start with a Walnut Hollow. They are extremely reasonable in price, give you a nice range of burning tips, and are available at most large craft stores. If you come to love pyro as I do you can always invest in a high-end burner, but I promise you will return to your Walnut Hollow often.
Now, owning two one-temperature Walnut Hollows, one Versa-Tool, and three high-end full temperature control machines I really didn’t need another wood burner! But … in browsing through Michael’s not long ago I noticed a burner I had not yet seen – the Woodburner Detailer. I admit I was curious as to why another would want a one-temperature burner that has only one fine ball tip when the Versa-Tool was hanging right next to it on the display. So, of course I bought a Detailer, brought it home, and put it to the test!
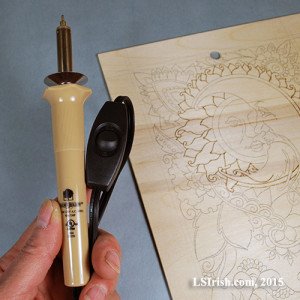
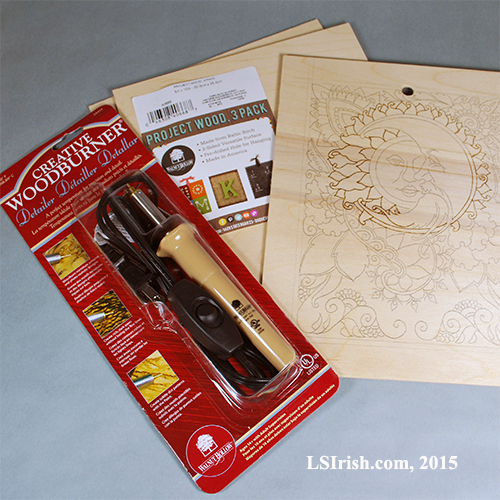
Walnut Hollow Woodburner Detailer
The package says that the Detailer is “A perfect temperature for precision and detail” and shows that the one-temperature setting for this tool is a 120 volt, 16.5 watt, 750 degrees F (398.89C) unit. In comparison the Versa-Tool uses 120 volts, 25 watts, and reaches 950 degrees F.
It has one brass interchangeable tip that is a 1/16″ wide x 3/16″ long ball tip profile. It has the classic Walnut Hollow styled handle with the hand guard flare, but is a beige color instead of the tradition burgundy of the Versa-Tool.
The cord is very flexible and measures 56″ long. About 19″ from the end of the handle, the cord has an in-line on/off switch. I have been working with this burner for about a month now and have not once found myself out of reach of my project, or having to fight the cord to get the tip into proper position.
Now, owning three other Walnut Hollow I have a large assortment of interchangeable tips, all of which fit the Detailer. So any tip that I commonly use with my Versa-Tool I can use with my new Detailer. If you are just starting out and want to give the Detailer a try yourself, pick up a set of Special Technique Points I and/or Special Technique Points II to give yourself a wide range of burning tip profiles.
Why? Why would I want another Walnut Hollow?
 That’s the question that we are going to explore over the next few days as we work through two step-by-step pyrography projects using the Walnut Hollow Woodburner Detailer.
Henna Moon Plaque Supply List:
Walnut Hollow Woodburner Detailer
8″ x 10″ Birch plywood plaque
Soft #4B to 7B pencil
White artist’s eraser and a Document Cleaning Pad
Henna Moon Spell Book Journal Supply List:
6″ wide x 16″ long vegetable-tanned leather
1/4″ leather hole punch
2 yards of black waxed linen cord or heavy twine
Walnut Hollow Woodburner Detailer
Special Technique Points I or your interchangeable tips from any other Walnut Hollow burner
 Sneak Preview!
When I began working with the Detailer I really thought it was going to be ‘just another’ woodburning tool that would end up on my craft shelf …. Boy! Was I wrong !!!! I was just going to give it a try but by the time I made myself put the Detailer down I had finished the Henna Moon plaque, two large gourd winter roosting houses, one gourd art miniature gourd ring box, two leather and lace wrist bands, and a Vintage Gryffindor-styled Leather Spell Book. I will be posting the photos of the other finished projects throughout this project.
The Walnut Hollow Woodburner Detailer does exactly what it advertises – it holds a perfect temperature for precision and detail wood burning.
So, get your supplies together. Tomorrow I will be posting the free pattern to these two projects and begin the step-by-step photo instructions.