Cross-Crafting Seminar Introduction
Cross-Crafting Seminar Supply List
Cross-Crafting Seminar Free Patterns
Cross-Crafting Seminar, Scroll Saw Basics
Cross-Crafting Seminar, Scroll Sawing the Wood Spirit Face
Cross-Crafting Seminar, Wood Burning the Wood Spirit Face
Cross-Crafting Seminar, Colored Pencils for the Wood Spirit Face
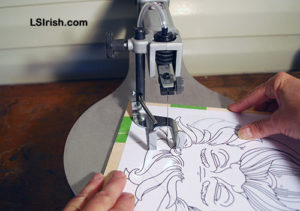 Step 10 Turn off the saw, back the blade out of the cut and remove the cut-out portion of the wood.
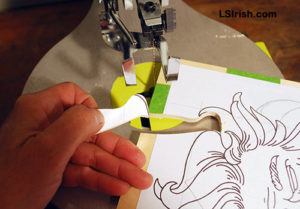 Step 11 You have removed one portion of the wood by making two simple cuts that meet at a center, tight angular point. Each scroll saw is slightly different, but most will easily cut a fairly tight curve, at least the diameter of a nickel or dime coin.
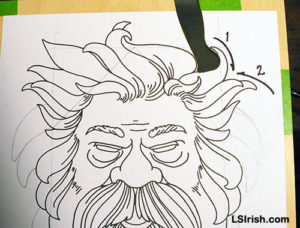 Step 12 Begin your second set of cuts to free the next hair strand, following the same procedure as you worked the first. Note the marker arrows on the pattern that show the direction of the cuts.
Arrow #1 marks this as the first cut to allow that thin portion of the design to be held by the larger area of the uncut board during the cutting session. Were I to cut arrow #2 first, that thin section of the pattern would be free floating, and more likely to vibrate during the cut or even break-out.
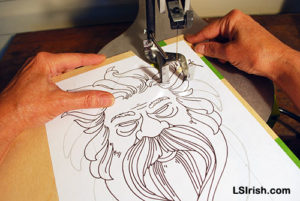 Step 13 Start this second cut from the top of the board, working towards the face. When you reach the inner point of the angle stop the cut, turn off your saw, and back out the blade.
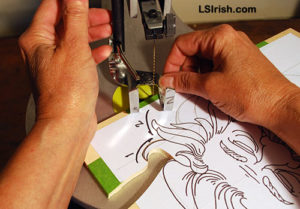 Step 14 Make the second portion of the cut, working from the side of the board towards the face. When you reach the inner point of the first cut the wood slice will be freed. Stop the blade and remove this portion of wood.
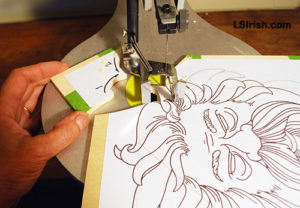 Step 15 To this point we have cut two strands of hair, cutting each as one individual unit, working for the edge of the board towards the main design. With each cut we have stopped the blade at the point, then backed the blade out of the wood to make a new cut.