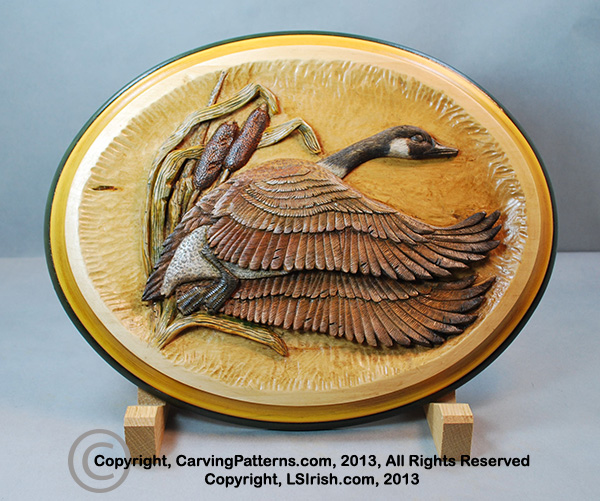
 In this second lesson for how-to high relief carve and wood burn a Flying Canada Goose free project we will focus on the rough cut stage of wood carving, basic steps to shaping a level, and how to create a high relief undercut using a bench knife into your basswood plaque. This project is divided into five chapters, please visit each of the free lessons below.
Canada Goose Relief Project, Introduction
Canada Goose Relief Project, Part One
Canada Goose Relief Project, Part Two
Canada Goose Relief Project, Part Three
Canada Goose Relief Project, Part Four
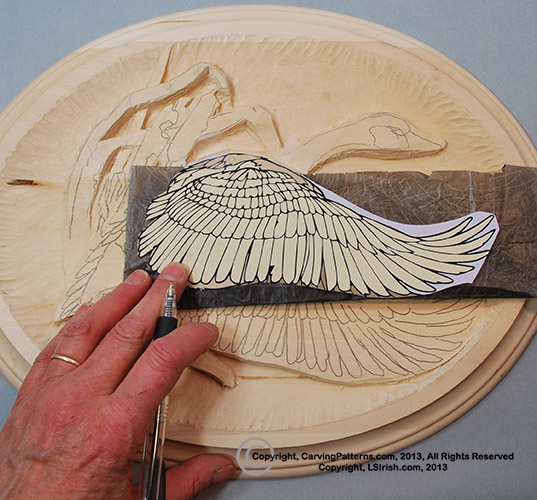 Step 19: Tracing the detail lines of the pattern
Cut one of your detail patterns along the level’s outlines. Using a small piece of graphite paper, fit each pattern piece onto its level and trace the detail lines of the design. We will carve many of these lines away as the shaping work is done but for me it is easier to trace all of the lines then to try a determine which lines I will or will not need for these next steps.
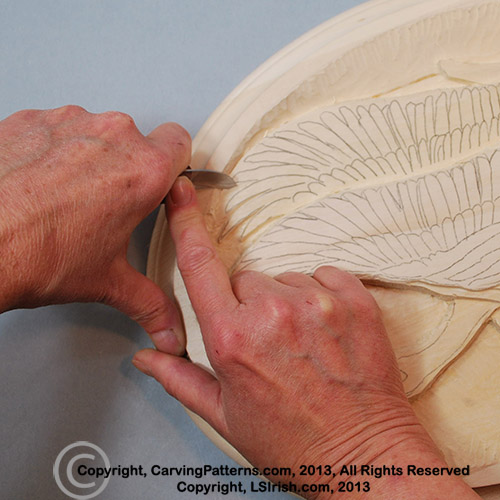 Step 20: Defining the wing feather tips in the back wing
To open the space between each wing feather tip I am using a three-stroke chip cut. Make a cut along one outer edge of a feather tip, slanting your bench knife towards the center v-shape area that you are removing.
 Flip your bench knife over to cut along the outer wing tip edge with the knife slanted towards the center of the v-shape that you are releasing.
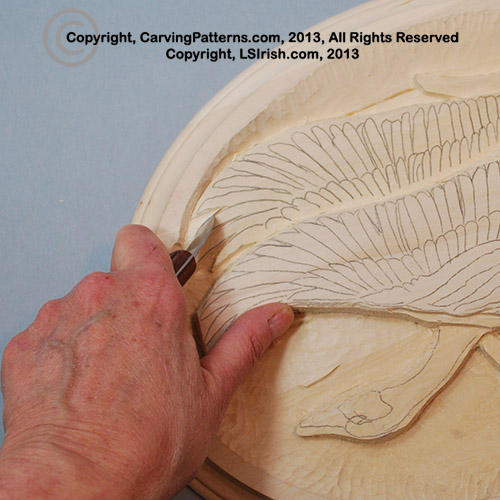
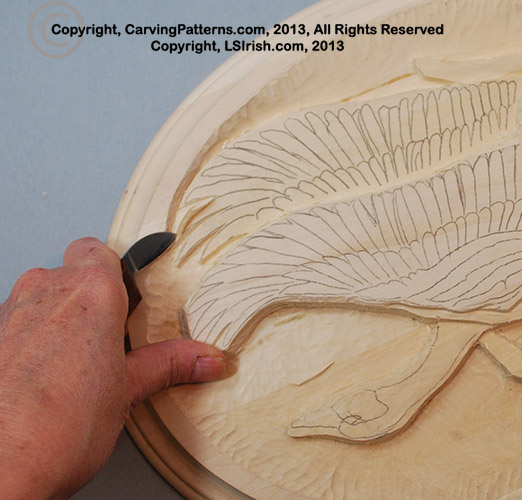 The third stroke is worked between the outer points of the first two cuts with the knife slanted towards the point of the v-shape area. These three strokes will lift a neat triangle chip.
To lower that v-shaped area to the background level I chose my u-gouge.