Relief Carving Cuts
By L.S. Irish
Stop Cut in Relief Carving
The stop cut is a very simple but extremely useful technique in any relief carving. Along any definable area where one section of the design intersects with another area or the background, the stop cut will help you to establish the different layers of work.
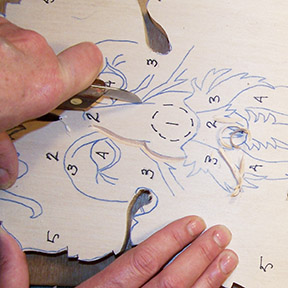 Begin by drawing your bench knife or skew along the pattern line. Make several strokes until you have reached your estimated depth of this area. Slant the bench knife with the final slope of the element your are cutting. In this sample the side of the nose slants towards the cheek area of the face. You can see the bench knife follows that slant.
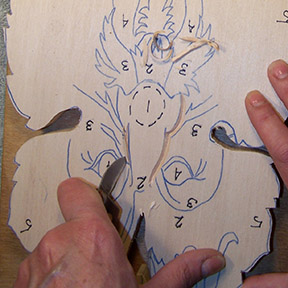 A single stop cut works well but there are time when you want to create a wider cut. To open a v-shape trough, a wide stop cut, make one cut along the pattern line. Turn the wood 180 degrees and make a second cut with the bench knife slanted into the first. There should be a small gap between the two cuts at the surface of the wood, with the tip of the knife touching in the wood where the first cut was made.
This two-cut stroke lifts a small v-shaped sliver of wood.
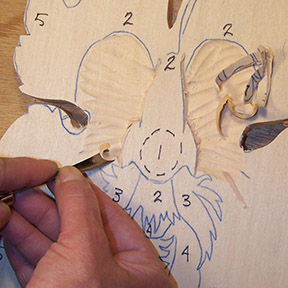 Now with a gouge or skew chisel the background can be carved away by pushing your tool into the stop cut. At this point the wood will flake away instead of splintering. A stop cut can be re-cut many times, slowly developing the depth of the intersect. With careful work this technique will create crisp division lines between the different areas of your carving.


Pingback: Wood Carving Techniques | LSIrish.com