By L.S. Irish

Sand paper and sanding boards
 Choosing whether to smooth or sand the final carving can depend on several factors. First to consider is the type of wood that you have chosen to carve. Some woods sand better than others. Basswood and tupelo, in my experience, tend to fuzz when sanded, developing spider webs of fine fibers. Butternut and walnut accept sanding quite well, as does oak and most of the pines. Cedar and sassafras do not fuzz, but they do tend to highlight or accent their grain patterns with sanding. This grain can be a wonderful effect in your carving if you are prepared for it. Before doing any sanding on your final carving, try the paper on a scrap left over from your project.
Use gradually finer layers of sand paper as you work down the carving. If you chose to sand one area of the project, it is usually best to sand the entire work. The sanding process does give a slightly different final appearance than un-sanded areas that can be very noticeable after the final finish is applied to your artwork. Be care to sand in gently strokes, you are working with soft woods that can be scarred by either the loose grains from the paper or from clumps of dust that you have removed.
Dust often and use a tack cloth to remove the layers of dust that you make. A stiff oil painting brush that you obtain at the local art store is another small item to throw into your carving kit for dusting deep in the edges of your woodworking, and every old toothbrush you find around your house should go in with your tools. Try whenever possible to sand with the grain of the wood. This can be very difficult with intrigue detailed work but will greatly pay off in the final look.
Pencils prepared as you did for the depth gauge and toothpicks will also aid you in the sanding stage of your work. Sand paper can be wrapped around these items to reach into the crevices and joints of the work. The pencil especially gives a strong back support to the sand paper making a more even finish than holding the paper with your fingers.
Shaving with a straight chisel or bull nose chisel
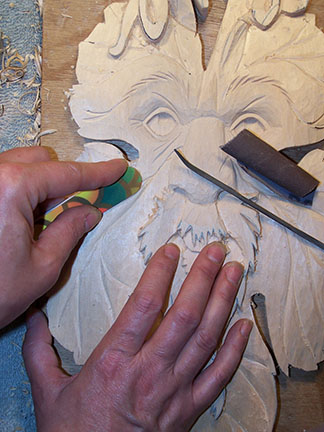
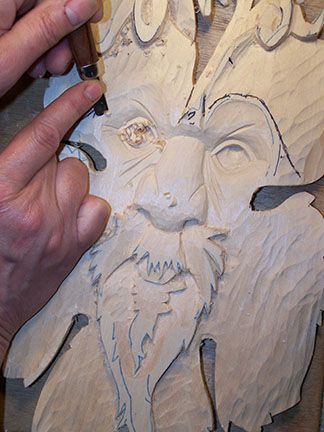 A second way to smooth your finished project is to scrape it with one of your carving tools. Chisels and skews with a finely honed edge can be held upright against the carved surface and scraped along it with the grain.
A curved gouge can be pulled backwards through a concave dip in the work and give a clean surface to the carving. This fine edge will remove the extra wood in very shallow layers. The point of the bench knife can be used to smooth the crisp edges of the crevices.
Again, dust often and use a tack cloth as needed. Where I will sand a work done in butternut, if I have been carving basswood I will scrape the surface to avoid fuzzing and receive a finer finish. Scrapping is a woodworking technique that is often used in chair making to round out the chair seat area.
When all of the smoothing has been completed place the work in front of a harsh light and turn it in many directions, this will let you see where you may need more smoothing. By the time the sanding or scraping is finished there should be neither pencil marks from your original pattern tracing left nor any impressions from the pencil point. This is important to check because once you put a final finish on your carving the pencil marks that you missed will be sealed into the project and un-removable.