By L. S. Irish
There are two questions that we get from new carvers all the time.
- How do I make clean even joint lines?
- How do I smooth the background?
So let’s look at a few of the different techniques that are used in relief wood carving that help with both questions. We are going to explore tight joint areas, easy to reach joints, chip carved corners, how to smooth an area, undercuts, and using textures at the joint area.
Tight – Hard to Reach Joint Lines
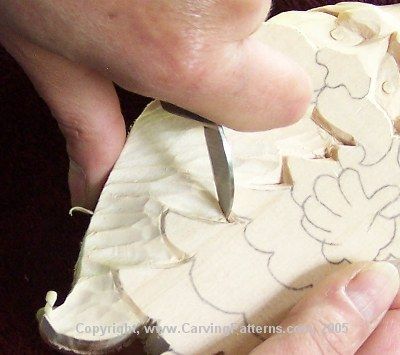
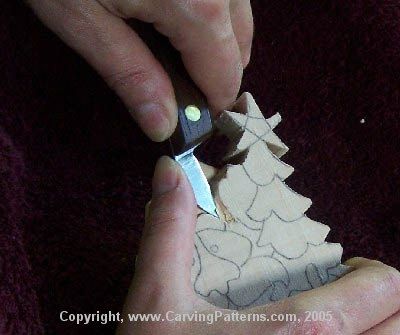
For tight corners and trapped corners I use my bench knife and a very small round gouge. That gouge is also called a veining tool or a u-gouge depending on the brand of tools. I stop cut along the vertical wall. That stop cut is made by pulling the bench knife not by pushing it straight into the wood. Pushing can compress the fibers along the wall, especially if you are using a straight gouge. After a little while those fibers un-compress and cause you problems.
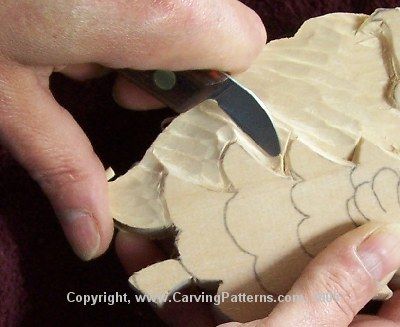
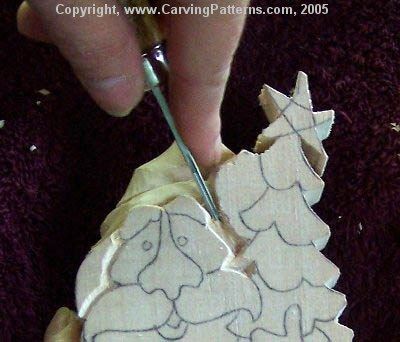
Once the stop cut is made I slide my bench knife along the floor area of the cut to sliver out a small section of wood. When your bench knife hits the stop cut the sliver pops out nicely. I do that until I hit a depth where the sliver cut is below the stop cut … the sliver does not pop out … then I can carefully make one more very shallow stop cut to remove that last sliver. The second photo shows that moment when my floor cut is below the stop cut.
Once the floor is to the correct depth to the wall I dress out the joint with the veining tool – small gouge.
Click the images for a close-up view.
Open – Easy to Reach Joint Lines
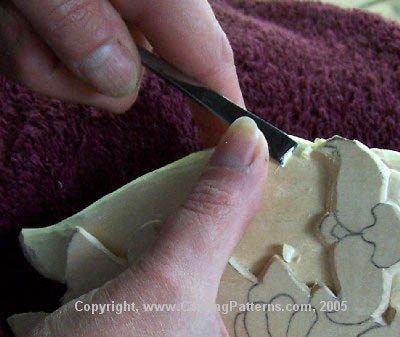
When the joint area or corner area is fairly open I will sometimes use my v-gouge to start the corner. Whether I chose to go with the v-gouge for a v-cut or the bench knife for a stop cut changes according to the area I am working. As you try a few carvings using both tools you will soon discover which tool works best in any given situation.
I can start with the v-gouge along the joint line. Tip or angle the v so that the wall cut is straight and the angle goes into the floor area. Drop this cut down just a bit, not below the depth of the v of the tool. I can always go back and re-cut to deepen any area. I prefer to walk out a line or joint not deeply force it out.
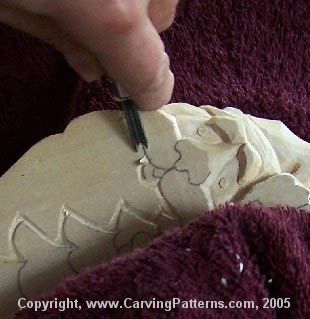
When the joint line is just above final level I start roughing the floor area with a large round gouge. Mine just eats wood! I guide the round gouge into the v-gouge lines.
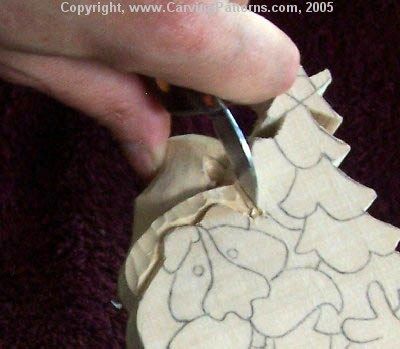
The third photo shows me roughing out the remainder of the floor. This little project had a convex surface … it was a little higher in the center of the floor area than along it’s edges and had a sharp drop off at the side of the Santa.
Click the images for a close-up view.

Chip Carved Corners
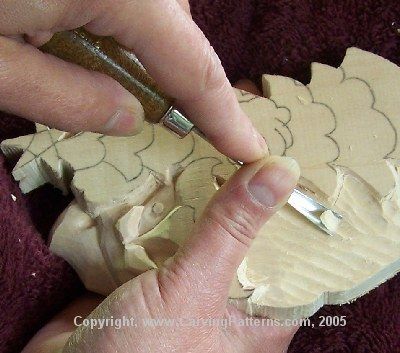
Here’s another corner area that is very open and easy to reach. I have used the bench knife to stop cut the two straight walls that belong to the tree. I then slide my bench knife along the floor, the knife is laid over so that it’s face almost lays on the wood. This cuts out a small chip exactly as you would a chip in chip carving.
Just above the corner that I am working on you can see the corner that I had just cut this way. Now compare that to the top corner which has not yet been chip carved out. Chip carving makes neat, clean, and crisp corners.
Click the images for a close-up view.