Walnut Hollow Woodburner Detailer – 3
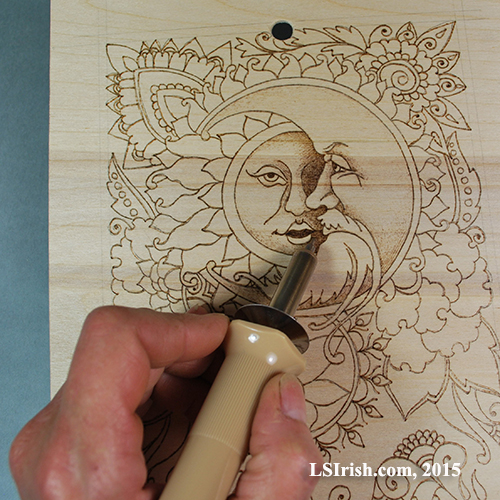
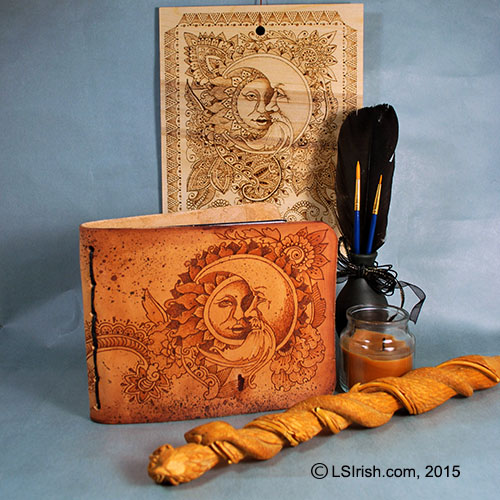
 The question that we are going to explore over the next few days as we work through two step-by-step pyrography projects using the Walnut Hollow Woodburner Detailer – the Henna Moon Plaque, and the Henna Moon Leather Journal. This post will take you through the steps for preparing your wood plaque, and tracing your pattern. We will look at basic hand positions used in pyrography, and outlining the pattern in the next post.
Henna Moon Pyrography Project
Walnut Hollow Woodburner Detailer – Introduction
Walnut Hollow Woodburner Detailer 2 – History of Henna Tattoos
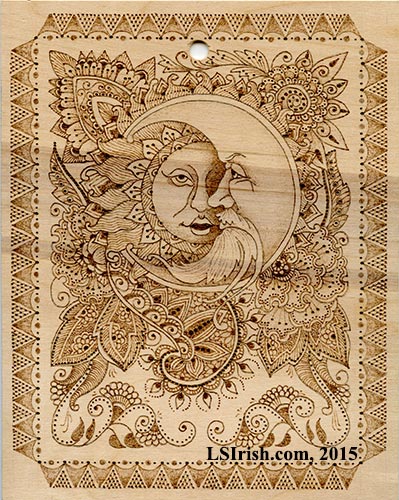
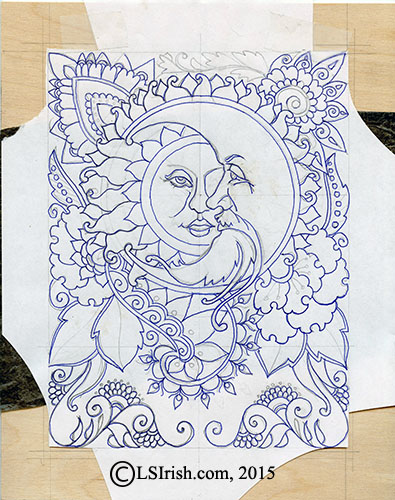
Henna Moon Pyrography Pattern
Click on each pattern for a full-sized printable image.
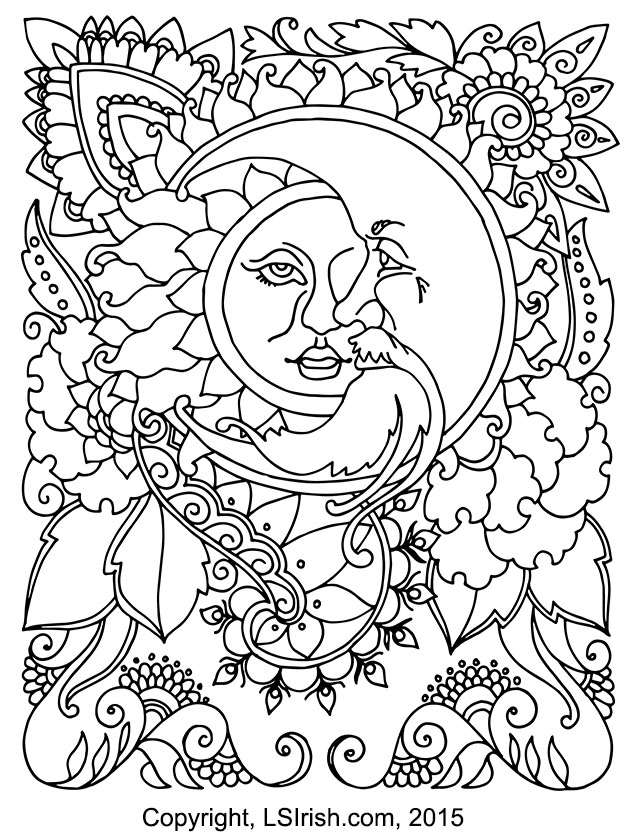 | 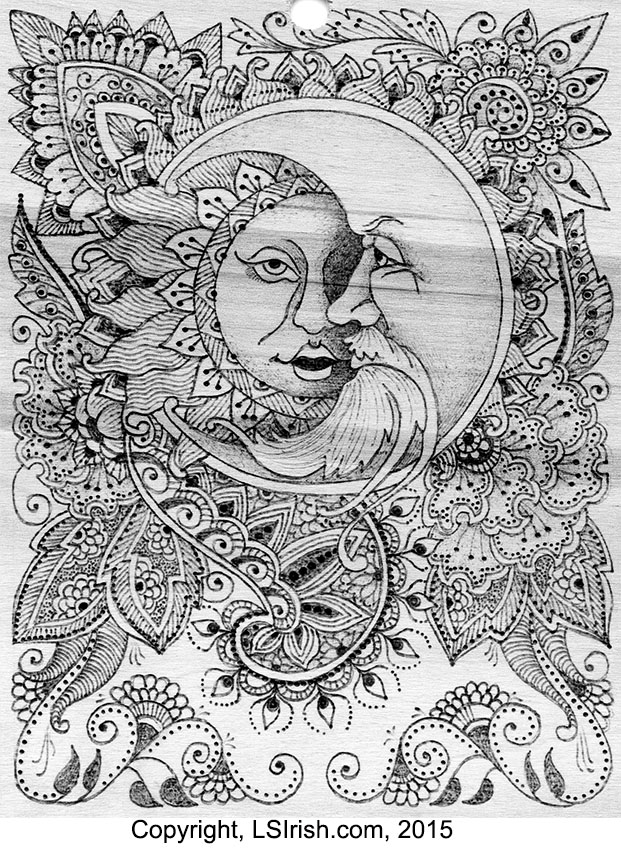 |
| Henna Moon Tracing Pattern | Henna Moon Working Pattern |
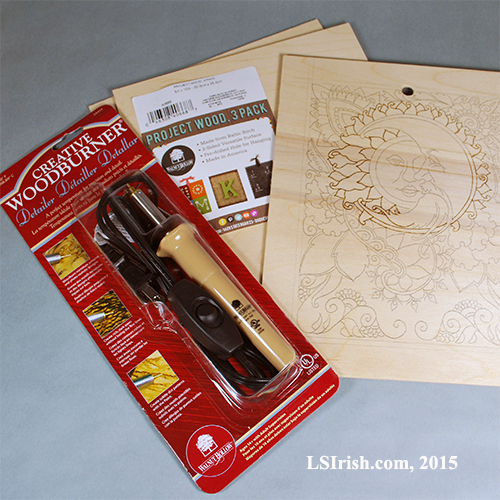 Henna Moon Plaque Supply List:
Walnut Hollow Woodburner Detailer
8″ x 10″ Birch Plywood Plaque
Soft #4B to 7B pencil
White artist’s eraser and a Document Cleaning Pad
220-grit sandpaper
Brown kraft paper – an old grocery store paper bag
Painter’s tape or masking tape
Ruler
 Preparing the Wood Plaque
Step 1: Lightly sand the working surface of your birch plywood with 220-grit sandpaper, working the sanding strokes with the grain lines of the wood. Remove the sanding dust using a soft, clean cloth.
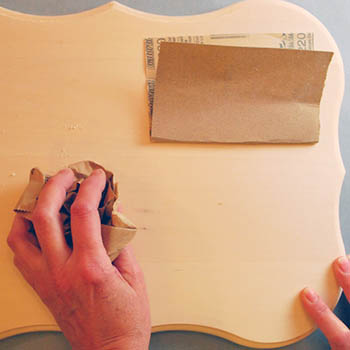
Step 2: Tear a large section of brown kraft paper from a paper bag. Crumble the paper in your hand into a loose ball. Use the crumbled paper to lightly sand the working surface of your board. Remove the sanding dust using a soft, clean cloth.
Note 1: While sandpaper does remove loose fibers and reduce uneven areas in our wood plaques, it also leaves very fine scratches in the surface of the wood. By working your sandpaper in the direction of the wood grain you hide those fine scratch between the wood grain lines where they will not show after the area has been burned, stained, or colored.
Note 2: Paper is abrasive. In wood carving I use newspaper as the final sharpening surface for my bench knife and carving tools. Brown kraft paper is a wonderful sanding media to remove any scratches left from the 220-grit paper and to give your wood surface a light burnished finish. As a wood carver and pyrographer I hoard all brown paper bags that come into the house.
 Preparing the Pattern Paper
Step 3: Click on the Henna Moon pattern and save a copy to your desktop. You can resize this image to exactly fit your plaque by using an image editing or photo editing program. Print a copy of the pattern using your computer’s printer. The pattern image that is shown here is sized to fit an 8″ x 10″ birch plaque and allows room for a border pattern.
Step 4: Fold the pattern paper into quarters – once along the horizon line and once vertically. Creasing along the fold lines. The intersection of the fold lines marks the center of your pattern for easy placement on the wood.
Step 5: Turn the pattern paper to the back and rub the entire back surface with a soft #4 to #7 pencil. This coats the back with a layer of graphite.
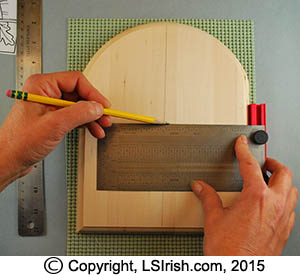 Step 6: Using a ruler and pencil mark the center horizontal and vertical line of your wood plaque.
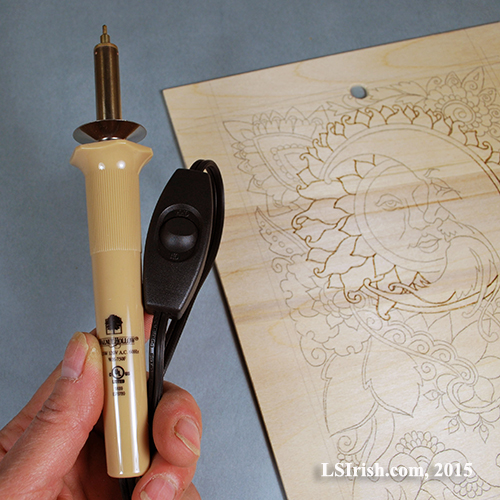
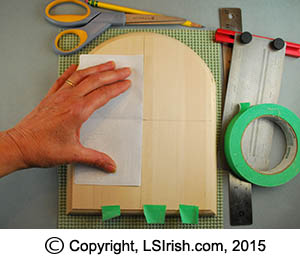
Step 7: Place the folder pattern paper at the center cross lines on the wood plaque. Carefully open the pattern, keeping the fold lines along the penciled guidelines on the wood. Tape the top edge of the pattern paper to the wood to hold it in place.
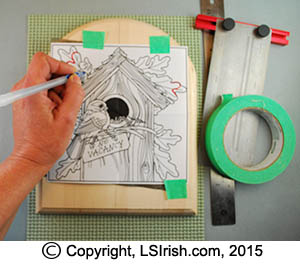 Step 8: Using an ink pen, trace the pattern lines. Lift a corner of your pattern paper and check that you have all of the pattern transferred. Remove the pattern paper and tape.
 Note: There are several methods to transferring a pyrography pattern to your media, and which you use depends on which media on which you will work.
For wood I usually do a #7 or #8 pencil rubbing because the graphite is dark enough to easily follow with my pen tip and can be completely removed after the burning is done using a white artist eraser. Please be careful if you use colored erasers as you can transfer some of the eraser dye onto your project.
For watercolor paper I will use a #2 to #4 pencil. With the white color of the paper I only need a pale graphite trace and any pencil lines left after the burning are often barely visible.
If I am burning cotton or linen cloth I use a water soluble quilt marking pen with the cloth, laid over the pattern on my light box. When the burning is done a light ironing with steam makes the pen marks disappear.
Leather crafters often transfer their patterns by wetting the leather surface with clean water. The pattern paper is laid on top of the damp leather and traced using a fine point stylist or ink pen. When completed the tracing process leaves a fine indented, unmarked line on the leather. I don’t use this process on my leather projects because that indented line does not go away and can cause my pen to skip or wobble during a stroke. Instead I treat the pattern transfer as if I were working on wood with a #7 or #8 soft pencil. Any pencil lines can be removed after the burning using a Document Cleaning Pad which is a soft cloth bag filled with ground eraser bits.
If you prefer to free hand your own designs to wood, leather, or paper consider doing the line work using watercolor pencils! Both Prismacolor and Derwent have watercolor pencils that can be purchased individually. A Pale Sienna pencil will create a line one or two tonal values darker than basswood and birch plywood. I use 20% French Gray for my watercolor paper burnings. When you are finished the work you can either lift the watercolor pencil using a lightly damp cloth, or you can incorporate the pencil lines into your paint or pencil color additions.
Finished Tracing Steps
 Step 9: At this point you should have your pattern transferred to your sanded and burnished plywood plaque. We are ready to start the outlining steps in the next post. See you there!