Shaping the Mule Deer – Mule Deer Relief Wood Carving Project
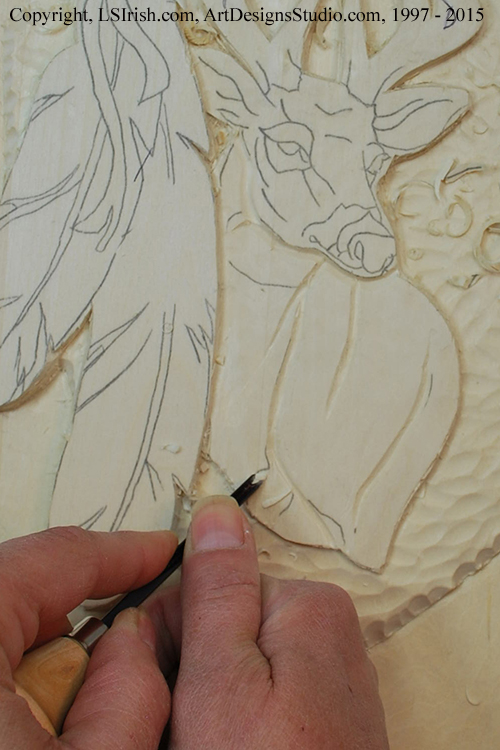
1 Using a v-gouge cut along the pattern lines in the mule deer’s body. Begin with shallow cuts; they can be deepened as you develop the shaping.
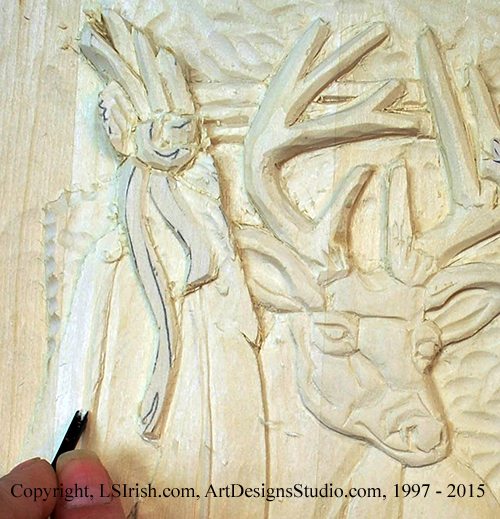
The neck of the deer falls below the level of the deer’s shoulder with the v-point of the breast the lowest part of the entire deer. The left edge of the deer’s neck is tucked under, sloping towards the feathers. The neck area below the deer’s chin also slopes from the nose towards the feathers.
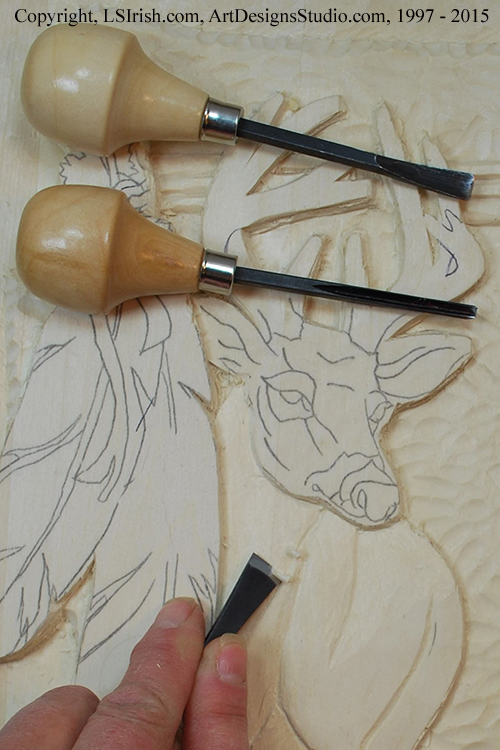
2 Use the straight chisel to shave along the sides of the v-gouge cuts, tapering each side into that gouge stroke. Re-cut with the straight chisel to widen the sloped sides along the v-trough cuts.
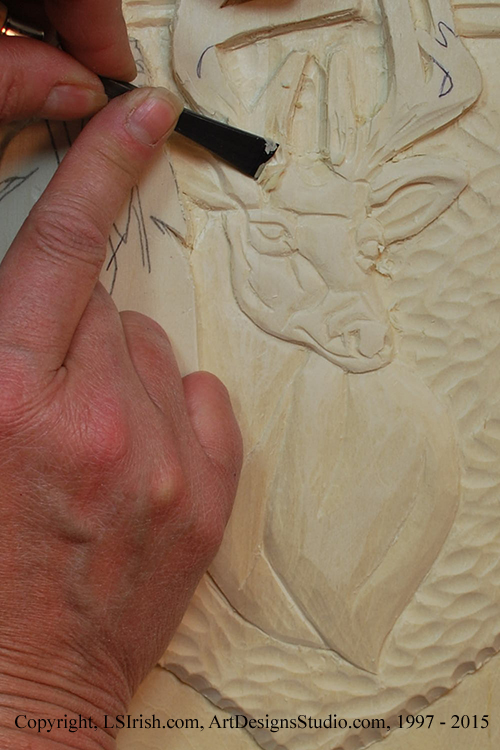
3 Use the v-gouge to define the facial feature pattern lines. Hold the straight chisel so that one edge of the tool leads into the area to be rounded over to shave the narrow areas in the face.
4 Round over the antlers with the bench knife and straight chisel. In this sample photo the plaque has been turned in the bench hook so that the bench knife cut follows the wood grain.
5 During any carving session I will turn my plaque, either to one side or the other or upside down. This changes the light source and lets me see areas that may need extra work.
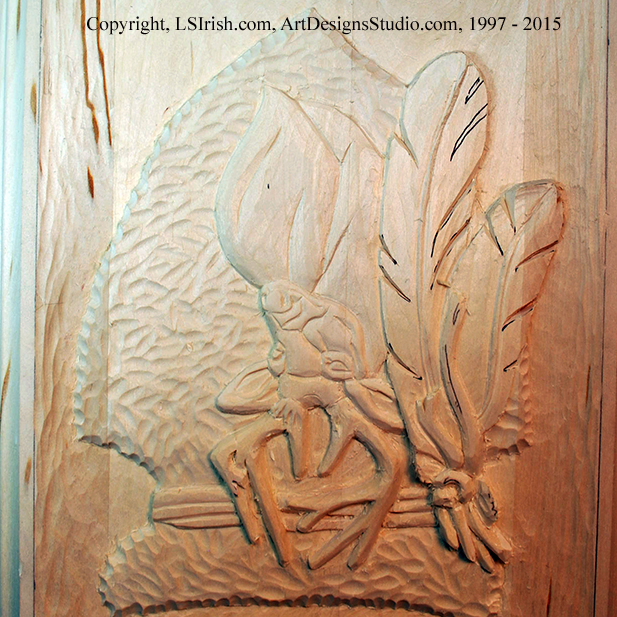
6 The last level in the pattern has been left at the original level of the plaque to this point in the carving. Using your straight chisel shape the feathers, the feather shafts, and the cord knot.
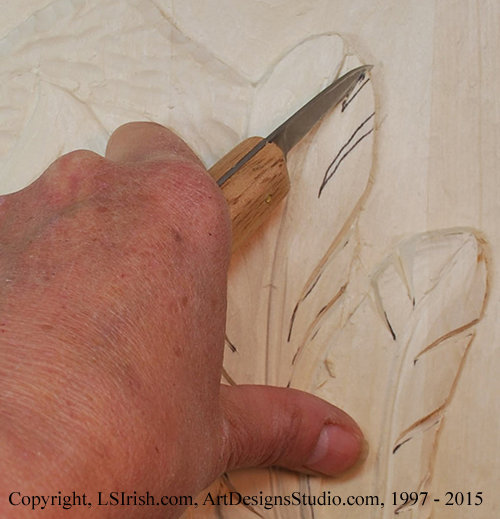
7 The final step in shaping the design is to cut v-troughs into the edges of the feathers with the bench knife.
8 Check the work that you have done to find any areas that need extra attention. Recut or re-shave those areas. Lightly sand the board using 220-grit sandpaper, remove any dust.