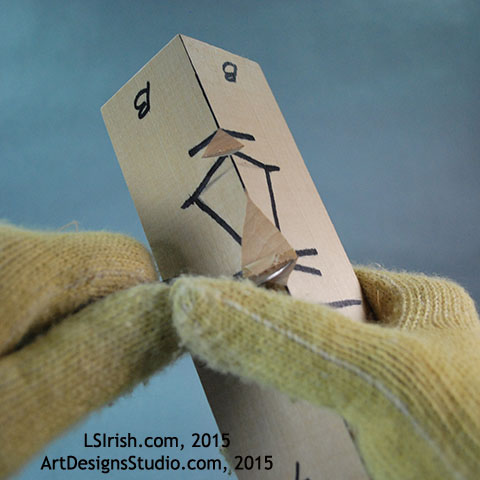
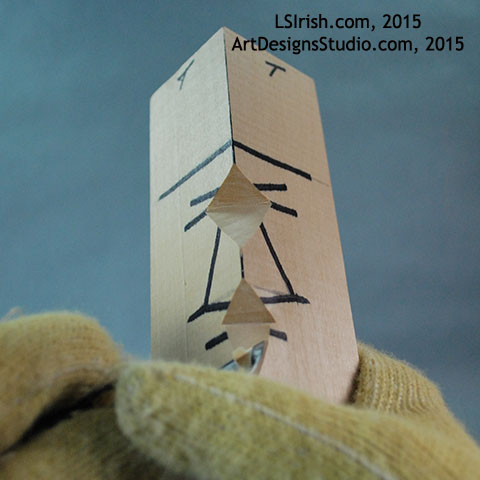
Step 7 Create the slope of the nose ridge.
Next, let’s free the nose from the face and establish the slope of the nose ridge by making a push cut from the center point of the nose towards the nose bridge. Work this slope until it meets the deepest point in the nose bridge wedge.
Work a small two-sided wedge at the bottom of the nose to free this area from the mouth and mustache area.
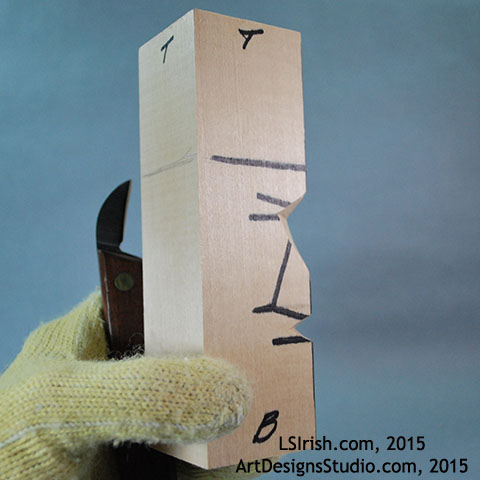
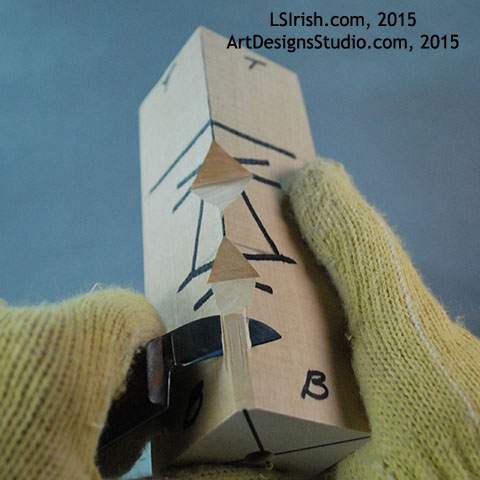
Step 8 Clean the slope cut at the nose bridge.
Flip the block over and cut the slope or bottom nose chip free.
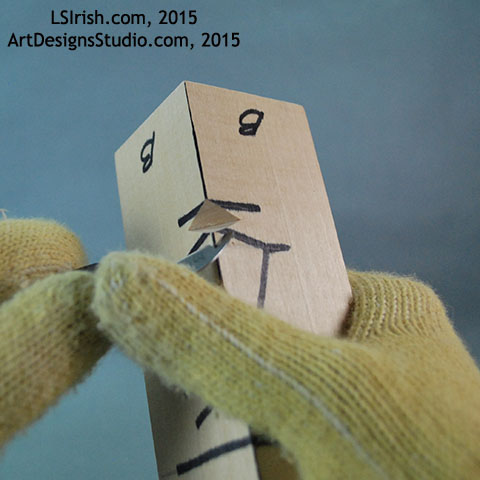
Step 9 Cut along the bottom edge of the nose.
Your wood spirit now has an established nose angle that runs through the center of the corner edge.
Cut a slight angle to the bottom of the nose ball, cutting towards the mouth wedge. This area will have two angles – one for the bottom of the nose, and one steeper angle for the top of the mouth.
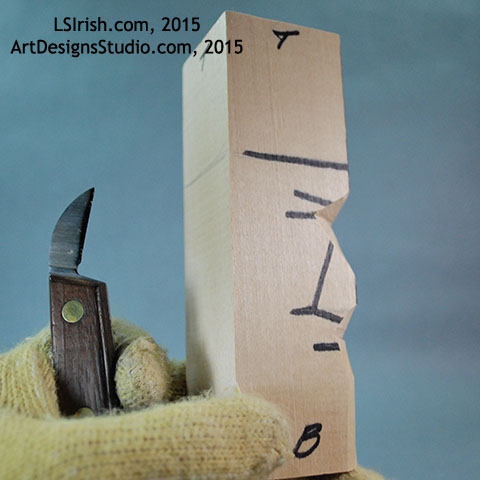
Our nose now has a distinct nose bridge, a slope that starts at the center of the nose and tapers to the bridge, an angled wedge at the bottom of the nose, and a second wedge which establishes the top of the mouth or mustache.
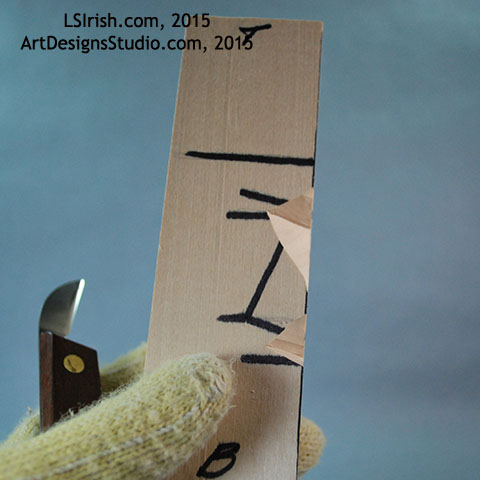
Step 10 Creating the flair of the mustache area.
This is just my opinion – but one of the greatest assets of a wood spirit is his wild, uncontrolled beard and mustache. So I am going to set my mustache just below the bottom of the nose. This is done be slicing from below the mouth wedge in a long, sloped cut into that wedge.
Since a mustache flare out and away from the face the farther it grows from the nose, I want that same flair in this early cut.
Once the slope is made I can remove the extra wood along the corner edge below the mustache flair. We now have a very, early rough idea of where the nose will be and how the nose will angle down the face.