
 Step 4
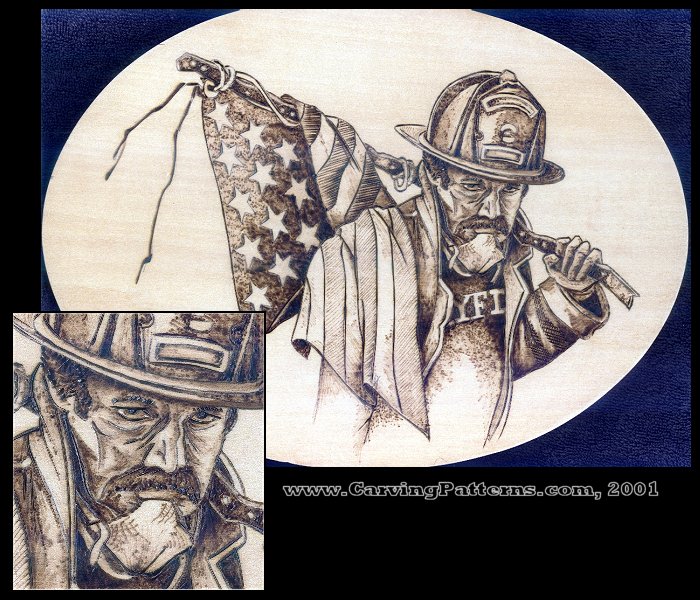
After each small area has been worked through the tonal value shading it is time to work the pattern as a whole to unify the very darkest and very palest areas of the work.
In this finished sample there are three black areas – the fold of the flag where it goes behind the Fireman’s back, the neck line of his shirt where it tucks under his chin, and the flag holding arm and shoulder.
To create bright white, raw wood, lines and accents in any burning you can use a wood carving bench knife or X-acto knife to cut thin lines through the burning.
Step 5
when the burning is complete use a white artist eraser over the burned surface to remove any remaining graphite lines from the work. Dust the work well to remove the eraser dust. Sign and date your work either on the front with your wood burning tool or on the back with a fine line permanent marker.
You may now add watercolors, artist quality colored pencils or water-thinned acrylics as coloring agents or you can simply seal the finished burning with several light coats of polyurethane spray sealer.
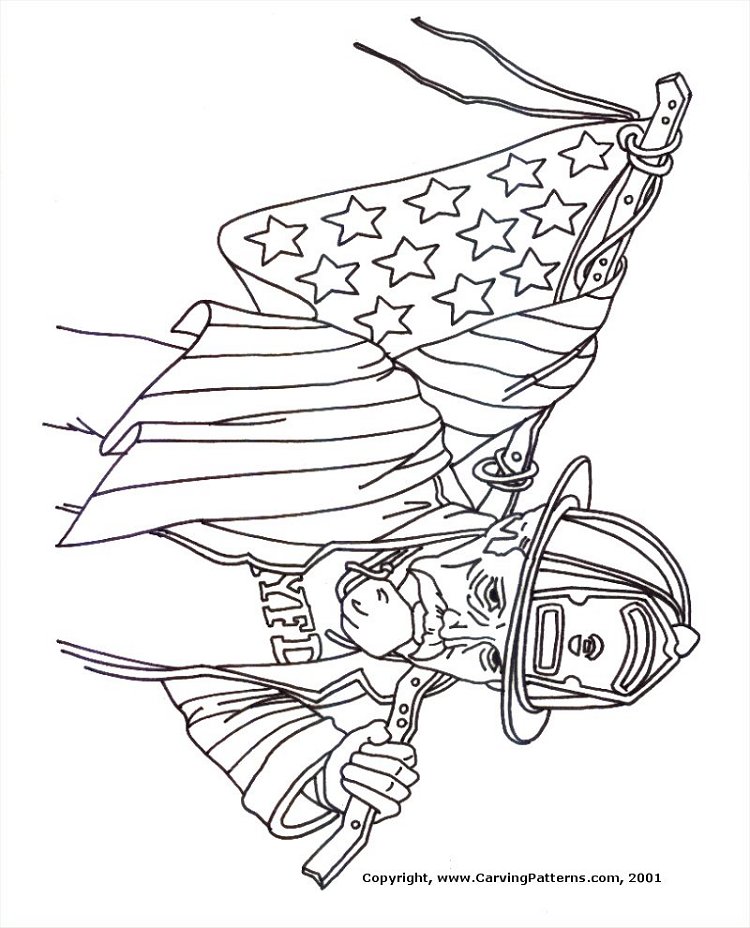 Free pattern courtesy ofArt Designs Studio
Personal Use Only