During this last session of our free Celtic knot postage stamp pyrography project we will complete the burning of the tail and feet for our birds and discuss the finishing steps for any pyro project.
Free Postage Stamp Pyrography Project, sponsored by Art Designs Studio :
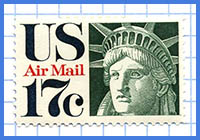
Page 1, Page 2, Page 3, Page 4, and Page 5

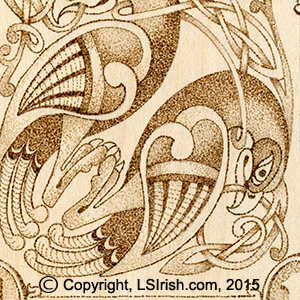
A medium temperature setting and loosely packed dot pattern is used to create the pale tonal values of the bird’s leg, foot, and the three tail feathers.
The base of the tail, where the tail tucks under the back wing, uses a medium-hot temperature and a graduated tightly-packed dot pattern.
The inner crescent-shapes of the tail are left unburned, and the outer crescents are worked as a solid-packed, dark tonal value.
Work the pattern outlines in a medium to medium-hot temperature setting with a tightly-packed dot pattern.
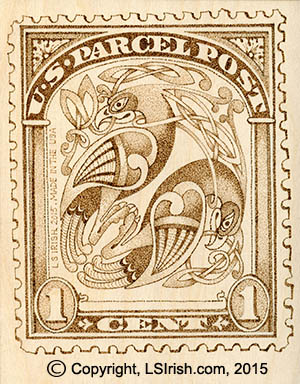

Part of the fun of creating your own postage stamp design is that you can add a personal touch to the work.
In our sample I have added, in a vertical line, along the left edge of the design area my name and “Made in the USA”. Just above the 1 cent banner I have added the name and state for my home town.

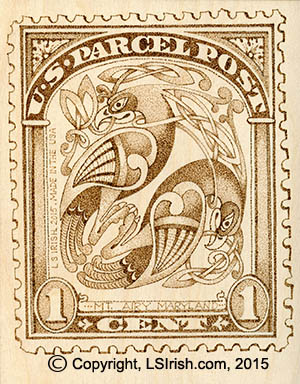
This same pattern could easily become a wedding plaque by exchanging the newly married couple’s last name where the pattern has U S Parcel Post.
The bride’s first name could go into the left-side number oval with the groom’s name in the right-side oval.
Replace the word “cents” with the marriage date, and the home town personalization with the name, address, or location of the church, temple, or synagogue.
 | American Eagle Mantel Pattern Package |
| Proud to be an American Pattern Package |

When your project burning is complete, unplug your wood burning tool and allow it to cool before storing it away. As a habit I clean my pen tips at the end of every burning session with either a leather strop and rouging compound or with heavy brown bag paper.
Using a white artist’s eraser clean the surface of your burning to remove any remaining pattern lines and dirt that has built-up. Wipe the wood with a clean, dry cloth to remove the eraser particles.
Using the brown bag paper, lightly rub the surface of your burning to remove any remaining rough fibers left from the hot temperature burns. Wipe the surface with a clean cloth.
At this point in the project you can add coloring to your postage stamp using watercolors, artist quality colored pencils, watercolor pencils, or water-based fabric dyes.
Seal your burning using several light coats of polyurethane or acrylic spray sealer, following the directions on the can.
 Copyright, Lora S. Irish, 1997 – 2015 Art Designs Studio.com, 1997 – 2015
All International Rights Reserved
Use of any information, images, or text in digital or printed format or in any magazine, book, or booklet is strictly prohibited without
the written, hard copy permission of the author, Lora Irish.
This is new work, created after May 2013, by Lora S. Irish. Use in part or whole by any publishing company
is strictly prohibited without a written, signed, and dated contract for this new work with the author.
June 01, 2015