Using acrylics as an antiquing stain
This is the Never Goes Wrong technique that any carver can keep in his or her back pocket. It is a perfect answer for that paint job that you just can not get control of for some reason … too many paint brush stroke ridges, uneven coloring, a bad choice of colors. When that happens you can go directly to this technique and turn that carving around into an instant winner!
2″ x 2″ 3″ basswood block
bench knife
chip carving knife
large round gouge
Acrylic Craft Paints:
King’s Gold – golden yellow
Summer Sunset – pale burnt orange
Alizarin Crimson – maroon
Nutmeg Brown – medium dark brown
Carbon Black
Titanium White
220-grit sandpaper
dry, clean cloths
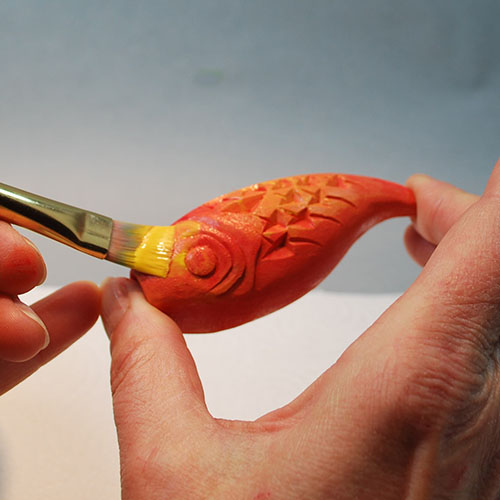
Step 2: With a pencil create a 1/4″ wide grid across the back of your fish. You will need to vary the grid lines some to adjust for the changing width of the fish body. Mark a chip carving grid design using the grid lines. With a chip knife chip cut the fish body.
NOTE – If you are new to chip carving this is a fun practice piece. Because we will be distressing the fish after the painting steps if you make small kicks or chip out or even have uneven sides to your chip cuts none of that will matter when this fish is finished. So you can practice to your hearts content knowing that every practice piece will be a keeper.