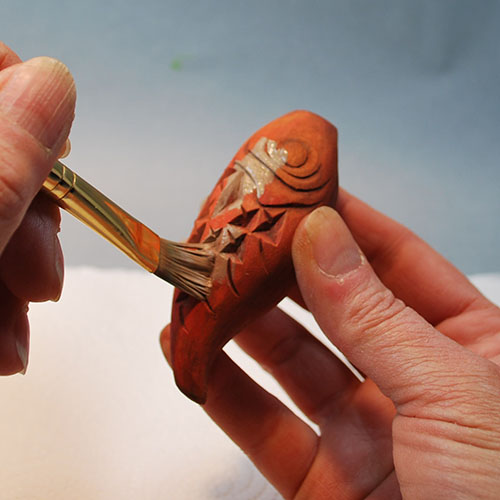
 Step 6: Add a few drops of titanium white to the thinned nutmeg brown, you want a medium tan color. In a random fashion apply this mix to a few unconnected areas on your fish. With a slightly damp cloth wipe the color as you did the nutmeg.
SECRET – We are going for a true vintage look, not just a stained or antiqued work. Vintage wood darkens over time for three reasons. First, there is a dark layer – a black brown layer – that comes from handling. The oils and dirt from our hands builds up over time. Second, the layers of cleaning solutions and oil polished that have been used also add a dark layer of patina. But the final, top layer, of patina comes from the buildup of dust and dust looks pale grey/brown/white that is found in the corners and crevices.
So when you spot stain the chip fish with the tan craft paint you are putting dust into the deep areas of the carving!
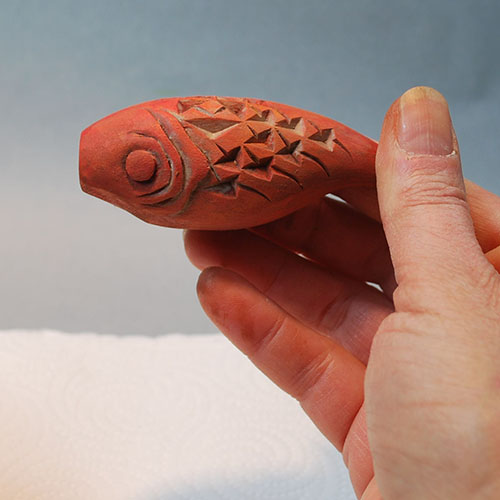 Step 7: Allow the fish to dry well for 15 minutes or because we are using acrylic craft paints for the antiquing steps you can nuke in the microwave for 15 seconds.
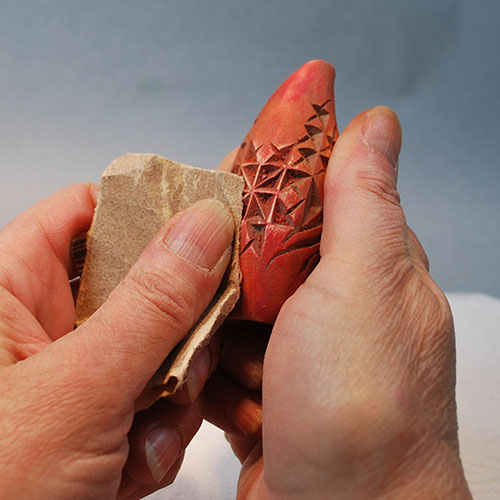 Step 8: Sand your painted chip carved fish using 220-grit sandpaper. Work some areas very heavily to go back to the original wood, Work some light to only thin the paint. Work unevenly to add to the distressed look.