Leather Burned Jewelry
Leather Burned Jewelry Gallery of Ideas
Leather Burned Jewelry, Day One
Leather Burned Jewelry, Day Two
Leather Burned Jewelry, Day Three
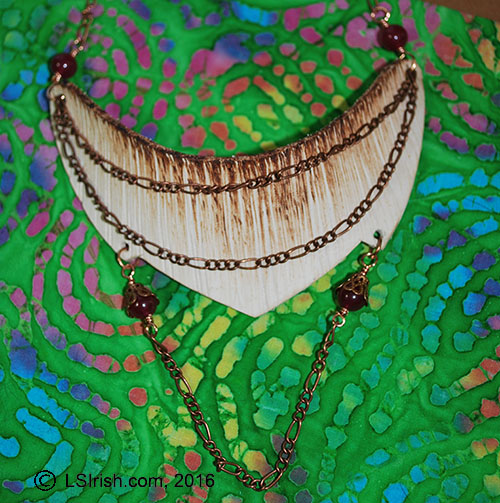 Roaring Twenties
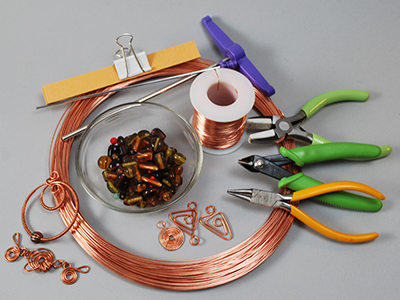
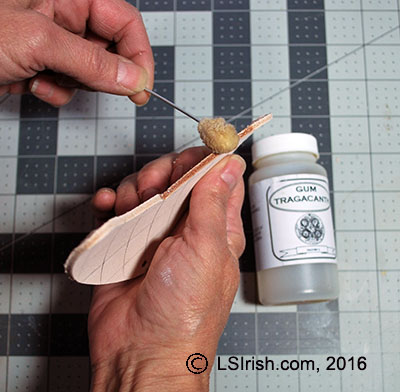
SUPPLIES
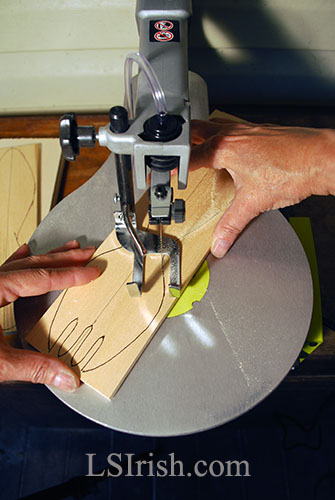
5” X 3” (14 cm x 7.5 cm) vegetable-tanned leather
2 – 6” lengths of copper chain for necklace
1 – 5” length of copper chain for top hanging chain
1 – 7” length of copper chain for middle hanging chain
1 – 4” length of copper chain for beaded chain
4 – 6 mm round adventurite beads
2 – 6 mm split rings
1 – lobster claw latch
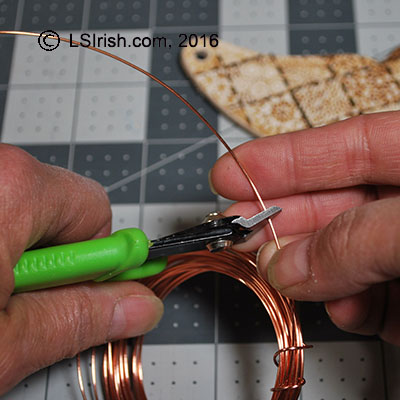
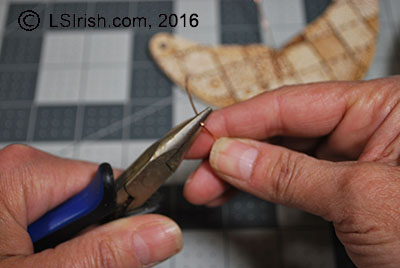
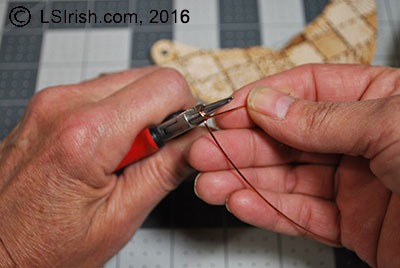
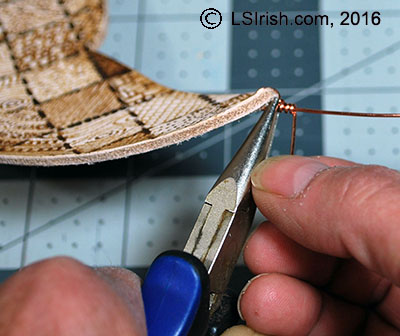
18” – 20-gauge or 18-gauge copper wire
Using your loop-tip, or ball-tip, burn thin, straight lines onto the leather shape.
Begin the lines at the top edge of the leather and pull the lines to the center area of the leather. Work several layers of burned lines, beginning on a medium heat setting and working towards a hot temperature setting.
Use a v-gouge to cut vertical lines in the leather, creating white lines through the burned areas.
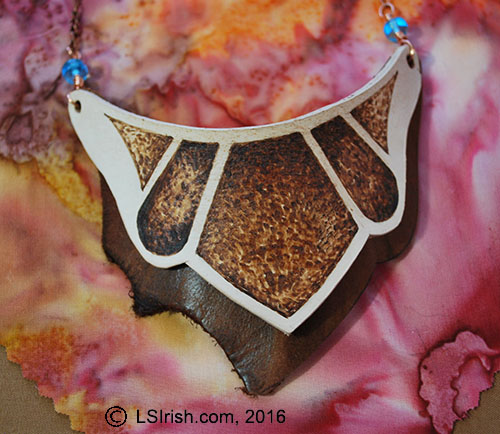 Navajo Nation
SUPPLIES
1 – 5 1/2” x 3 1/2” (14 cm x 9 cm) medium weight, vegetable-tanned leather
1 – 5 1/2” x 4” (14 cm x 10.25 cm) medium weight, dark brown scrap leather
2 – 7 1/2” (19 cm) lengths of copper chain
18” length of 20- or 18-gauge copper wire
2 – 8 mm turquoise glass crow roller beads
2 – 6 mm split rings1 – lobster claw latch
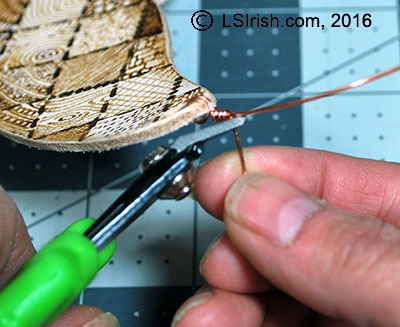
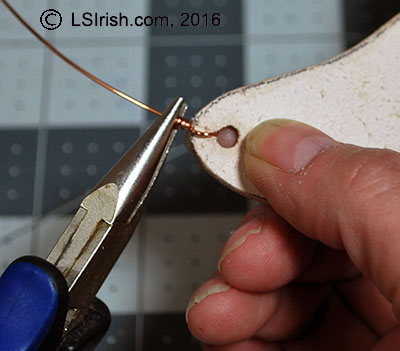
Trace the pattern to your vegetable-dyed leather. Using a loop-tip or ball-tip burning pen, fill in each area with a medium temperature burn. Increase the temperature setting slightly and burn a second layer of strokes to the top half of each area. Increase the temperature again to a hot setting and following the photo burn in the black-toned areas of the design. The round end loop of the turquoise glass bead link is worked through both layers of leather.
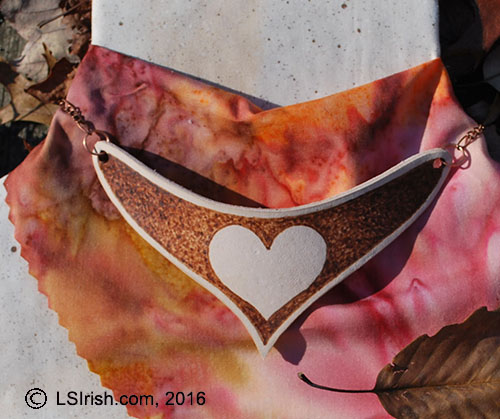 Forever Yours
SUPPLIES
1 – 5 1/2” x 3” (14 cm x 7.5 cm) medium weight, vegetable-tanned leather
2 – 10 mm copper jump rings
2 – 6 mm copper split rings
2 – 7” (17.75 mm) lengths of copper chain
1 – lobster claw latch
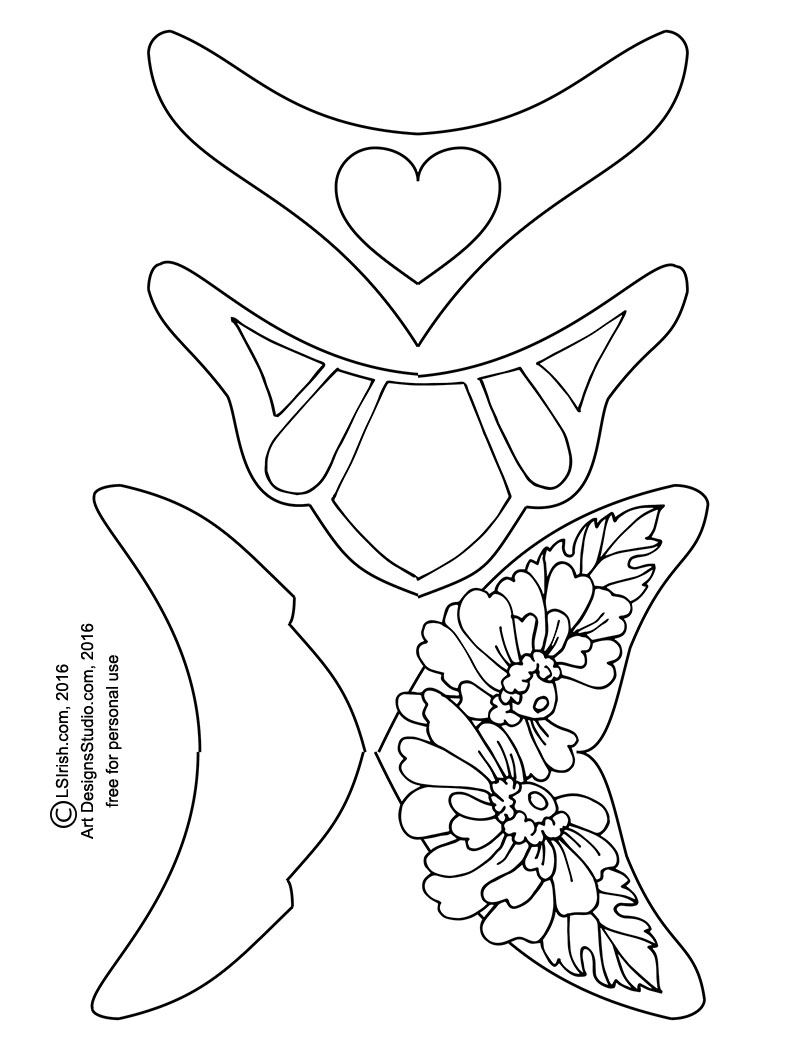
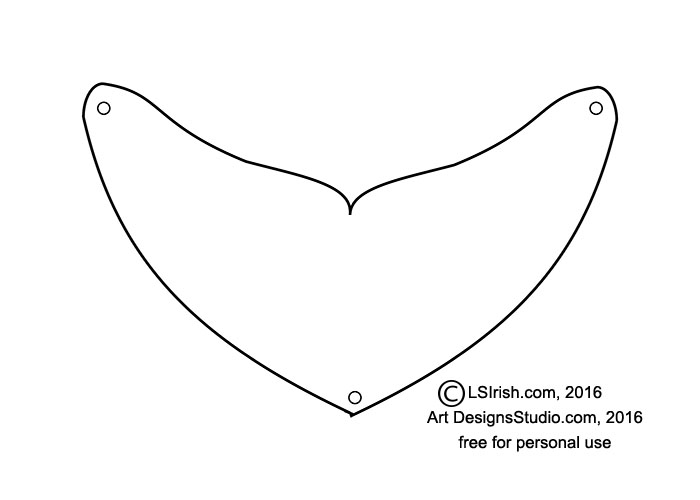
Trace your pattern to the vegetable-tanned leather. With your pyrography unit set on a medium temperature setting, using a ball-tip or shader-tip pen, begin filling the areas of the pattern outside of the heart design with a medium-light tonal value. Use any fill or texture pattern that you like.
Work a second layer of burning on a slightly hotter temperature setting at the center point of the leather necklace and in the outer half of each side. A third burning at a still slightly hotter setting is worked in the outer one-third of each side of the necklace.
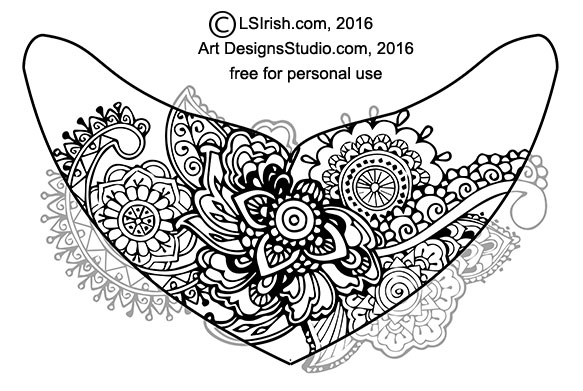
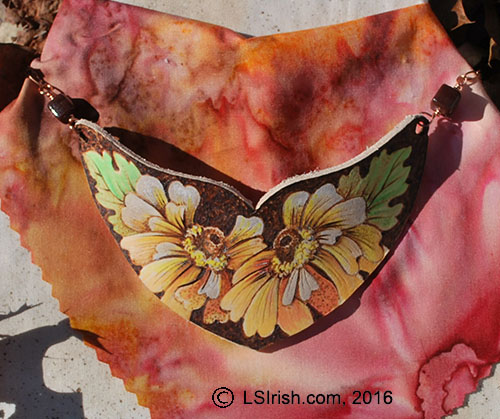 Summer Dreams
SUPPLIES
5 1/2” x 3 1/2” (14 cm x 9 cm ) medium weight vegetable-tanned leather
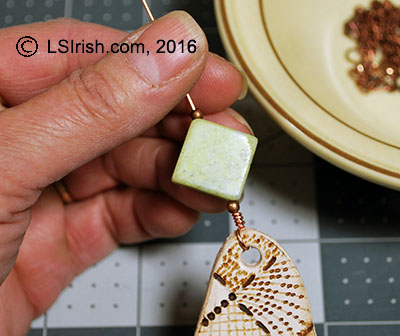
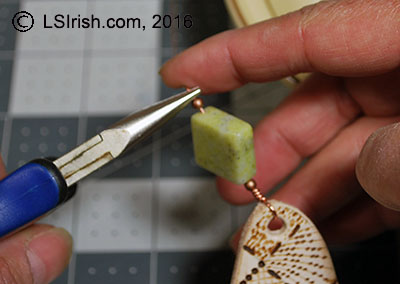
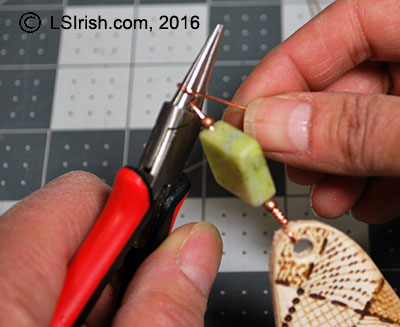
2 – 8 mm square glass beads
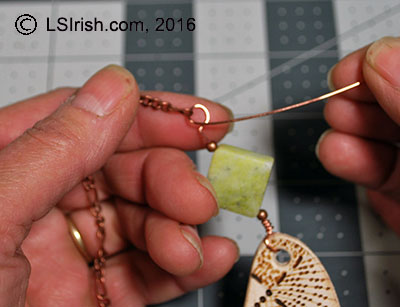
2 – 7” ( 18 cm ) long copper chain
2 – 6 mm split rings1 – lobster claw latch
18” – 20-gauge or 18-gauge copper wire
You can add color to your leather burned jewelry by using artist quality colored pencils. Begin this project by tracing your pattern to the cut leather. With your finest line pen, outline the entire pattern to a dark tonal value. Add shading in the petals and leaves using your shader-tip on a medium hot setting. Work the background in a solid dark tone.
When the burning is complete begin adding your color in thin, light layers of pencil work. Use one color over another to create new hues. When the burning is complete begin adding your color in thin, light layers of pencil work. Use one color over another to create new hues. When the coloring is complete give your necklace one to two coats of brush-on acrylic finish.
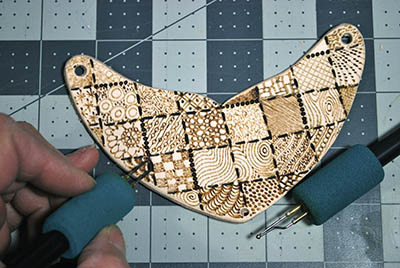
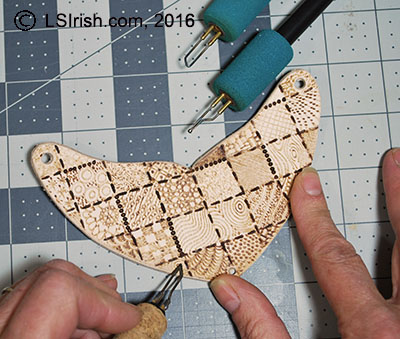
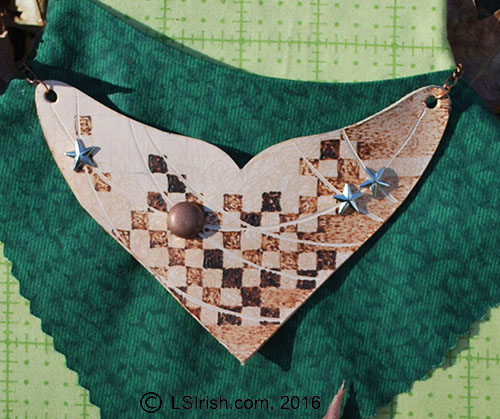 Steamed
SUPPLIES
5 1/2” x 4” (14 cm x 10.25 cm) medium weight vegetable-tanned leather
2 – 7” ( 18 cm ) long copper chain
2 – 6 mm split rings
1 – lobster claw latch
18” – 20-gauge or 18-gauge copper wire
Assorted leather brads and decorative rivets
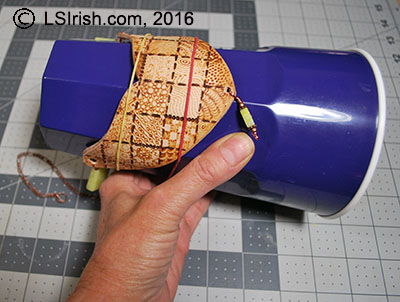
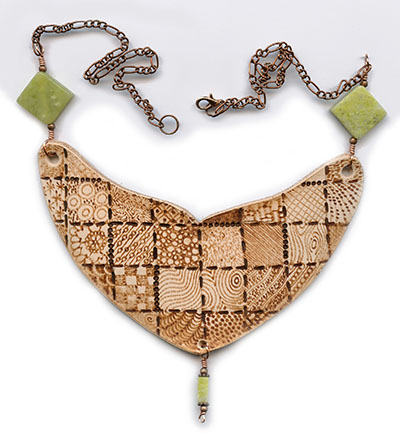
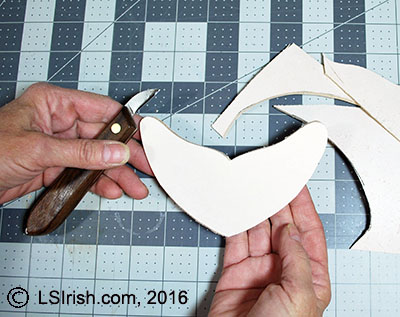
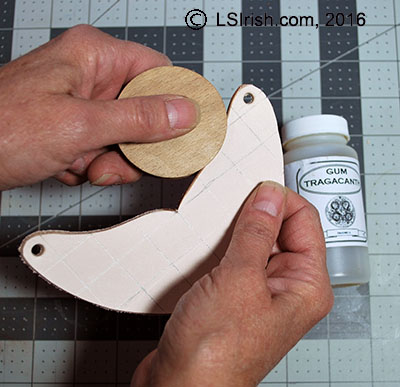
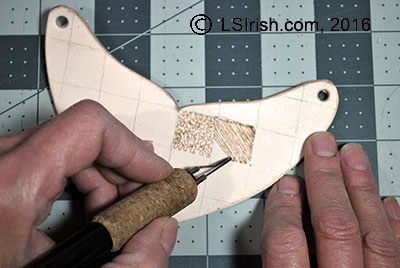
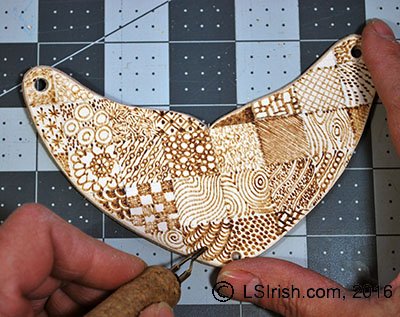
With a pencil, create a 1/4” grid on the face of your leather necklace. Fill the grid squares in a checkerboard pattern, varying the tonal values. Fill the right side of the necklace squares with this medium setting tonal value to make the larger block areas. With a low temperature fill the un-worked squares in the central area with a fill texture. Place a small ceramic plate face-down onto your leather and mark a pencil line. With a craft knife cut along the line, on both sides, to open a groove. Add your decorative brads and rivets.