Painted Blue Jeans 2, Free Craft Patterns
Doodle Days #13 – Blue Jean Painting, Wood Burn Spoons, Wood Carved Spoons, Leather Work, Free Lora S. Irish Patterns to Download, DIY Bookmaking, Bullet Journals, Scrap Booking, Card Making, Applique Quilting, Pyrography, Wood Carving
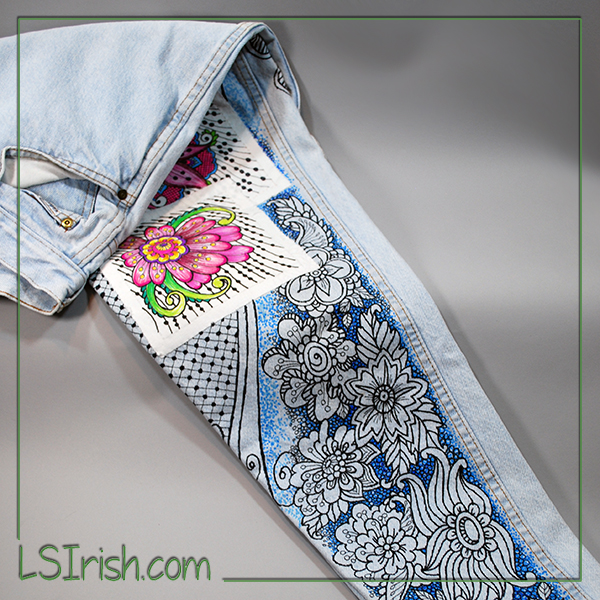
Painted Blue Jeans using our Free Doodle Patterns
Supplies:
1 pair of medium-blue blue jeans
1 cork-backed ruler
1-3 fine-point black fabric pens
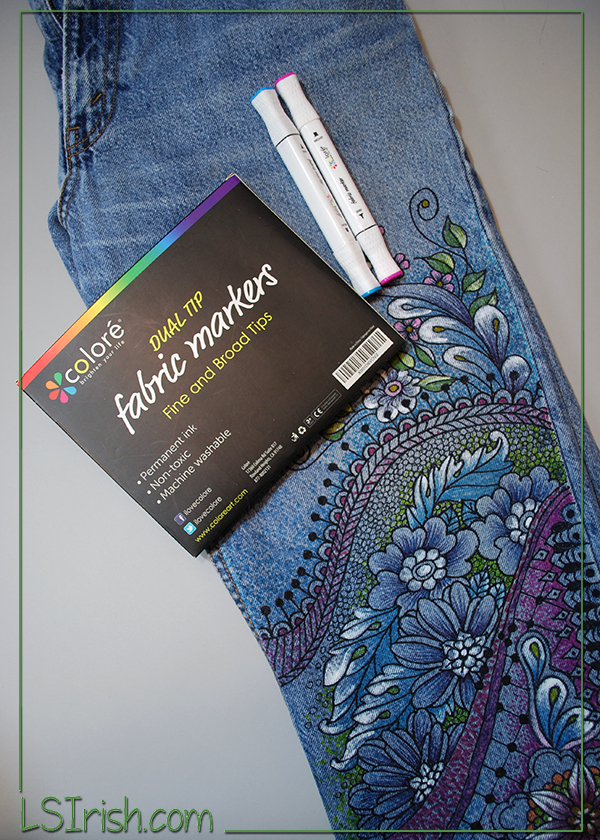
1 set of 18 to 24 colors, medium-point fabric marking pens
1 set of assorted color fabric marking pens
1 piece of scrap cardboard, large enough to slide inside the pant’s leg
steam iron
Colore Dual Tip Fabric Markers
Super Markers Fabric and T-Shirt Permanent Ink Pens
Sharpie Fine Point Markers, 36 piece set
Apple Barrel Acrylic Paint Set, 18 Piece
Step 1: Pre-wash your jeans to remove any starch or stabilizing chemicals. Dry the jeans thoroughly before you begin painting.
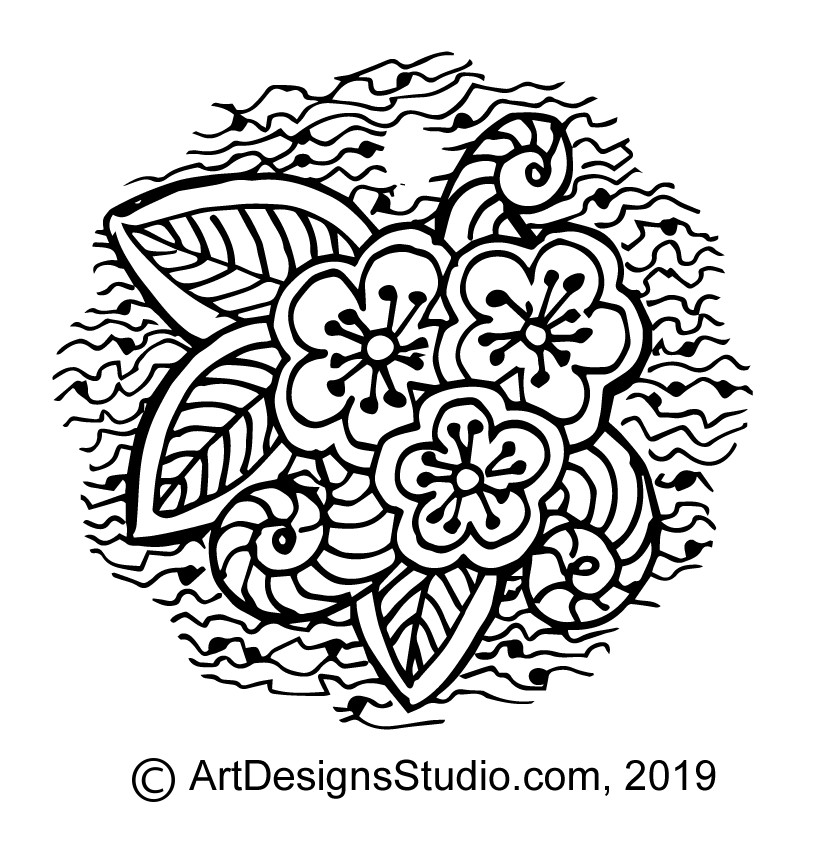
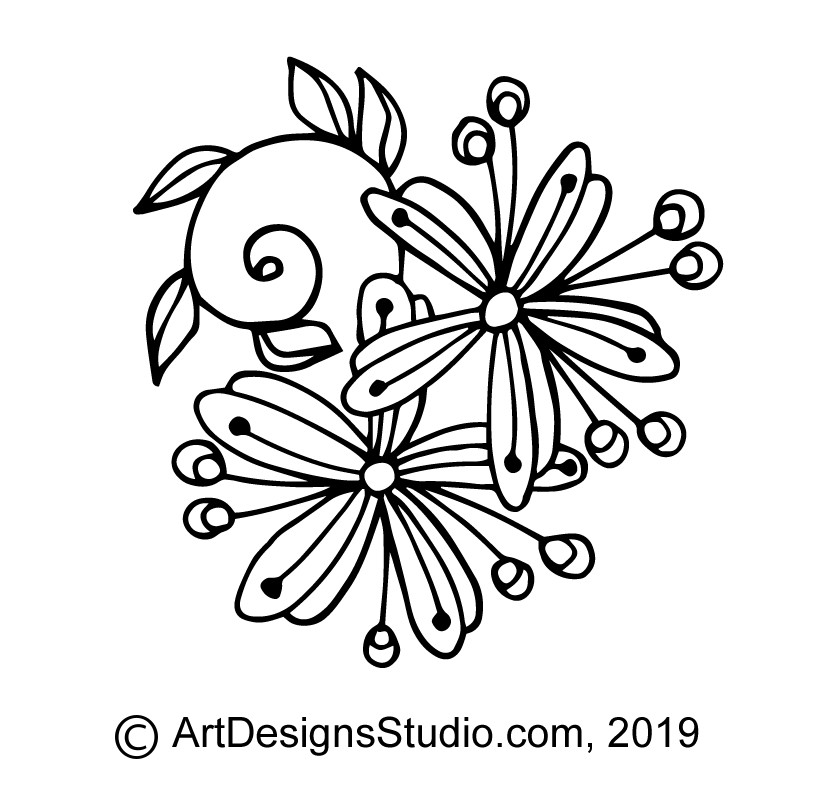
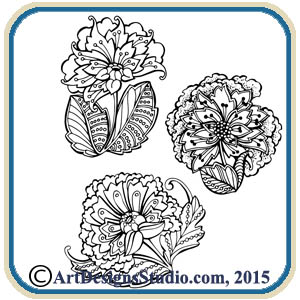
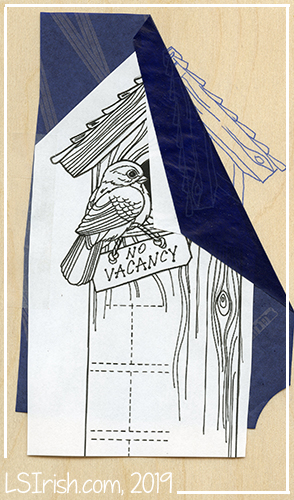
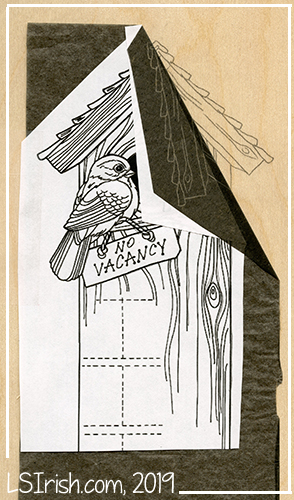
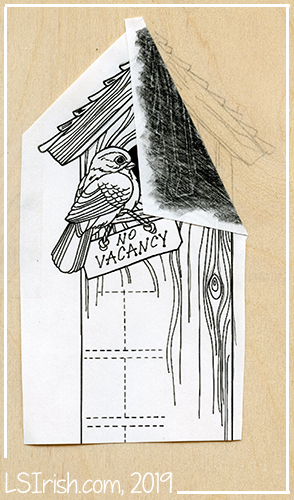
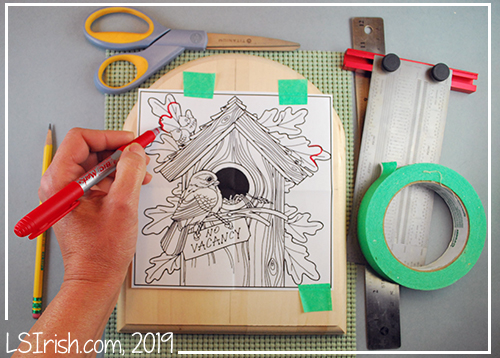
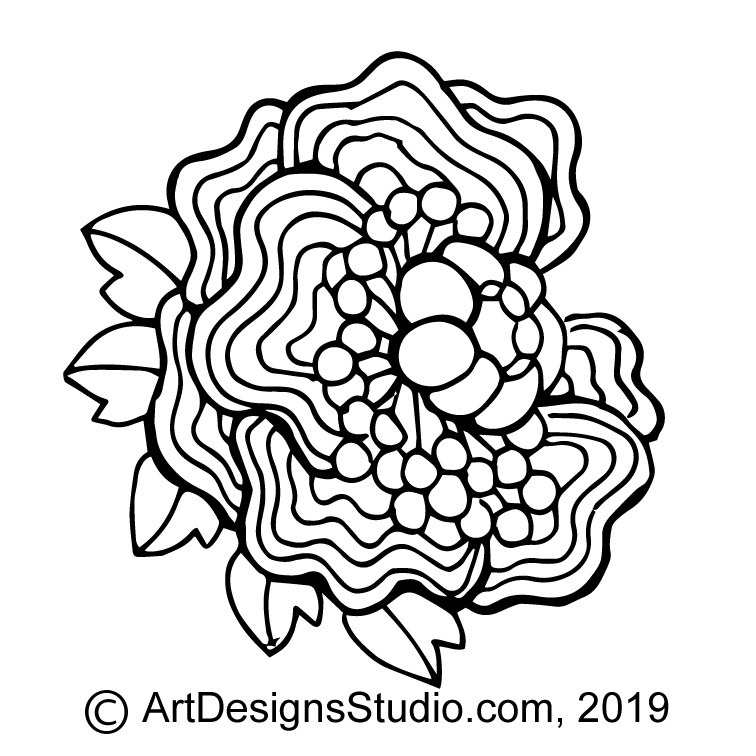
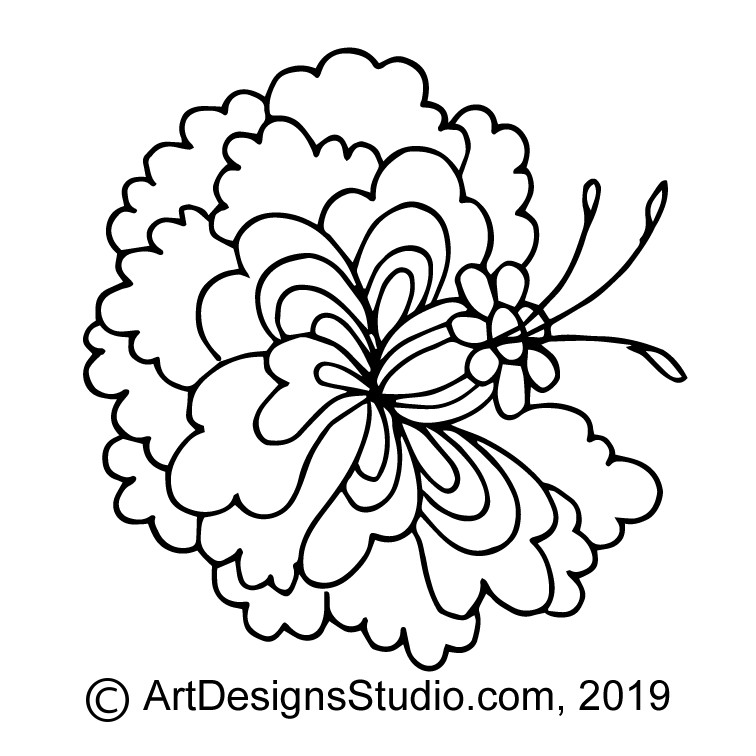
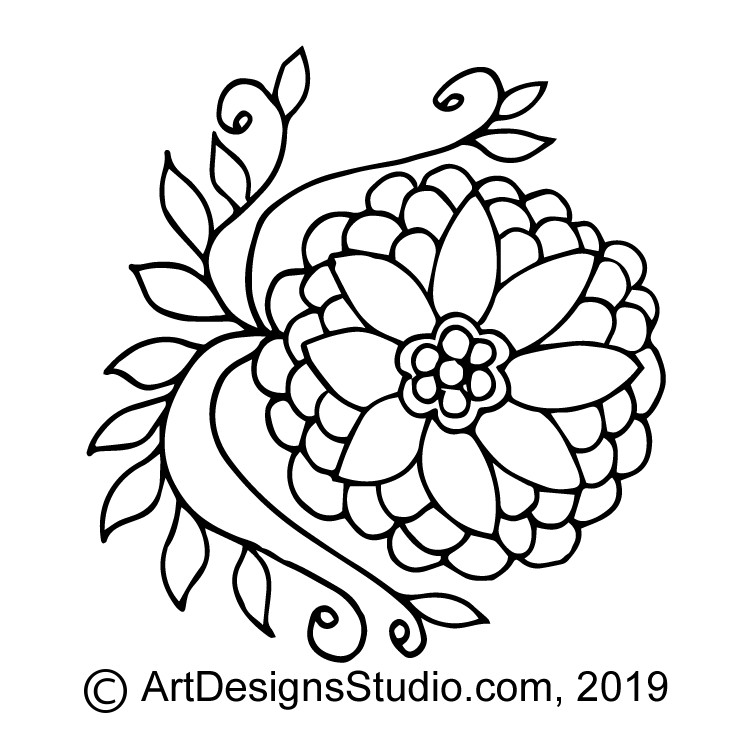
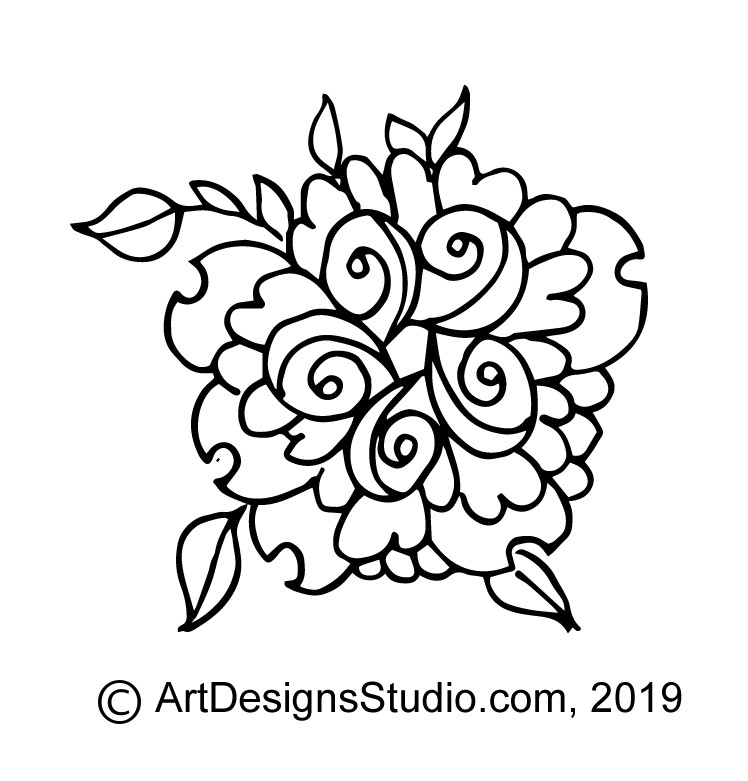
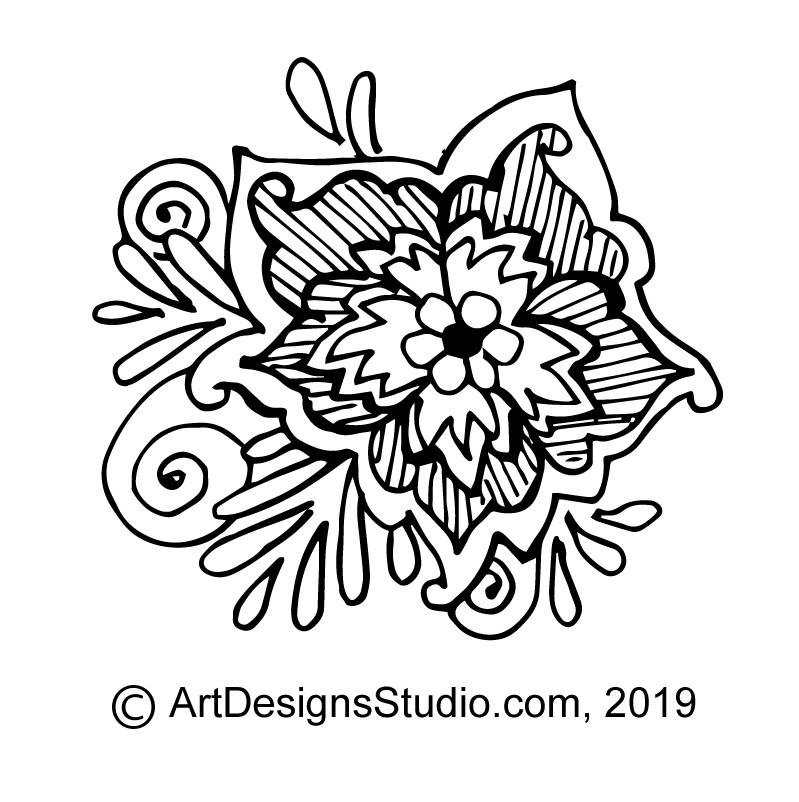
Step 2: Download your copies of our Free Doodle Patterns, here on LSIrish.com. Type doodles into the search box in the header. We are on numbers 043 to 045 today, which should give you a nice selection of designs to use.
Step 3: Cut the scrap cardboard to fit inside of the pant’s leg, so that one end of the cardboard comes out the pant’s leg at the bottom. You can move this cardboard as you work to protect the jeans from color blending through to the other side of the jeans.
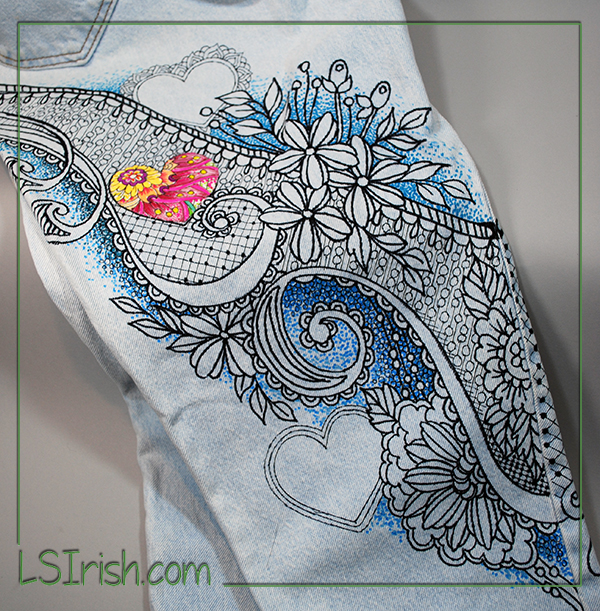
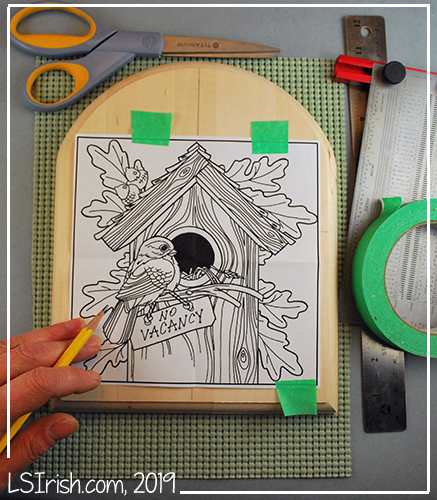
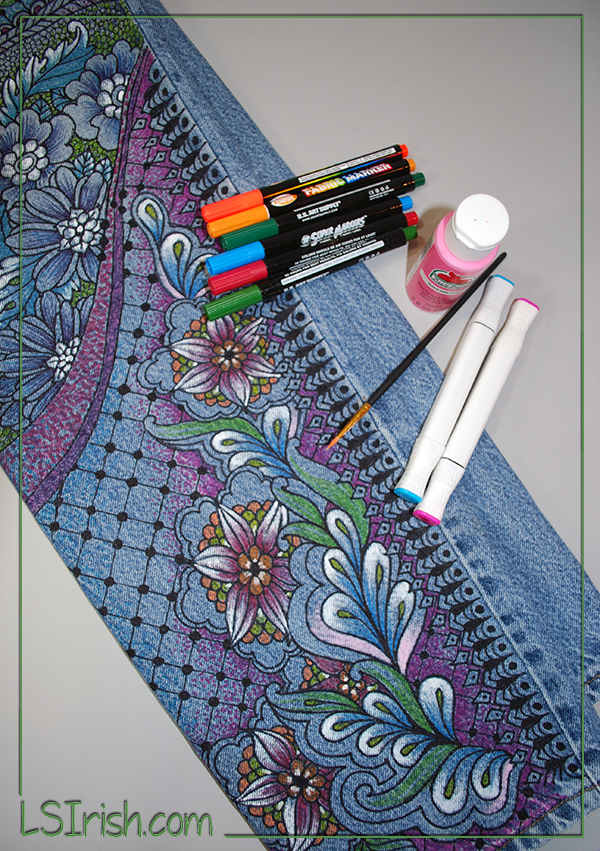
Step 4: With a black fabric marking pen begin doodling … use a light pressure on the pen tip for the smoothest and fullest line coverage. Mix your main designs with long flowing line breaks and fill patterns.
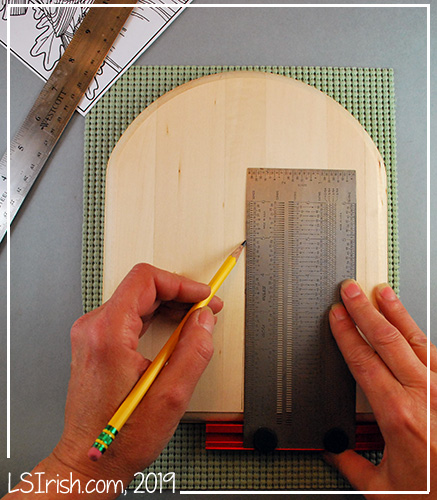
Step 5: Use a cork-backed ruler, laid along the inner leg seam line for your measurements for the edge trim design. The cork will grab the fabric, keeping the ruler in place as you work. My inner leg trim was worked at 1/2″ measurements.
Step 6: Have fun adding colors to your design. Fill in some areas with a solid coloring, and in others just add a touch of line work. Let some areas remain unpainted to allow the blue jean color to become part of your design.
Step 7: Set your fabric pen colors according to your package directions. My set only required a hot, steam pressing to become permanent coloring.
Step 8: Flip your jeans over and do the back side of the leg.
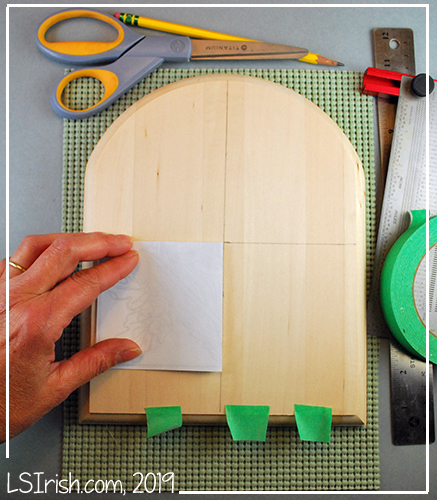
Step 9: You can create doodle designs on the 6 1/2″ square white cotton fabric pieces using this same method and add them to your pants. Fill in some areas of your pattern with the bright colors from your set. After the patch has been hot, steam ironed it is ready to sew into place, anywhere on your doodle jeans.

Steam Punk Pattern Pack at Lora S. Irish’ pattern website, ArtDesignsStudio.com