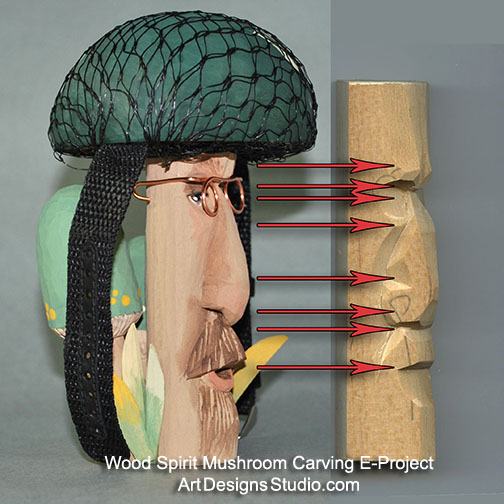
Carving the Wood Spirit Face, Lora Irish
Introducing
Two New Free Online Series
of Free Carving, Pyrography, and Craft Projects
…..
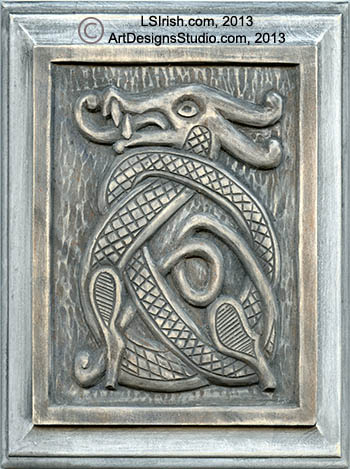
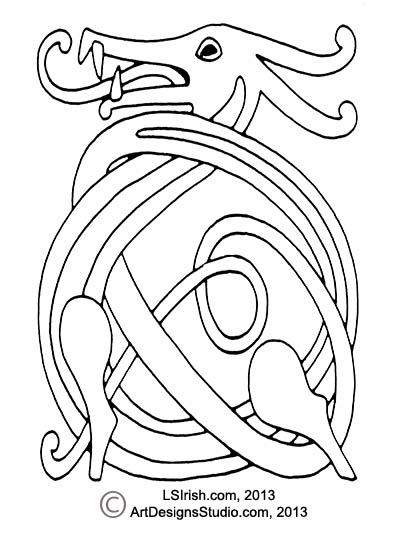
Great Book of Free Carving Projects & Patterns by Lora S. Irish
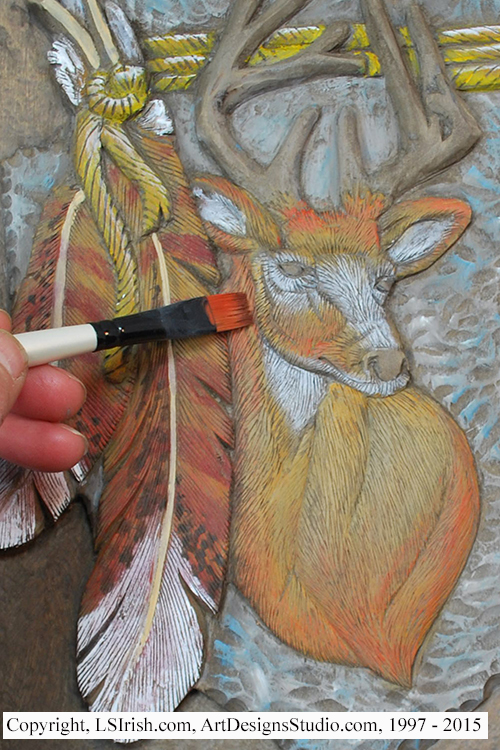
Great Book of Free Pyrography Projects & Patterns by Lora S. Irish
…..
PLEASE BOOKMARK THIS PAGE – ADD US TO YOUR FAVORITES!
Stop by often at our carving, pyrography, and craft pattern site, ArtDesignsStudio.com to see what Great New Books you can have for free for Carving Patterns, Pyrography Projects, and Craft Designs by Lora Irish!

 Great Book of Free Carving Projects and Patterns by Lora S. Irish Online Series

The first release in my new, free online series is an in-depth tutorial on how to carve the wood spirit face using the planes of the human face as our guidelines. Join me as we work through the detailed steps and 199 photographs to learn how easy the Wood Spirit is to carve.
Wood Spirit Carving,
Free Project by Lora Irish
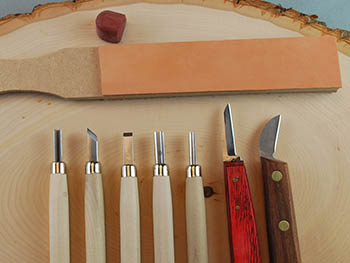
1 Introduction and Supply List
2 Walking Stick Preparation
3 Exploring the Human Face
4 Planes of the Human Face
5 Carve The Human Face
6 Shaping the Facial Features
7 Sloping the Sides of the Face
8 Rough Cutting the Features
9 Carving the Eyes
10 Detailing the Eyes
11 Shaping the Features
12 Defining the Cheek and Nose
13 Working the Facial Hair
14 Refining the Face Shape
15 Carving the Wrinkles
16 Trimming the Beard
17 Review of the Techniques
So, Gang, pull up your chair to your computer screen seat at my class table, and let’s have some FREE FREE FREE wood carving, and pyrography fun.
Lora S. Irish, June 01, 2015
 Copyright, Lora S. Irish, 1997 – 2015
Art Designs Studio.com, 1997 – 2015
All International Rights Reserved
Use of any information, images, or text in digital or printed format
or in any magazine, book, or booklet is strictly prohibited without
the written, hardcopy permission of the author, Lora Irish.
This is new work, created after May 2013, by Lora S. Irish.
Use in part or whole by any publishing company
is strictly prohibited without a written, signed,
and dated contract for this new work with the author.
June 01, 2015