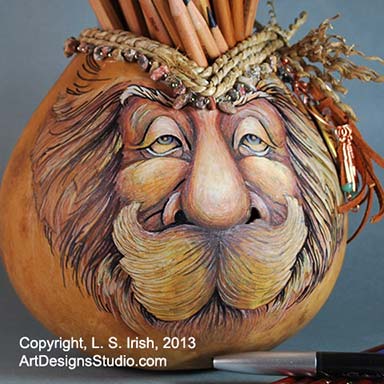
Wood Spirit Gourd Pencil Jar
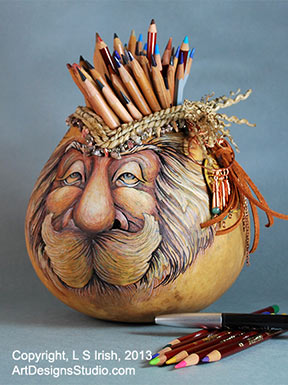
Mixed Media Techniques used in Wood Spirit Gourd Art by Lora S Irish
Gourds provide a creative base for any art and craft media. So whether you love colored pencils, work in scrapbooking paper, or enjoy acrylic craft painting there is a gourd just waiting for your decorative touch. This is truly a craft where you can bring all of your other skills and talents to use.
This Wood Spirit Colored Pencil Gourd is worked along the same technique as our free online gourd art project, Wood Spirit Gourd Mask, an in depth tutorial that will take you through all of the steps to create your own acrylic paint and colored pencil face painting. I had shared this photo online and had a request for my supply list, so I am posting it there.
Cleaning supplies:
9″ diameter kettle gourd
craft knife or gourd saw
sand paper
large kitchen spoon
dust mask
fine grit foam core fingernail files
 Pattern supplies:
graphite paper or carbon paper
transparent tape
burnt umber acrylic craft paint
ocher yellow acrylic craft paint
titanium white acrylic craft paint
1/4″ flat sable shader brush
#1 or #2 liner brush
re-workable spray sealer
Golden Archival Matte Varnish
artist quality colored pencils
Prismacolor
black fine point permanent marker
Rim supplies:
3 yards of twisted seagrass
15″ strand of jasper nugget beads
1 large hoop copper earring
1 large necklace medallion
1 yard 1/8″ leather lacing
This wood spirit gourd is worked from our Fun Wood Spirits wood carving patterns package at ArtDesignsStudio.com.