If you are a pyrographer and a journalist you will have fun working today’s projects. We have been exploring the Artist’s Morgue File this week and our habit as artists to keep stacks, folders, and file boxes of scrap paper or digital images that spark our imagination.
Handmade, DIY Leather Journals are a great way to organize those little bits of inspiration. Your front and back leather cover make a great media for your pyrography, the pages can be made with bullet journal pages, watercolor paper, or scrapbook paper. Since the journal uses an easy lacing pattern, worked with twine or raffia, it is easy to open and refill the pages of your journal at any time.
The front two leather DIY Artist Journal patterns are available in the Great Book of Celtic Patterns, available on Amazon.com. The back journal is worked on chipboard, covered with scrap paper, watercolor paper, and glitter tape. It is a kettle stitched bound book.
And here are two more free doodle patterns –
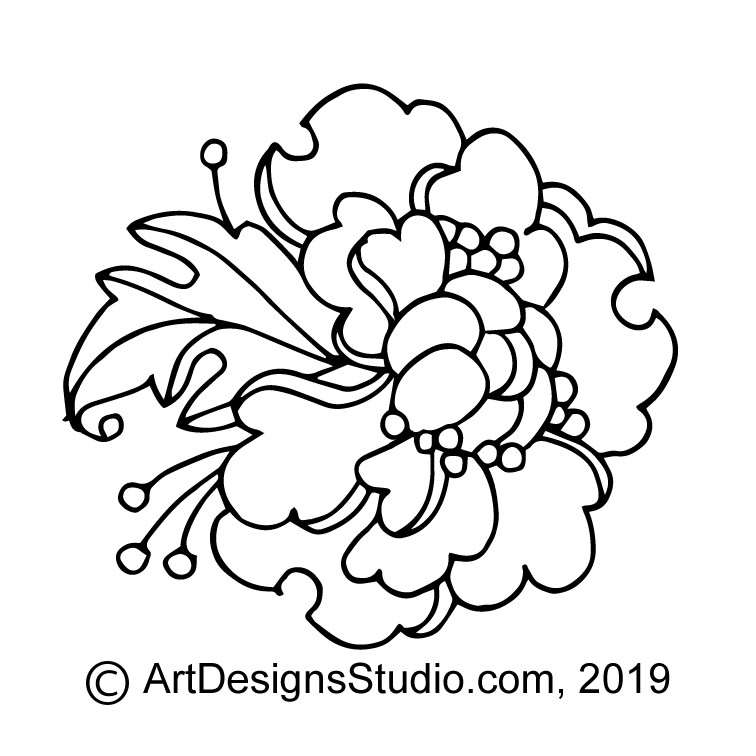
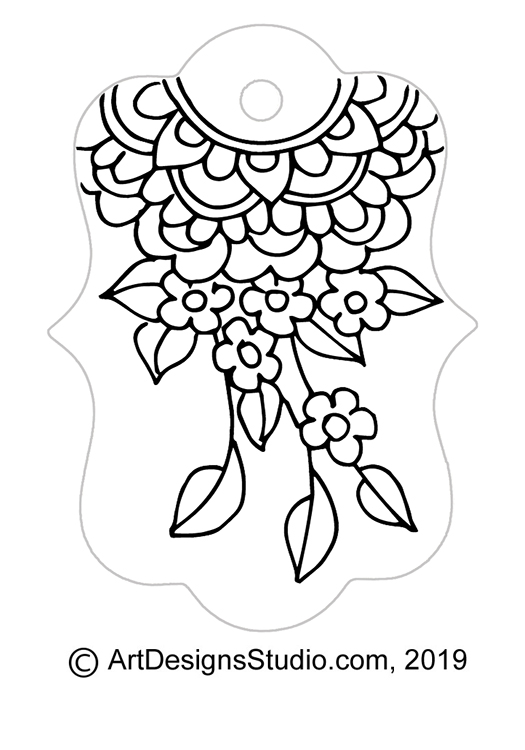
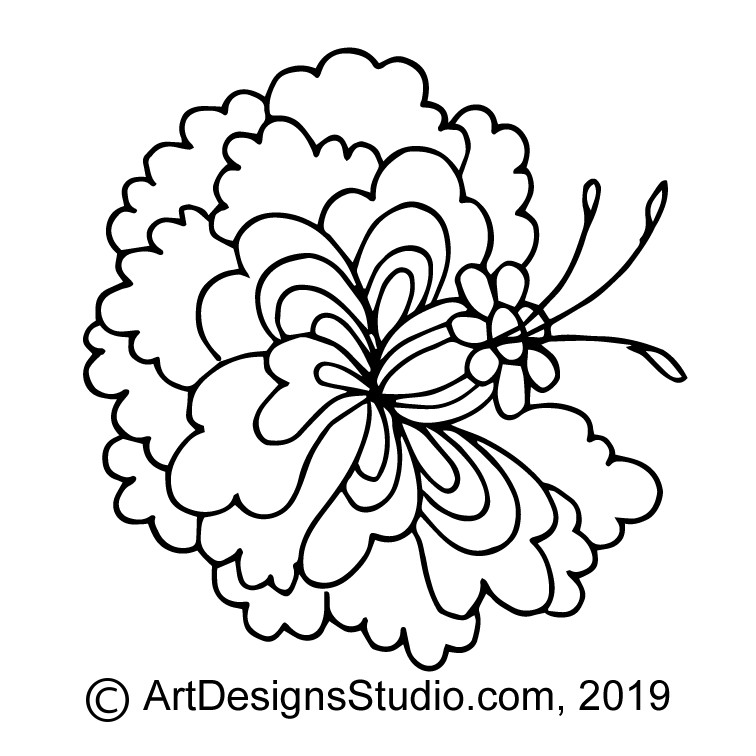
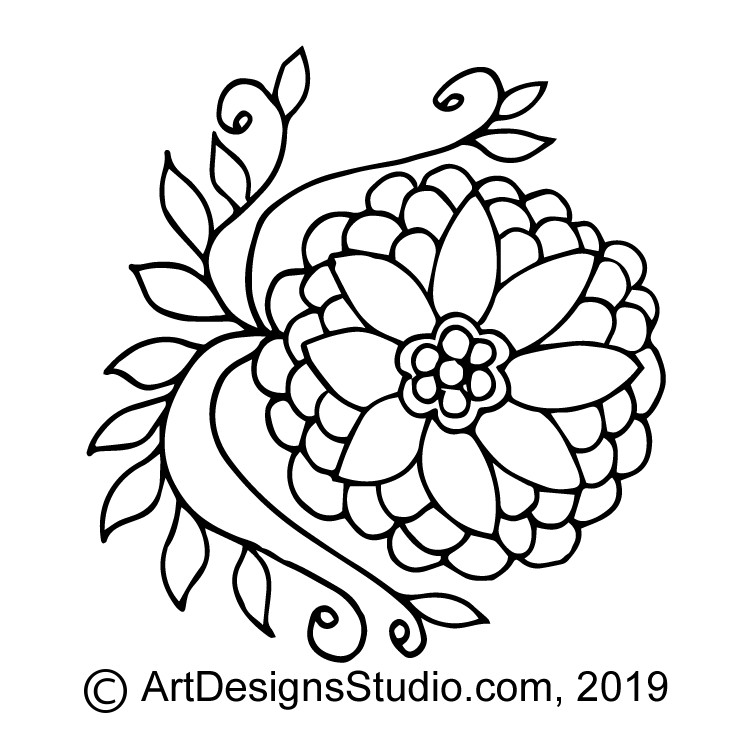
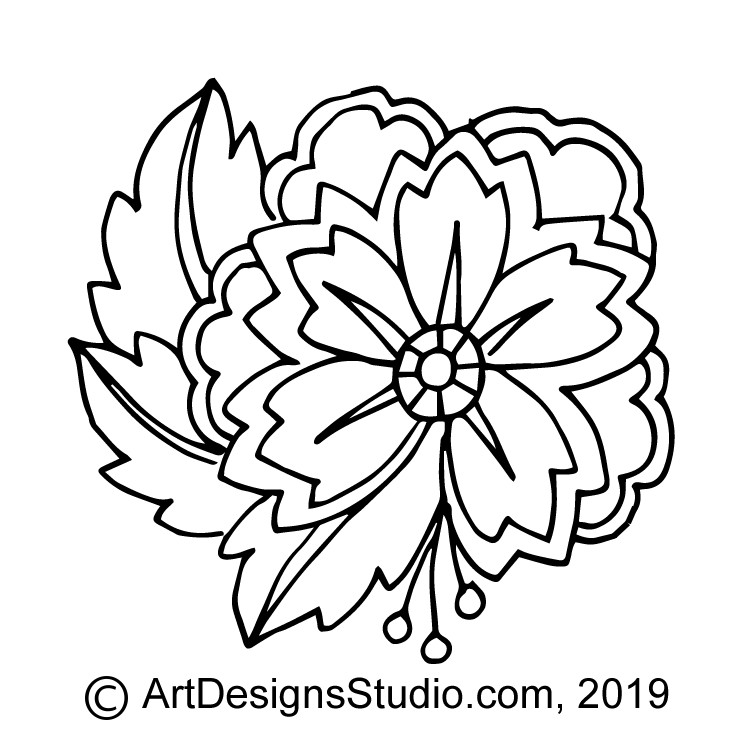
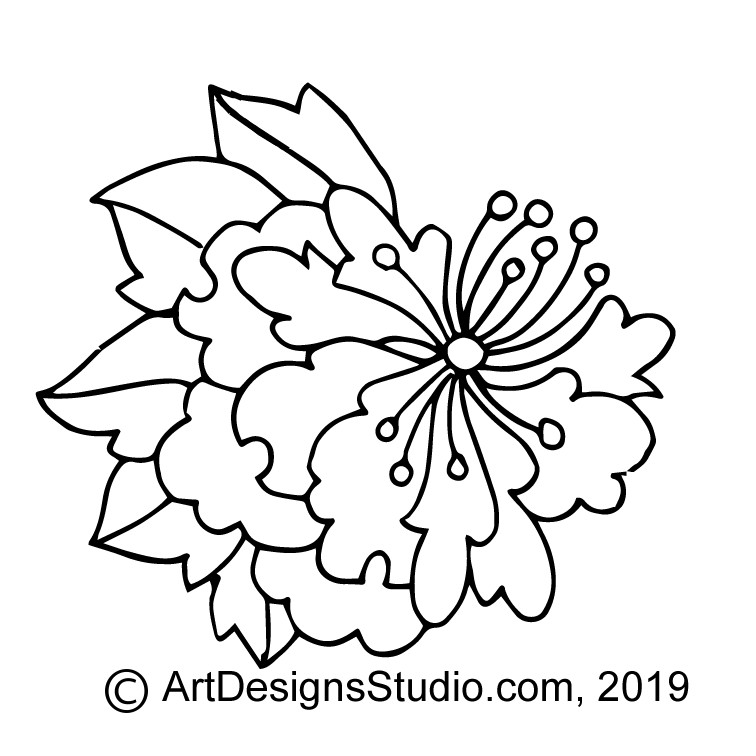
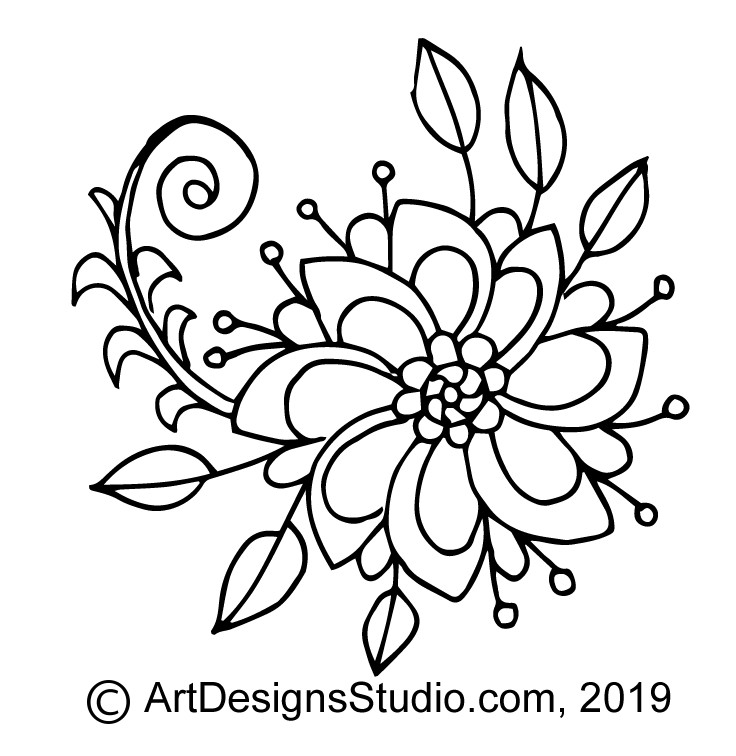
Free Doodle Pattern 011Free Doodle Pattern 012
By now you should have 11 free Lora S. Irish patterns stashed away in your craft folder on your desktop. Three from Day #1, three from Day #2, and five for today. See you on Monday, Jan 6th with more …
Good morning Scot and Marsha! Thanks for the great conversation yesterday. Here are the PDFs that will help you learn how to determine how deep each level or layer is in your relief wood carving.
While today’s blog topic is about levels and layers in relief carving, the same information can help you as a pyrographer determine the shading levels and layers in your wood burning. So, please snatch a copy of the these free PDF files and take time to read through the linked projects here of LSIrish.com.
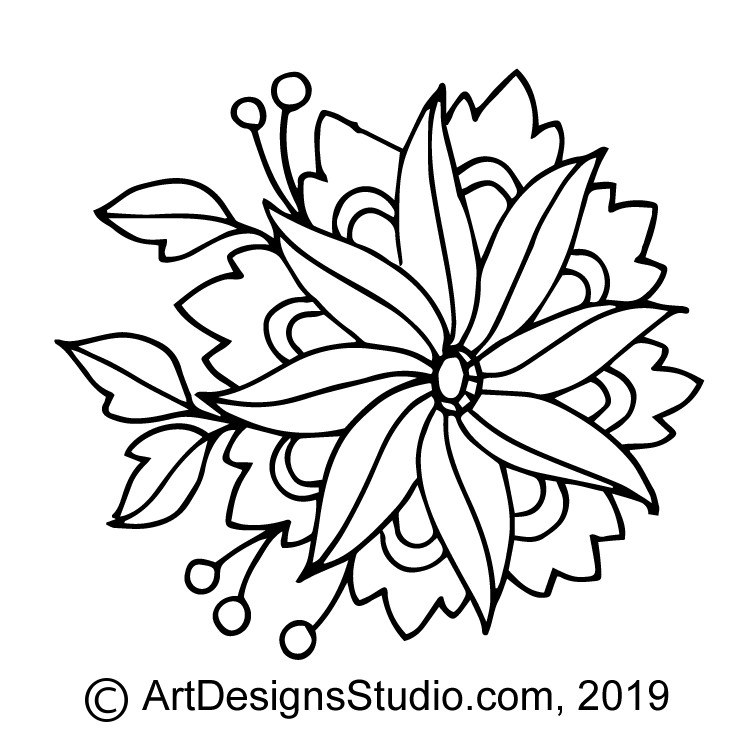
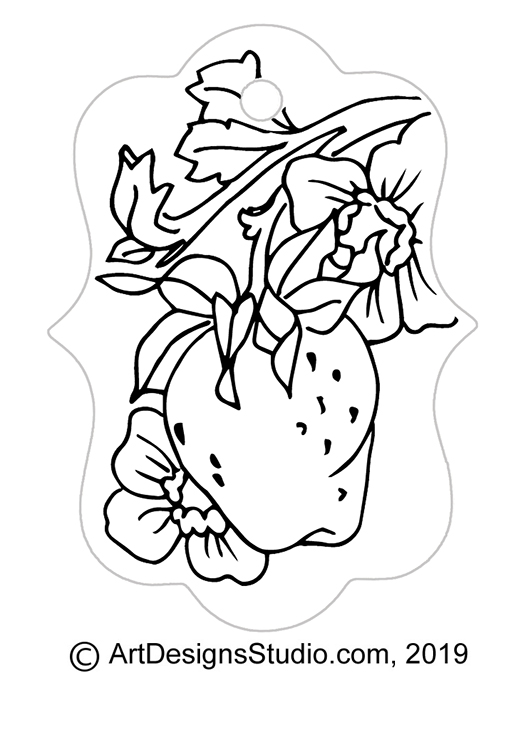
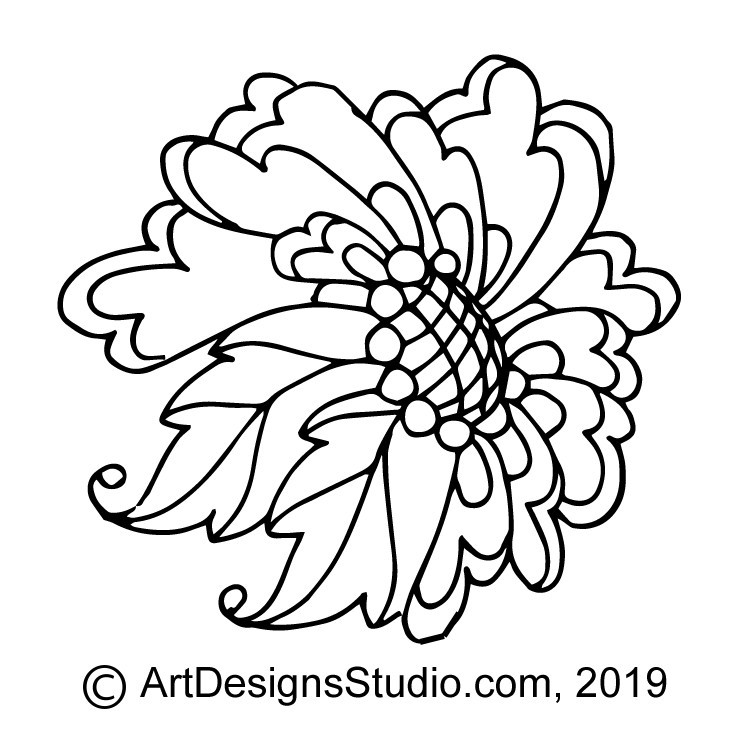
Free Doodle Patterns, Extra 001
How deep do I cut each level or layer in my pattern in a relief wood carving?
The depth measurement you need for each level or layer in your relief carving depends on several factors.
1. What species of wood are you carving. Hardwoods as black walnut or maple can stand deeper carved levels than soft woods as poplar and basswood. The hardness of the wood – how tightly packed the wood grain rings are – helps to avoid excessive cupping and warping.
2. How thick is your wood blank. You can, of course, carve deeper into a 2″ thick wood blank than you can into a 3/4″ board.
3. How large is your carving blank. A small blank, 8″ x 12″, is less likely to develop excessive warping than a large blank, 20″ x 32″. The longer the grain lines in your blank the more likely they are to cup over time.
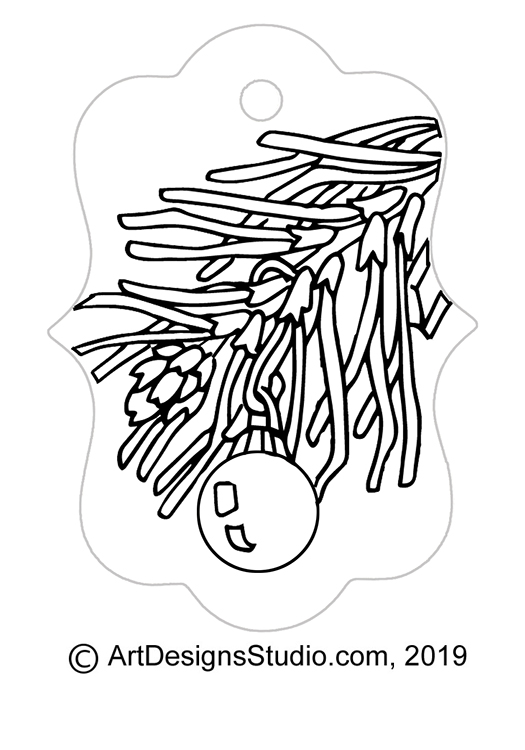
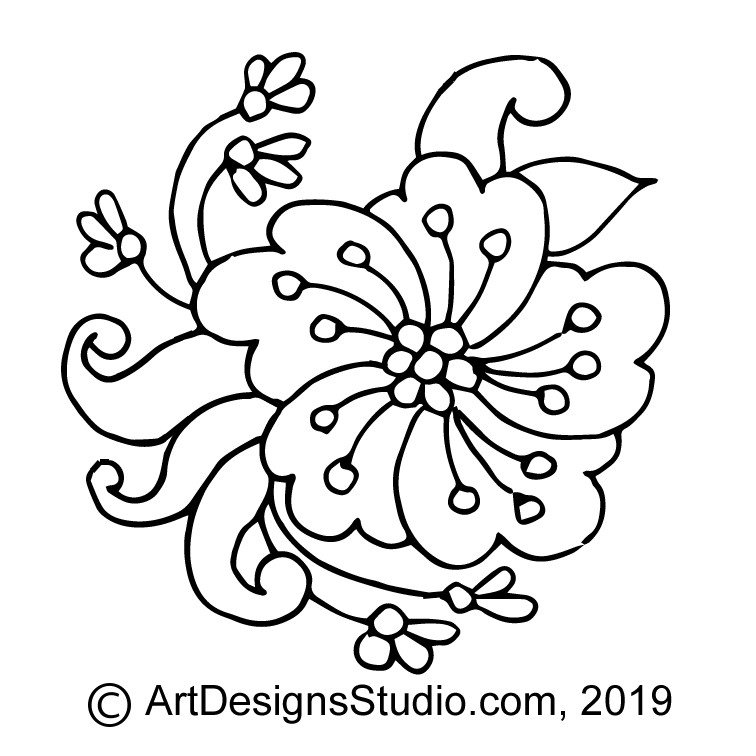
Free Doodle Patterns, Extra 004
4. What style of carving will you be doing. A simple round-over edge relief carving can be worked fairly deep into the wood, past the one-half thickness rule of thumb. Since all of the wood grain in a round-over carving is adhered to the wood below it the chances of cupping is reduced. If you are working an intense under-cut relief carving, you will want to stay above the one-half thickness rule of thumb. Undercuts create free hanging shelves of wood that are easily effected by the changes in the wood grain of the entire blank.
General Layer Measurements Rule of Thumb!
In general you want to use the top one-half of the thickness of your wood for your carving area. This leaves one-half of the thickness below the carving to stabilize the board from excessive warping and cupping. So a board that measures a true 1″ thick can be carved to a 1/2″ depth.
In general your pattern will have three distinct layers – foreground, mid-ground, and background. Plus it will have one main focal point – a barn, a duck, a dragon.
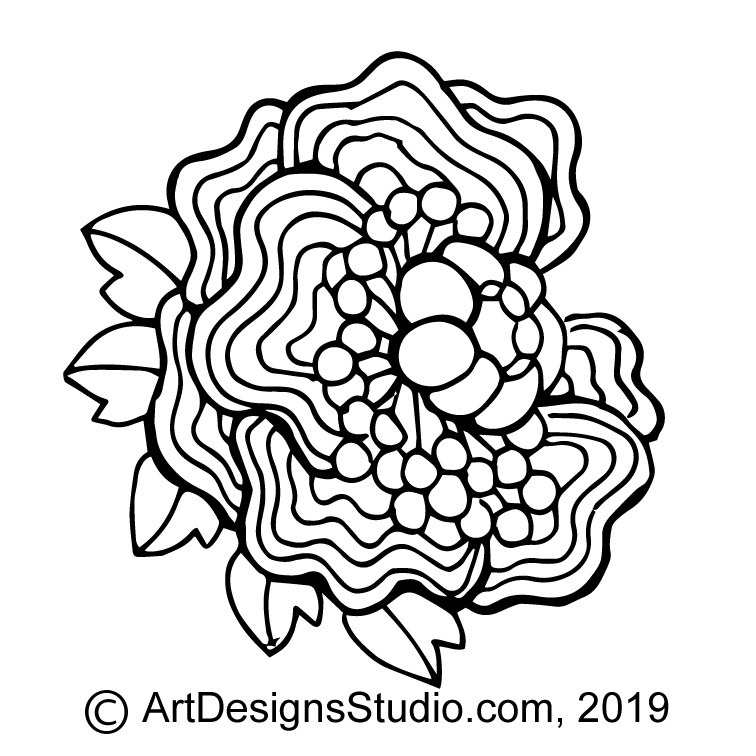
Free Doodle Patterns, Extra 005
1. Determine in which layer the main focal points falls as this will become your thickest layer.
2. Divide the carving thickness of the wood blank by 4. This equates to two thickness for the layer that holds your focal point, and one each thickness for the other two layers.
3. So on a 1″ thick board, you will be carving 1/2″ deep. Divide the 1/2″ by 4 equals 1/8″ per layer. That’s 1/8″ for the foreground, mid-ground, and background. Now add the extra 1/8″ to the level or layer that holds the focal point, making it a 1/4″ thick layer.
4. An example is a barn scene where there is a fence line and mail box in t he foreground, a bank barn with silos in the mid-ground, and a tree line and second fence in the background, worked on a 1″ thick board. The focal point of the pattern is the bank barn in the mid-ground level. This equals 1/8″ for the foreground mail box layer, 1/4″ for the bank barn mid-layer, and 1/8″ for the background tree line.
5. The fourth layer or level is called the sky area or sky line. This area of carving is usually extremely shallow, a simple 1/16″ rolled-over edge for mountains and trees, and can be carved on the top surface of the remaining 1/2″ thickness of the wood.
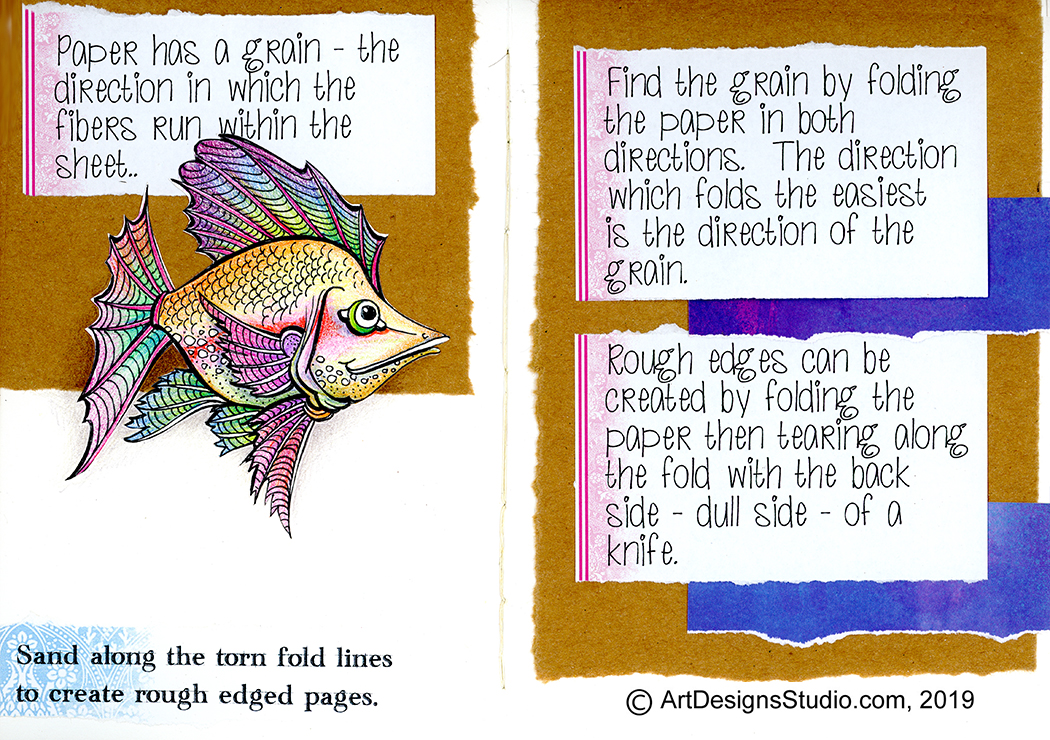
Bullet Journals let you keep track of your day to day activities and to add personal notes, shopping lists, and appointment calendars. The pages are worked on a dot grid pattern which is used as your guide to create your tables, lists, and highlighted comments.
Bullet Journal Blank Page
This basic bullet journal page will print on an 8 1/2″ x 11″ sheet of paper. When folded it creates two facing printed dot grid pages. You can print several copies of this bullet journal page. Then put those pages back into your printer tray, face up so that you see the printed grid, and then printed a second time to create the dot grid on the back of your paper.
Free Doodle Pattern 008
Click on the image, right, to open a full-sized copy in a new window. Right hand click on the image and chose ‘save image’ to keep a copy on your computer for easy printing. This page is pre-set to print in portrait mode, no adjustment is needed.
The Stapled Bookbinding link, below, shows you how to take multiple printed pages and staple them into a small booklet.
Bullet Journal Header PageBullet Journal List PageBullet Journal Design Page
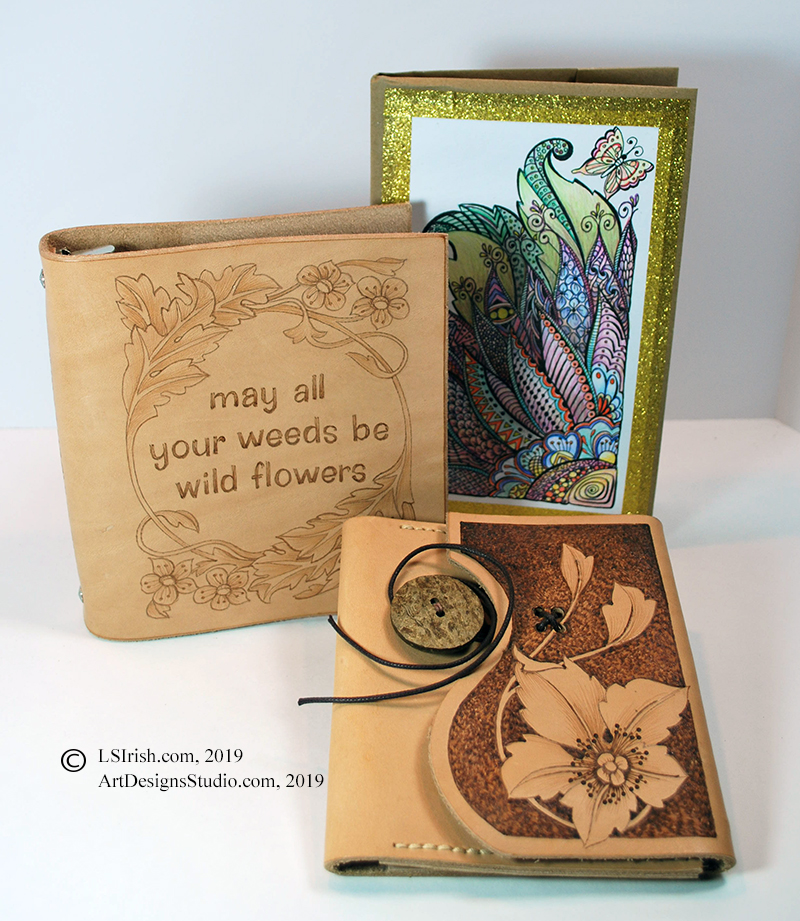
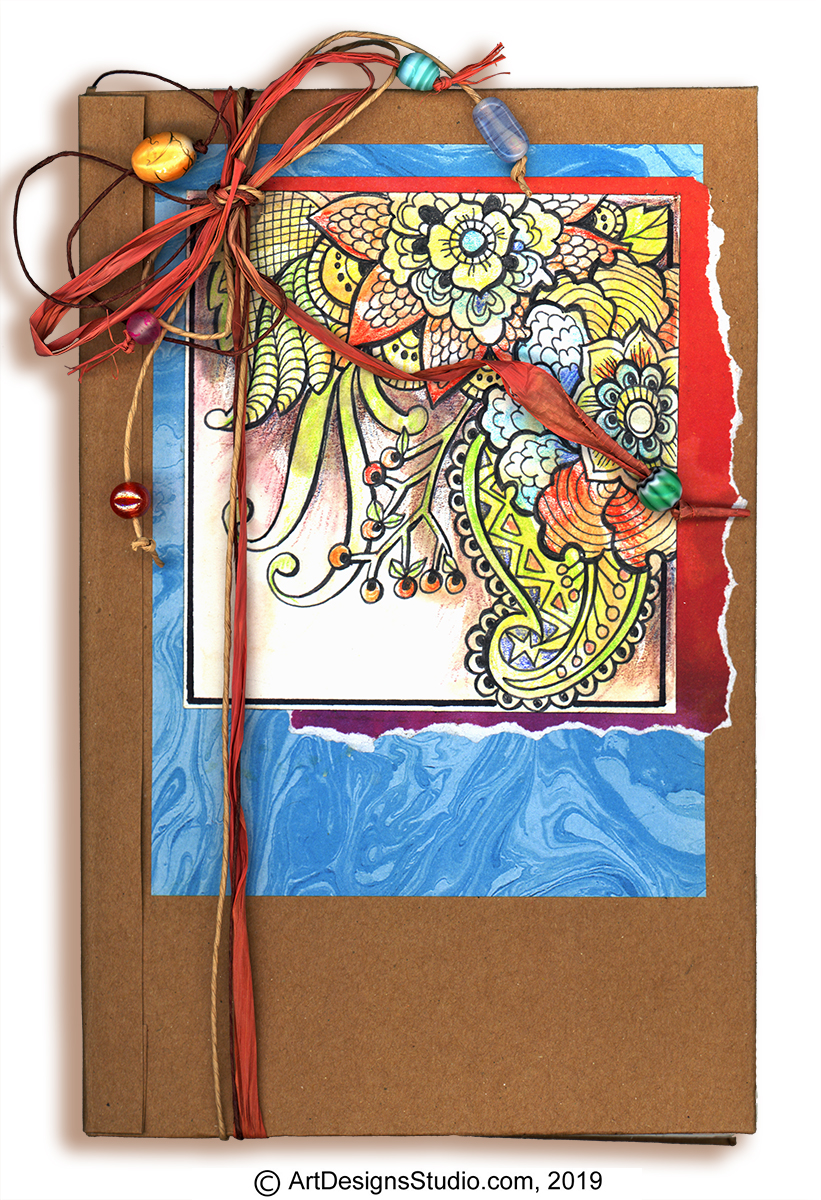
Here are a few samples of DIY Hand Bound Bullet Journal, decorated with scrap booking paper, a watercolor paper design, paper twist strings, a few glass beads, and worked with leather covers. Stop by tomorrow for the links to how to design, burn, and bind your own leather journal.
The patterns for the large background dragon journal, and the small Celtic journal, front left, are available in the Great Book of Celtic Patterns, available on Amazon.com. The Greenman Journal, front right, is a free project here on LSIrish.com.
Free Doodle Pattern 009
Stop by Reddit/r/bulletjournal to discover a fun community of journalist that share lots and lots of ideas.
If you haven’t played with bookbinding yet, these links will get you stared.
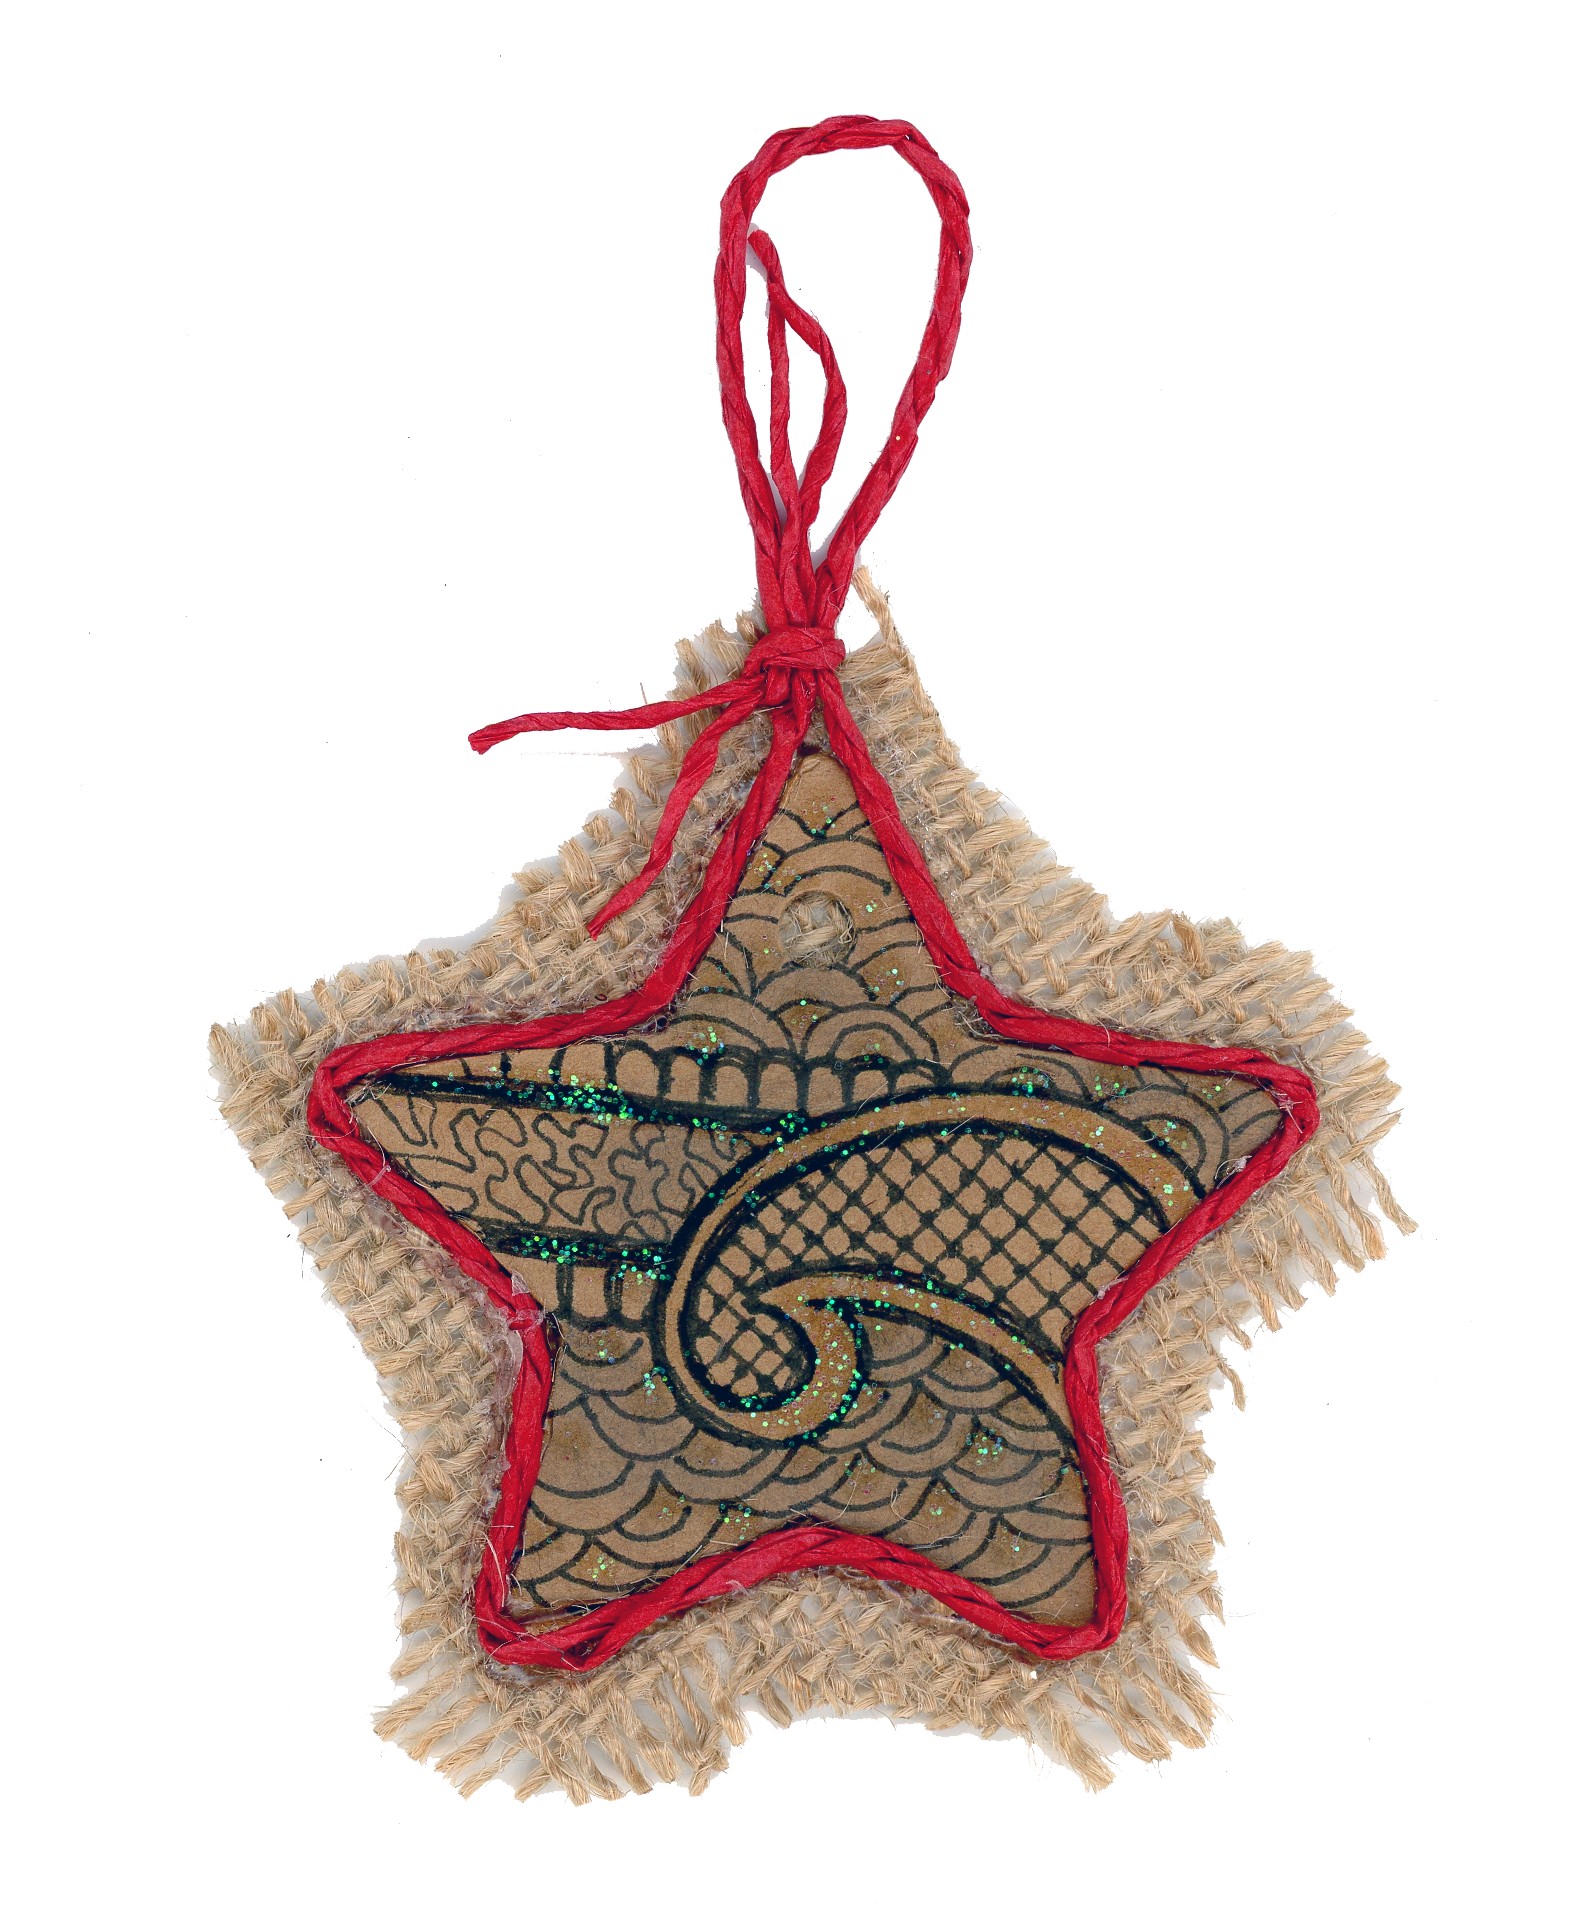
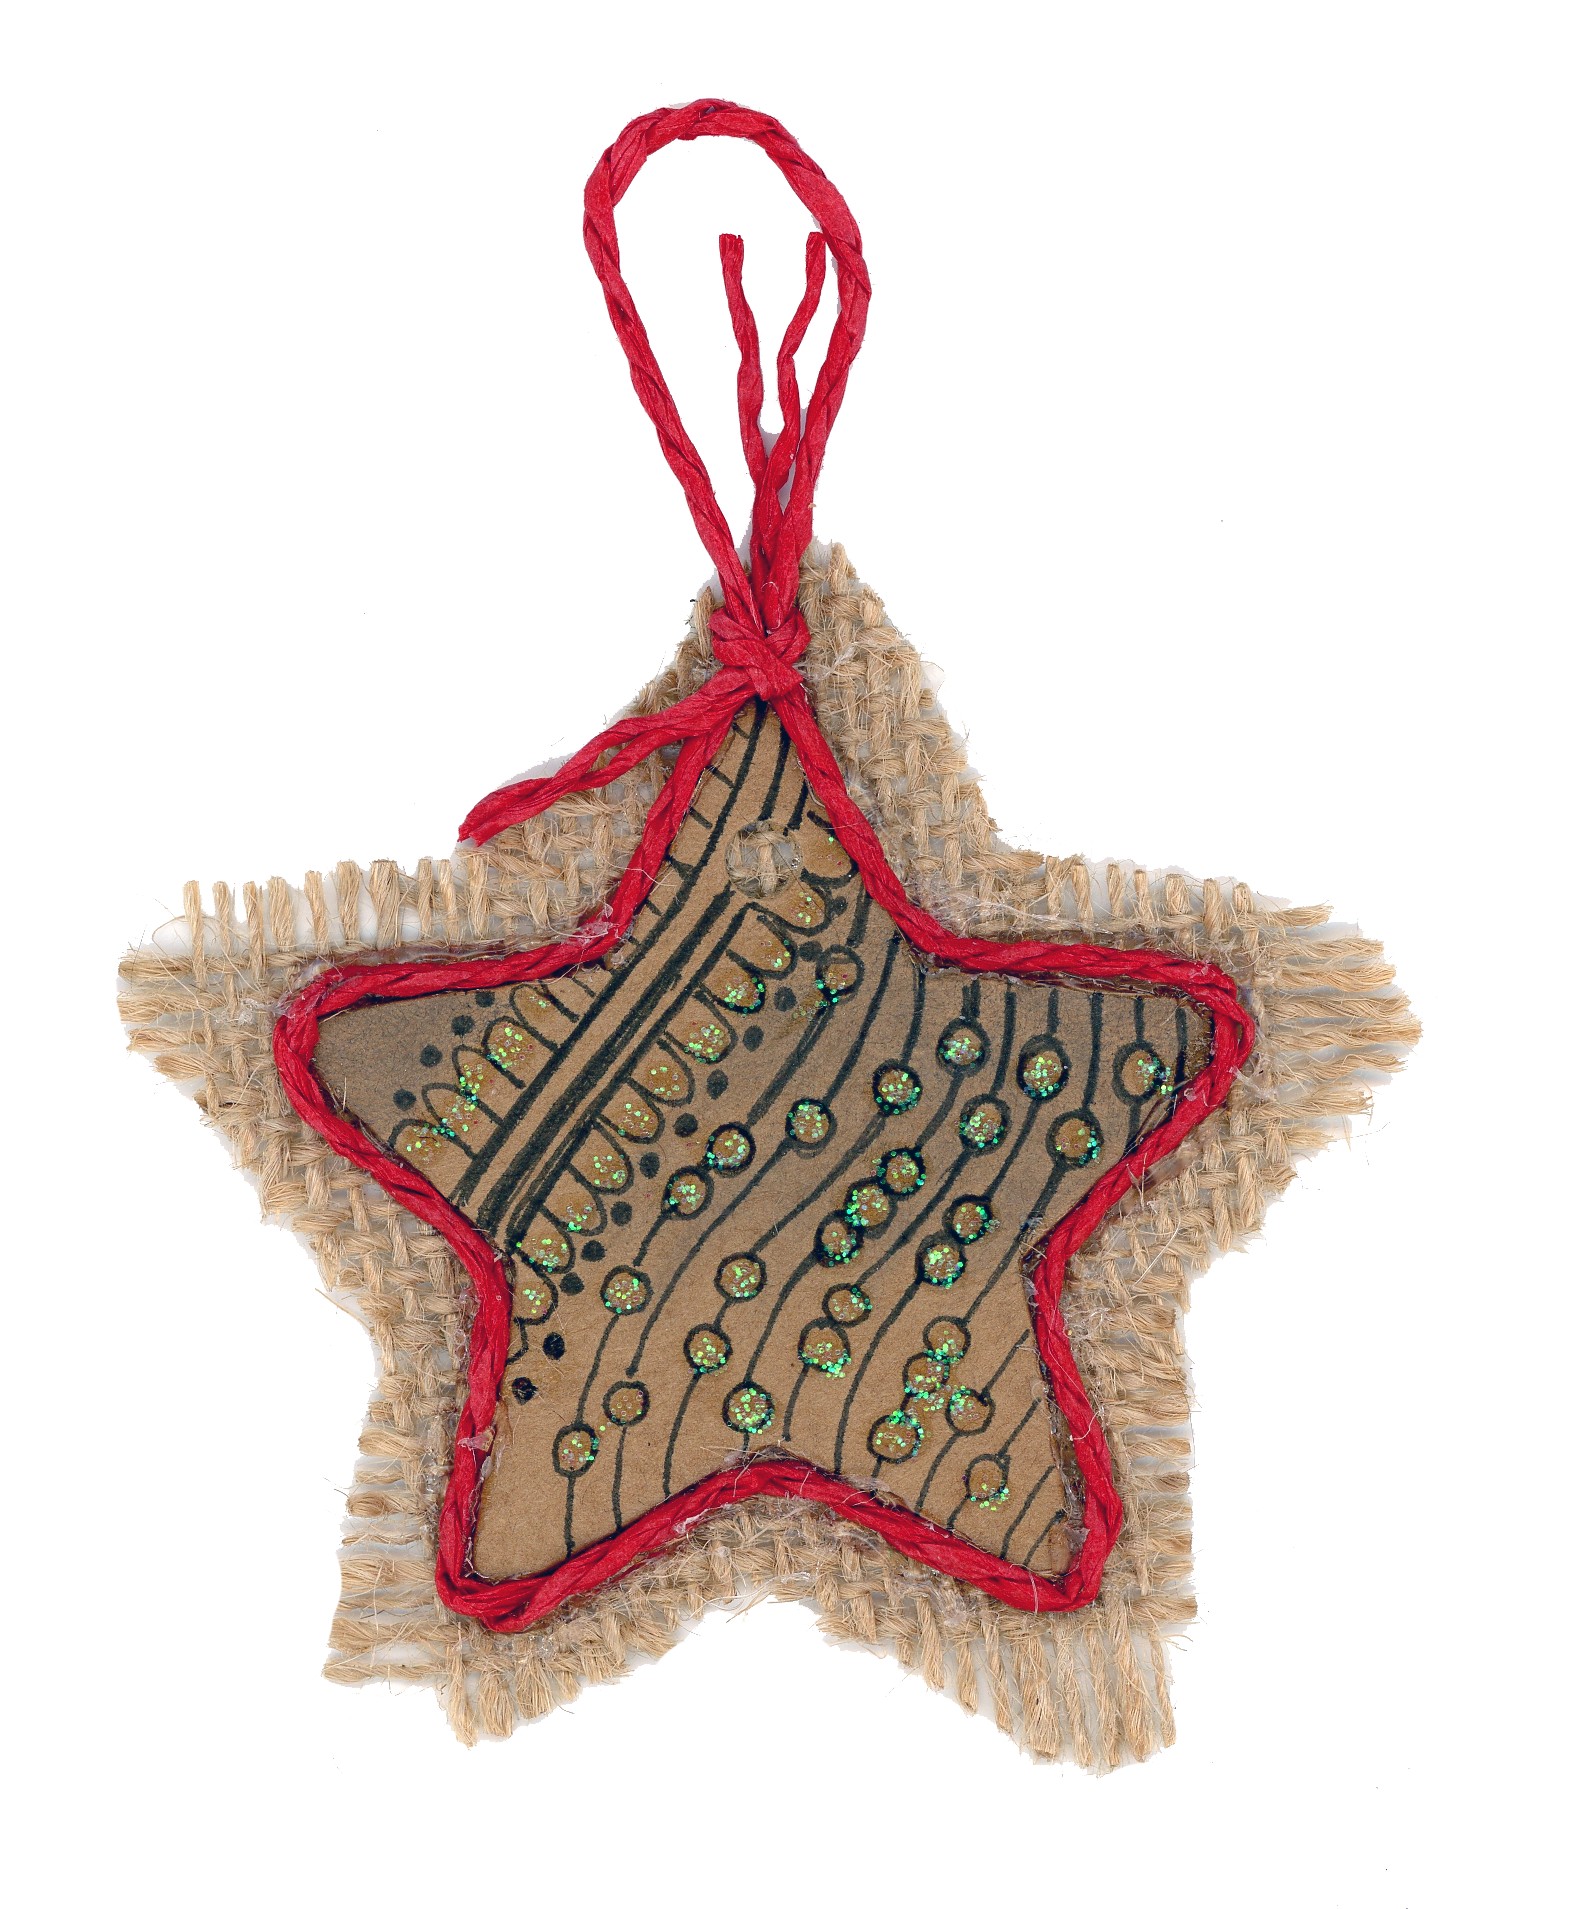
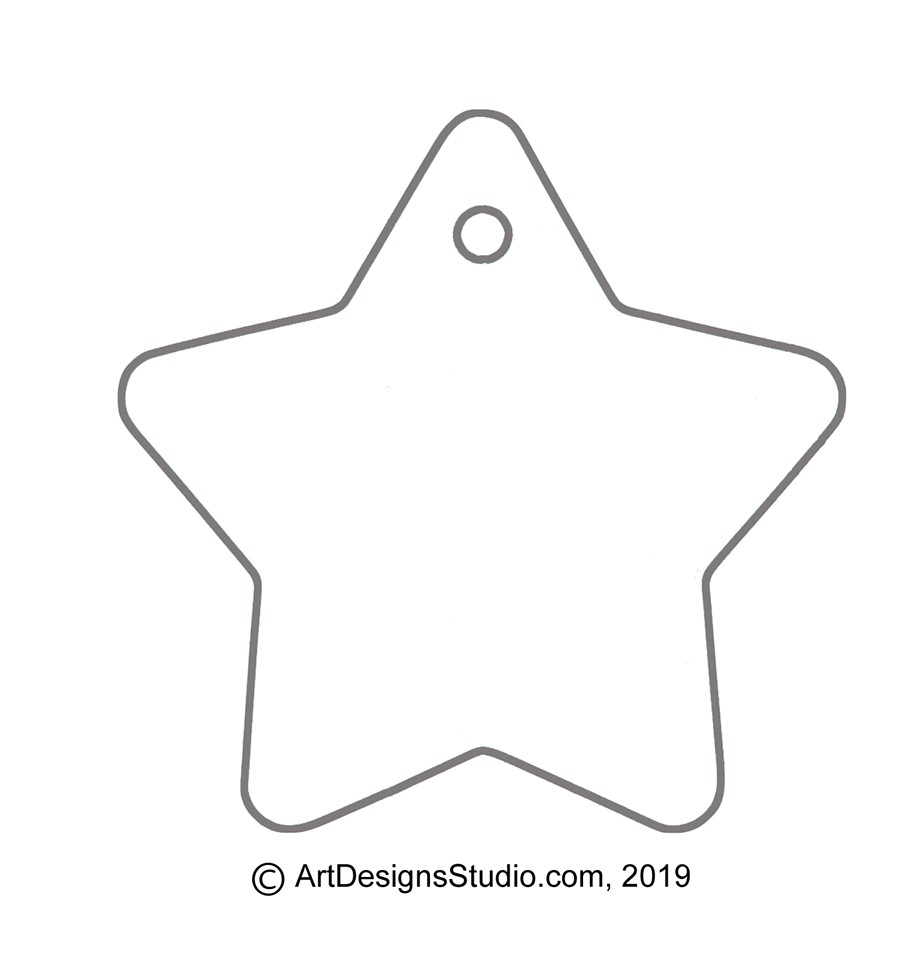
Step 1: You can trace one of the free doodle patterns that I will be posting this month onto your kraft star tag. Begin by printing a copy of the pattern. Cut out the pattern, allowing about 1/4″ to 3/8″ margins. Rub a Soft, #2 to #4 pencil, all over the back of the pattern paper. Lay the pattern, face up, onto your star. With the soft pencil trace along the outlines. When you lift the pattern paper, the graphite from the pencil rubbing will leave a grey trace line on the kraft tag.
After you have finished the pen and ink work and adding any coloring, and allowed the ink to dry well, use a document cleaning pad to erase any remaining graphite lines from your star tag.
Free Doodle Pattern 004
Step 2: Use the fine point, black marking pen to create the lines of your doodle design. Rework some areas of the lines with a second layer of black pen to create a ‘thick and thin’ effect – this adds interest to the line work. Let the pen ink dry for at least 10 minutes before you begin the coloring steps.
Step 3: Clean the tag with your document cleaning pad by gently rubbing the pad over the tag. The pad is filled with finely ground eraser particles and will neatly clean any remaining graphite marks.
Step 4: Add any coloring that you want using the gel pens. You can also use colored marking pens, colored pencils, and even watercolor paint to accent the doodle pattern with just a touch of bright color. Allow to dry.
Step 5: Using acrylic glue, apply one line of glue along the edge of the star tag on the back side of the tag. Lay the tag onto the burlap ribbon. Weight the tag down against the ribbon with a heavy book. Allow to dry for at least one-half hour.
Free Doodle Pattern 005
Step 6: Cut the burlap 1/4″ to 3/8″ away from the edge of the star tag to create a fabric frame. You can tease a few strands of burlap off to make a ragged edge. Turn the burlap-back tag face down onto a piece of wax paper. Run a thin line of acrylic glue along the outer edge of the burlap to stop any further raveling of the fibers. Let the glue dry for at least one-half hour.
Step 7: Run a thin line of hot glue along the outer edge of the tag, on the burlap back. Begin by allowing a 4″ tail of paper twine string before you begin gluing. Gently press your paper twin string onto the glue. This covers the joint line between the tag and burlap, while framing the tag area. Work one straight side of the star tag at a time. This will let you easily make the sharp inside corners crisp. Cut the paper twine string 4″ away from the tag, when you have glue the entire outer edge of the tag. Tie the two paper twine ends together, once close to the tag and once at the end of the strings to create your hanging loop.
Free Doodle pattern 006
Step 8: To add that extra holiday sparkle, use glitter glue in the design area. Let the glitter glue dry completely and your star tag is ready to hand.
Artist’s Morgue File: A folder, cardboard box, drawer, or stack of collected ideas, inspirations, and ‘someday’ projects that an artist accumulates over a lifetime of crafting.
Jan. 1st, 2019 – Goal for this month is to post two to three small, free patterns each working day of the month that you can use with your favorite craft. The theme for January is Doodle Designs.
I must have a dozen large cardboard boxes of scrap paper torn from magazines, newspaper ads, and even old books that I have saved over the years as inspirational ideas – just something to spark a new project.
There must be a ton of doodles. Lots and lots of little, tiny, small designs that stand alone as a quick accent in so many crafts. Doodles created using my scrap papers as the inspiration for my own designs.
I won’t even guess how many digital files are stored on my external hard drive for the same reason.
Sometimes those pictures show an interesting layout pattern, perhaps a unique line divider, or even a color combination that really caught my eye.
Free Doodle Pattern 001
That hoard of scrap ideas even has a technical name – its an Artist’s Morgue File.
Because my morgue file is over 30 years in the making, and spread out everywhere in the studio, shop, and in my storage boxes, I thought as a goal for 2019 that I would start converting those ideas into some type of organization.
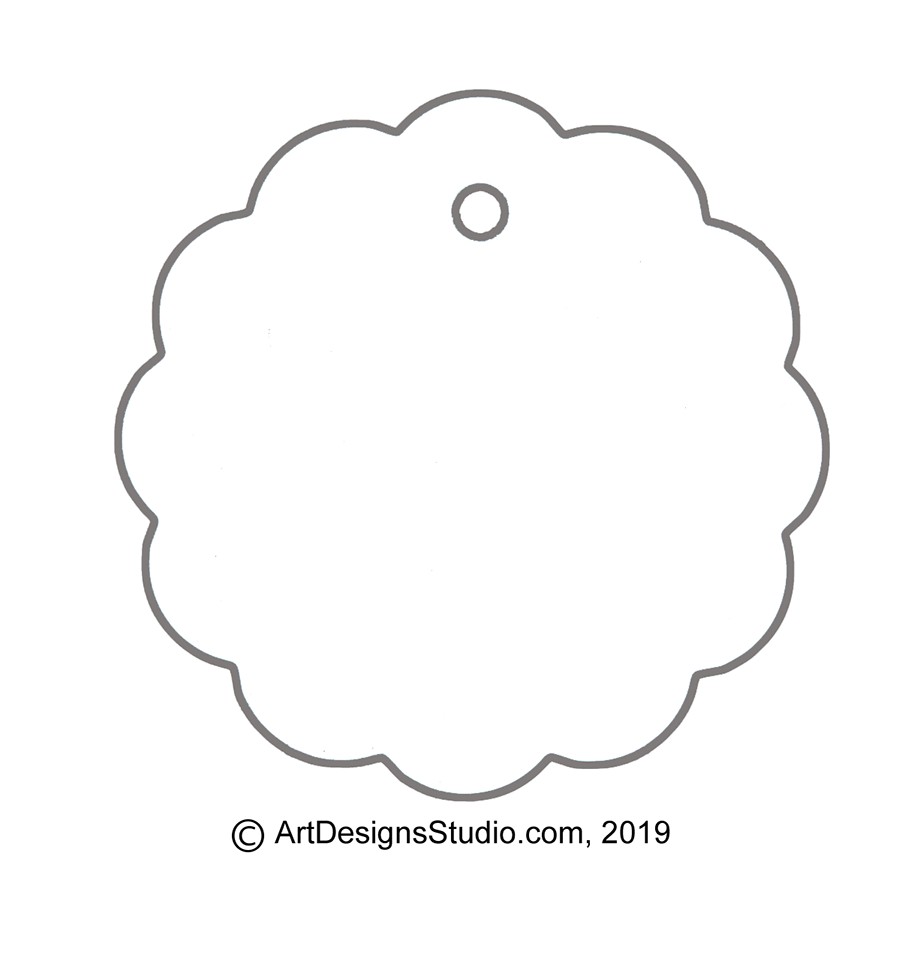
For my doodles I chose cardboard, kraft paper tags in a variety of shapes. The tags run around 2 1/2″ ( 6.5 cm) wide and up to 3″ ( 7.5 cm) tall.
Blank Digital, Printable Tags
Here are blank digital copies of the two tags that I have used to begin my 2019 Morgue File of Little Patterns.
Please click on the image and it will open a new window. Right hand click on the new, full-sized image and chose ‘save image’ to keep a copy on your computer.
Both patterns can be printed of card stock paper, directly from your computer printer so that you can create your own Morgue File tags.
Over the next month I will be posting a few each day. Two to three small designs that you can use with your pyrography wooden spoons, DIY Bullet Journal, and even as fun, applique quilt patterns. And, perhaps, my ideas will spark new ideas for you to create your own.
The DIY Book Making Journal, shown right, uses a pen and ink, gel pen pattern, worked on 140 lb. cold press watercolor paper, as the book cover design. This is a stitched book that holds 32 pages, also worked with the same watercolor paper.
The book boards – front and back cover – use light weight, brown kraft paper to cover the heavy cardboard pieces and to cover the stitched pages along the side of the book.
If you haven’t played with bookbinding yet, these links will get you stared.