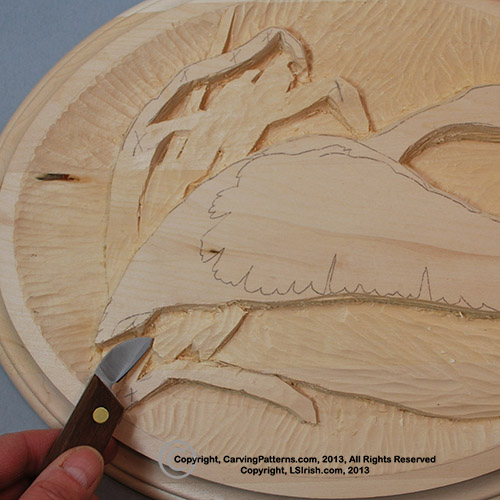
 Step 15: Dropping and slanting the feet
The feet lie just above the back wing The front, right side, foot is the foreground foot with the left side foot the background foot. I dropped both feet to the same level first, about 1/16″ above the back wing. Next I made a stop cut between the feet with my bench knife. Using my wide sweep gouge I tapered – sloped – the right side of the left, back foot slightly down toward the front foot. That same angle at the intersection line between the feet is enough to place the left foot behind the right.
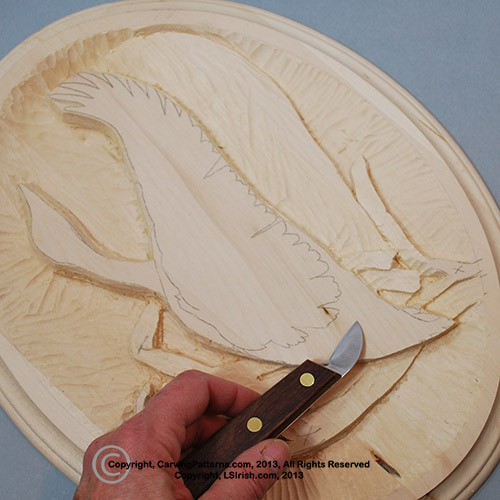 Step 16: The bottom horizontal cattail leaf
The bottom leaf has been rough cut to the same level as the background wing. I have cut a stop cut along the intersection line between these two areas. Using my wide sweep I have tapered the top edge of this leaf below the background wing level, this tucks the leaf behind the wing.
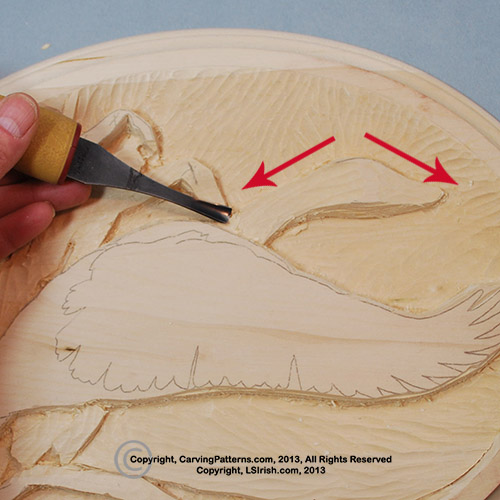 Step 17: Rough out the body, head, and neck
The next highest level in the pattern is t he body, neck and head of our goose. All of these areas lie above the background wing but below the front wing.
 The head of a goose is wider, thicker, than its neck. So I have pencil marked my neck with an arrow (now shown by the red arrow) to note that I want to taper the neck and beak away from the center point of the head area. The center of the head will remain at the un-carved level of the wood while the neck and beak will taper down to this levels depth in the wood.
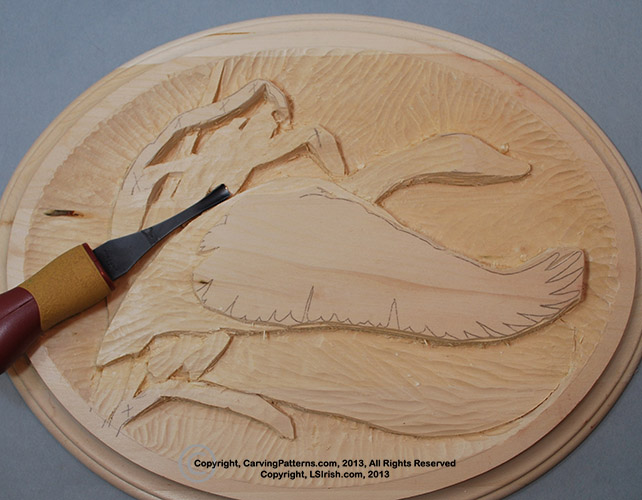
The body area has been roughed out. We are still using the same technique of stop cuts followed by wide sweep gouge work. Note that the upper shoulder, above the front wing, is part of this level.