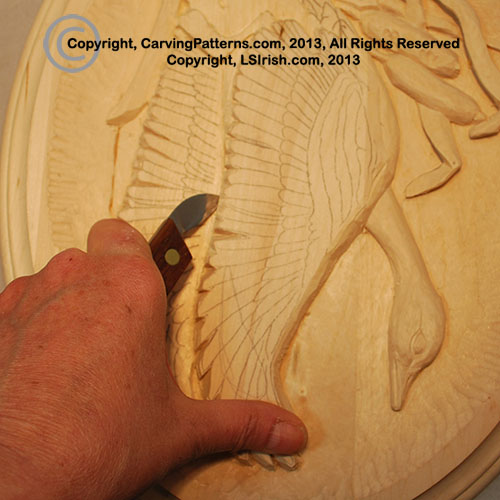
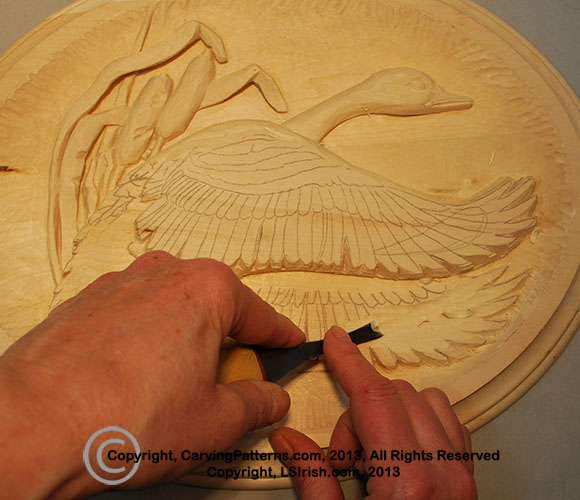
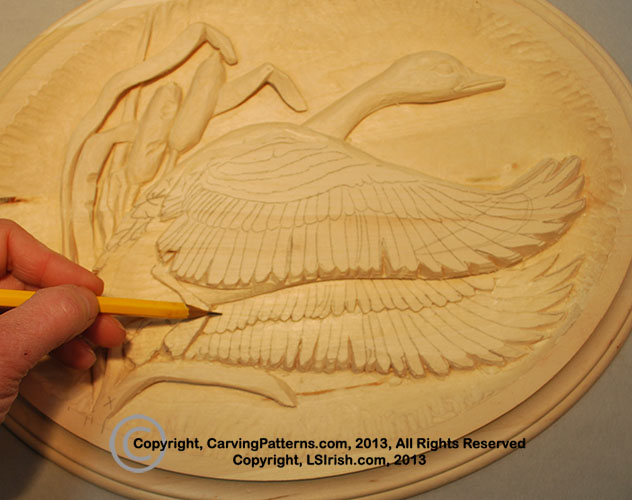
 Step 37: Undercut the front wing, defining the back foot.
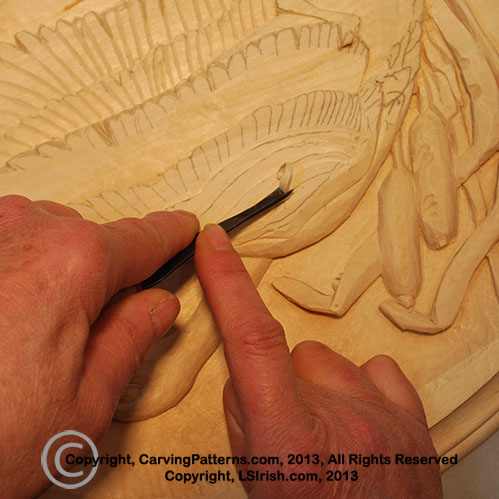
Using a bench knife or chip carving knife create an undercut along the lower feather edge of the front wing. Use your straight chisel or bull nose chisel to taper the back wing into that undercut. YOu can see the taper in the back wing where the pencil feather lines have been carved away.
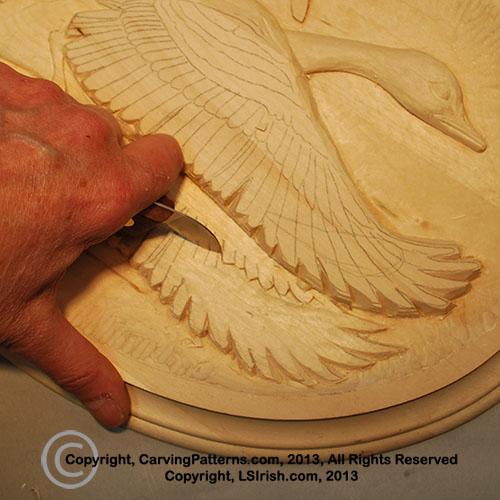
Free the back foot from the back wing using a stop cut made with the bench knife.
Smooth the back wing in this area with your bull nose chisel and u-gouge in the tight area just beneath the belly.
 |  | |
 |  |
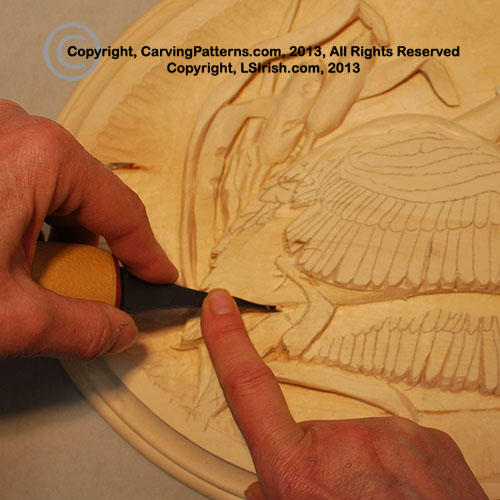
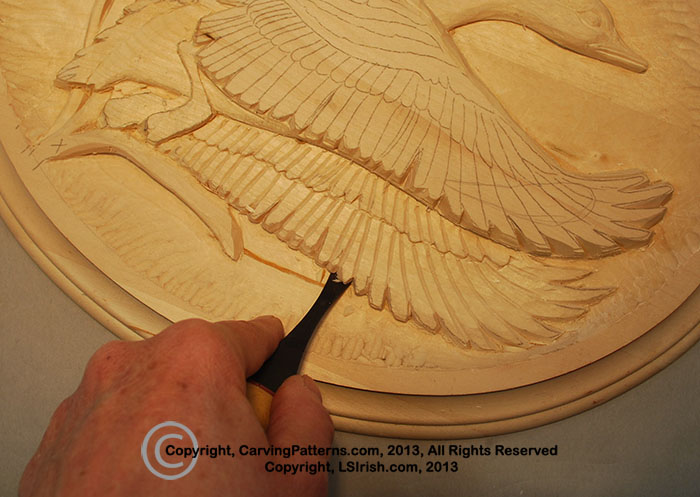
Step 38: Dipping the back wing, defining the inner line of small feathers
 |  |
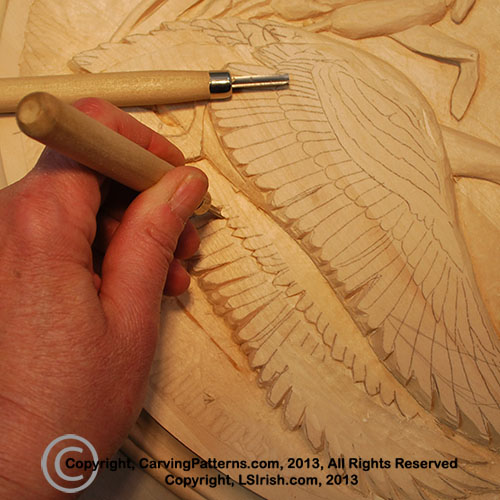 With the undercut for the front wing complete, use your wide sweep round gouge to cut a cupped area in the front area of the back wing. This small dip will be enough to change the light patterns of the wing when finished.
Using your bench knife or chip knife make a stop cut along the lower edge of the inner line of smaller feathers in the back wing. A simple three-stroke chip cut works very well in this area.
 To create an easy round profile to the back feathers in this section up-end your large or medium round gouge. Use a push cut with medium pressure. With your bench knife, at a low to the wood angle, cut along this up-cut to drop the level of the lower feathers.
 With the inner feather line defined, use your wide sweep gouge or bull nose chisel to blend the dip area into the upper feather line. Taper the lower back feathers into this same line.
With a pencil remark any lost feather pattern lines.
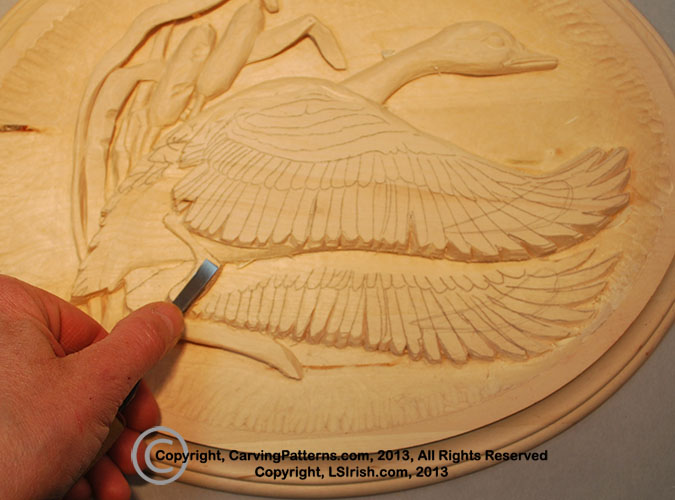
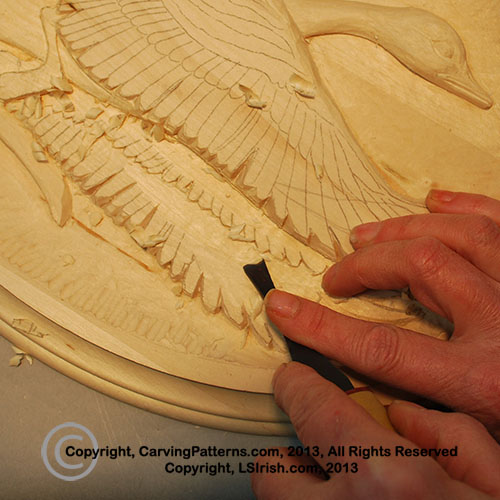
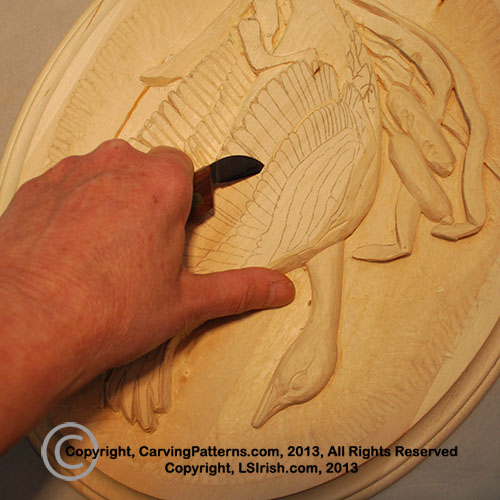
 Step 39: Undercut the lower, back wing.
Make an undercut along the bottom edge of the back wing to free it from the background wood. This early undercut runs from about the sixth front tip feather back to the midpoint of the bottom leaf. Cut the line first with your bench knife then follow that cut with your wide sweep gouge.
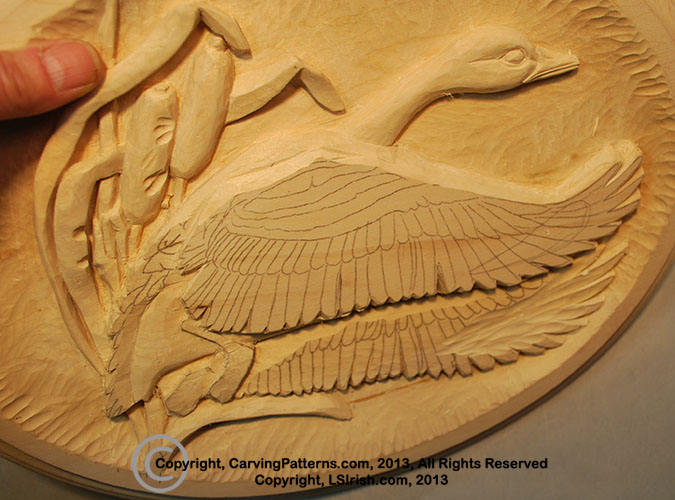
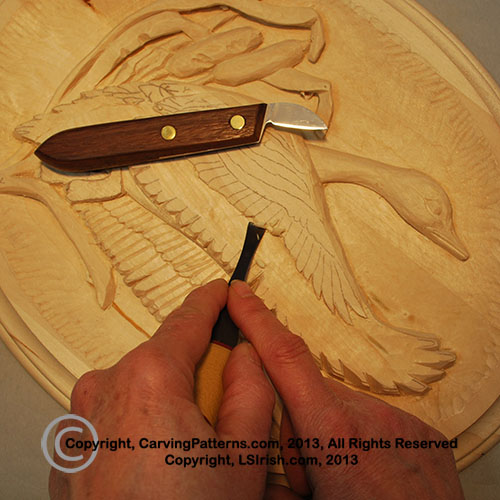
 Step 40: Repeat steps 38 and 39 for the front wing.
The front wing is treated exactly as we have the back wing. Cut along the inner feather edge with your bench knife to create small three-stroke chips. Undercut along that same line using your bench knife and bull nose chisel or wide sweep gouge. Note in photo that you can tip the edge of the wide sweep into the undercut – leading the undercut using just one edge of the gouge.
 |  |
Lightly define the pattern lines in the shoulder area using your v-gouge. Thes v-trough lines will be used during the pyrography stage of work to guide our creation of very small, tightly packed feathers. As you cut these lines hold the v-gouge so that it slants down towards the lower shoulder area to terrace this series of lines.
As I was working my v-gouge was dragging, leaving behind fine packed lines in the direction of the cut – which means that this tool has lost its edge. So I took a few moments to pull it over my slip strop and rouge.
 Hens and Roosters Hens and RoostersFeaturing 7 extra large designs of Hens and Roosters. Including the classic weather vane rooster, realistic rooster and hen, plus four stylized country chickens. |