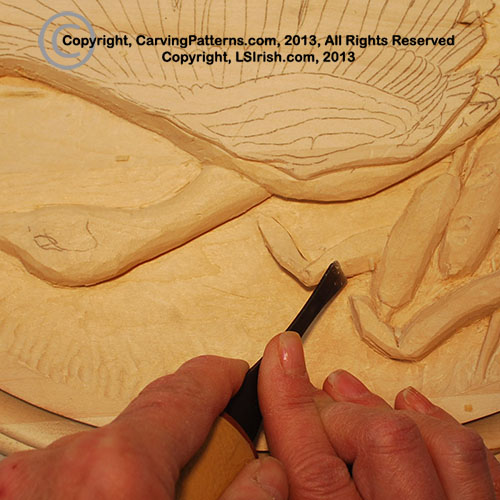
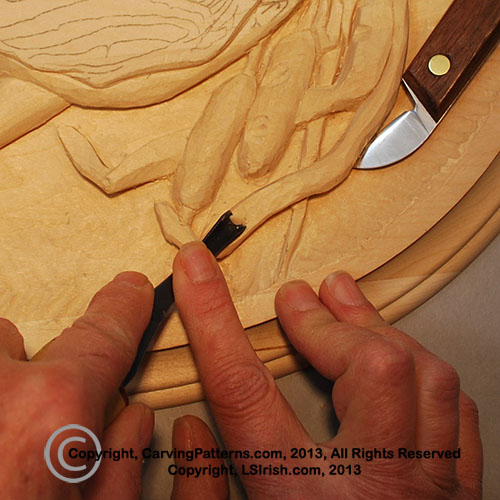
 Step 30: Thinning the free-floating element
Now that the undercutting for the free-floating area is complete I can go back to the top surface of that element and thin and shape it with my wide sweep, large round gouge, or straight chisel.
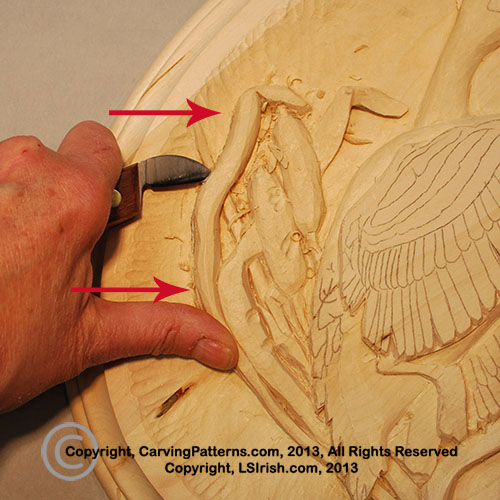
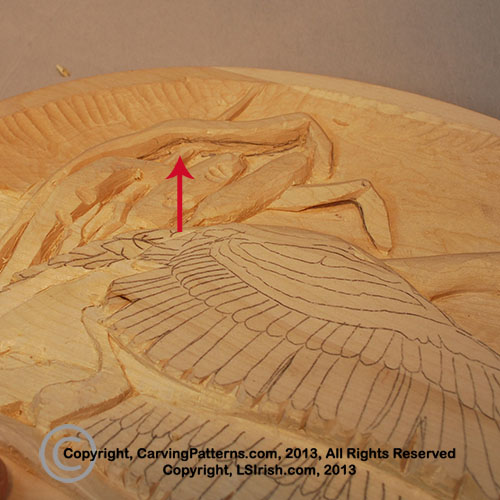 Step 31: Free-floating the long top leaf.
The long top leaf has a cattail stick running under the center of the leaf. As I work this leaf I will be free-floating the right side of the leaf from this stick to the fold of the leaf. I will also free-float the left side of the leaf from the cattail stick to where this leaf touches the shorter, inside leaf. At the cattail stick I will just undercut the leaf of both sides of the leaf.
 |  |
Begin by marking the v-shape area on both sides of the leaf with a pencil. Working the inside edge of the leaf first, make a cut, slanted towards the background level along the pencil line with your chip knife or bench knife. With your round gouge or straight chisel begin cutting along the bench knife cut to release thin slivers of wood from the underside of the leaf. Work the first several chisel cuts along the entire line, then continue cutting up to but not over the cattail stick. This will widen the cut area on both sides of the stick.
I found that in the tight corner at the stick area my u-gouge was perfect for releasing that small area of wood. Repeat these steps along the top side of the long top leaf. Working slowly until the two undercuts – top and bottom of the leaf – meet.
 |  |
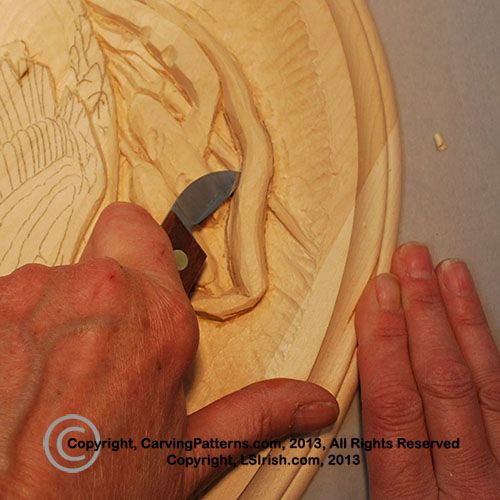
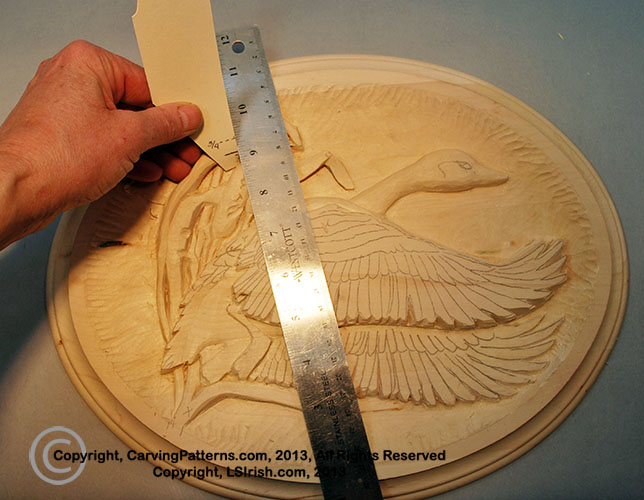 Step 32: Lower the background level around the long top leaf free-float.
With the two areas of the long top leaf free-floated I am ready Taper and slope the background level. A quick double check of my depth in this area lets me know how deeply I can work. Using my wide sweep, round gouge, and bull nose chisel I can drop the background wood to give the free-float area more open space.
Now that the free-float steps are done I can shape the top side of my long top leaf. I worked two dips into the leave, one on each side of the cattail stick. This gives the impression that the leaf rolls over the stick and adds to the depth illusion of the work. I am using my large round gouge.
 |  |
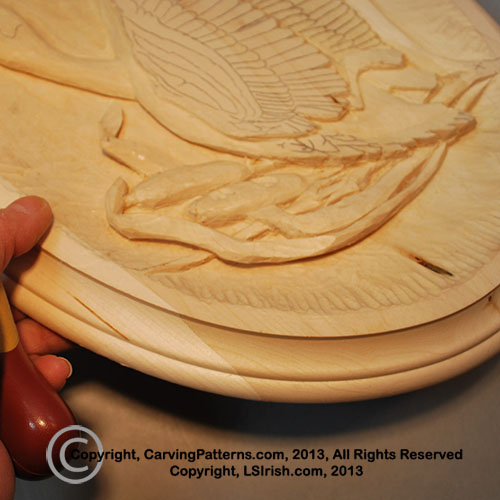
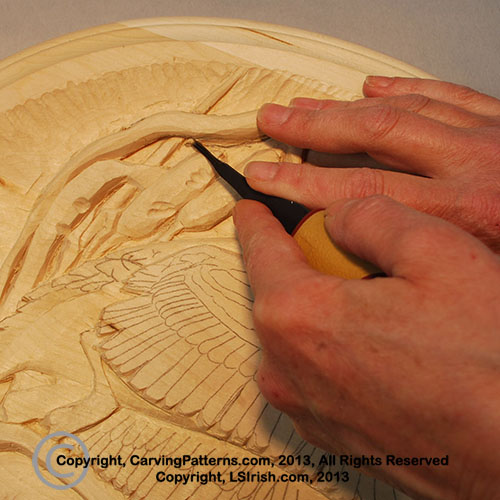
 Step 33: Working the remaining cattail leaves.
The small inside leaf is in a very tight area of the pattern. So I have chosen to work the sides of the leaf with an undercut only using my bench knife or chip knife and my gouges or chisels. Both the top and side edge of this leaf is undercut. I have also extended the free-floating area of the side of the long top leaf with a deep undercut.
This is a good time to take a sanding and cleaning break. Work along your undercuts and free-float areas using 220-grit sandpaper and your rifflers. I find that a foam-core fingernail file is excellent for tight areas. You can cut the nail file using craft scissors to narrow the tip for reaching into those tight corners.
 |  |