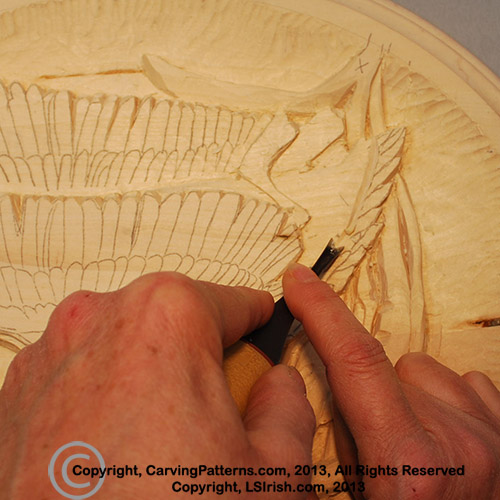
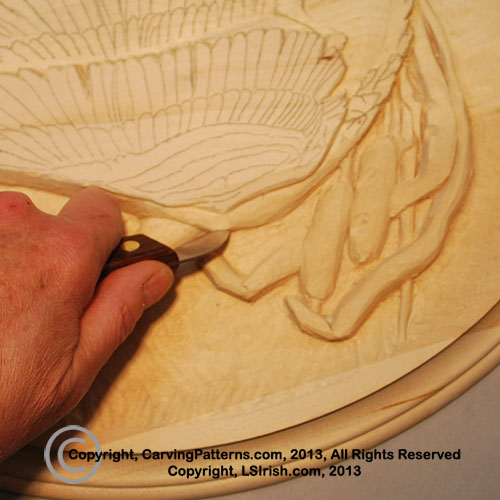
Step 25: Belly and tail feathers intersection
Where the back edge of the belly meets the tail feathers I am using my v-gouge to cut a separation line, in essence it is a wide stop cut. I have the v-gouge angled so that the leg against the tail is fairly vertical, with the other leg sloped into the belly area. With a straight chisel I can now taper the side of the tail feather area, again, this is a fairly vertical wall. The v-gouge stop cut is blended into the belly area using my bull nose chisel or straight gouge.
 | 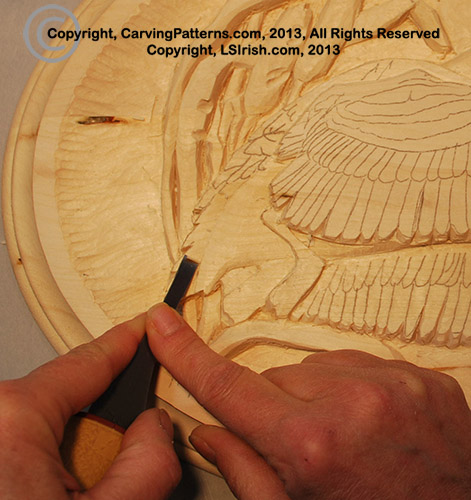 |
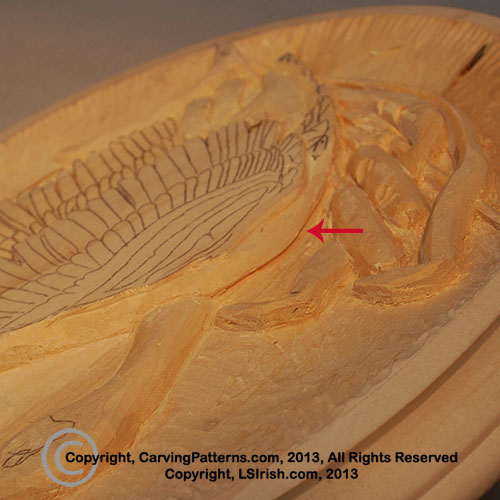
 Step 26: Quick check for our progress
Low and high relief carving styles
The difference between the relief carving style of low relief from high relief is the way the artist worked their joint lines between elements. Low relief carvings show the joint line, they are obvious and in full view. High relief carvings hide the joint lines, tucking them under the higher element, by using a technique called undercutting. So the difference between low and high relief have nothing to do with the thickness of your wood or the depth of the carving – it’s all about the joint lines.
Our Canada Goose is a high relief carving and during today’s posting we will be working on undercutting the joint lines between the background and the goose’s head, neck, and shoulder. We will also create a series of undercuts along the cattail cluster of leaves.
Another fun technique used in high relief is free-floating an element. As we work the cattail leaves there will be three main areas where we will literally cut the underside of the leave free from the background wood and allow it to float above the surface of the wood.
Step 27: Undercutting a joint line
 |  |
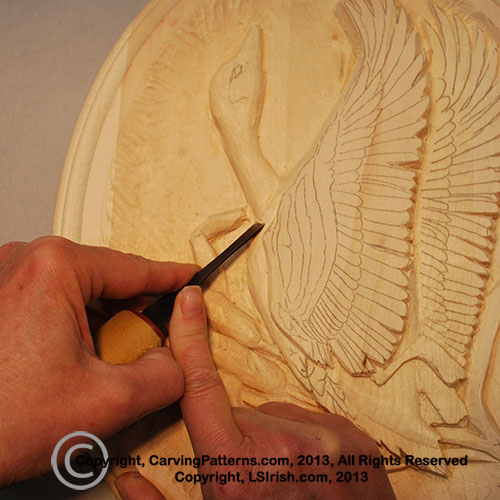
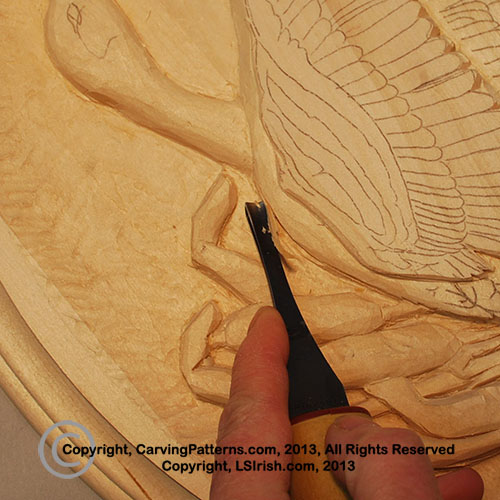
The first area that I want to undercut is along the upper shoulder line of the front wing. Using a chip knife or bench knife make a cut along the outer edge of the shoulder, tipping the point of the knife into the shoulder area. This first cut is about 1/32″ to 1/16″ above the surface of the background. Repeat the cut several times, working it in both directions – towards the tail area then flipping the board to cut towards the neck.
 |  |
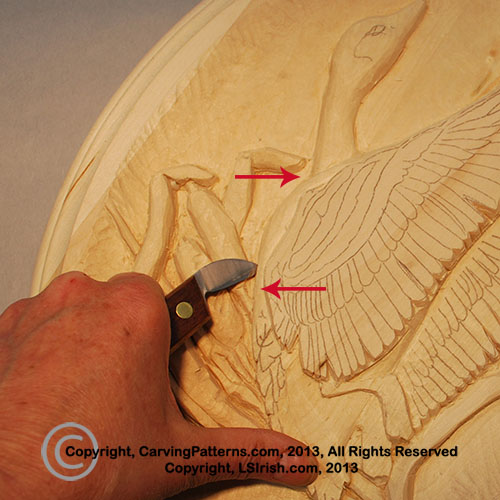
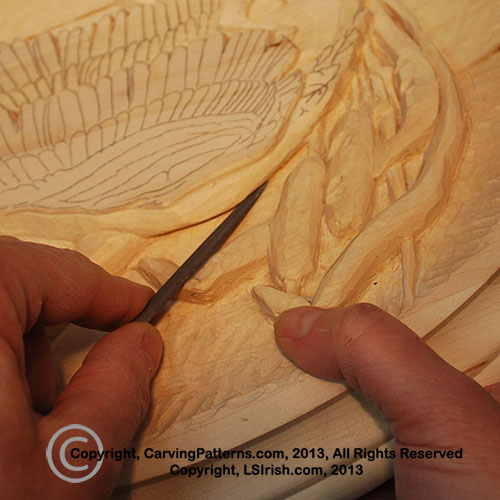 With a large round gouge or bull nose chisel cut along the background wood leading the cutting edge of the gouge into the first chip knife cut. Make several passes with your gouge to release a long, thin sliver of wood from under the shoulder line. Dress the undercut – remove any fibers or slivers of remaining wood – using a folded piece of 220-grit sandpaper or a riffler.
Repeat the undercut working along the upper edge of the neck to the touch the back of the head. In the photo you can see how nicely the undercut hides the joint line and the wonderful dark shadow it creates along that joint line area.
 Flying Ducks Flying DucksFocuses on the Mallard and Pintail ducks in four Extra Large patterns. Backgrounds included farm landscapes. |