 I have a 1/2″ thick, 12″ x 12″ marble tile which has a cork board backing. The cork keeps the tile from sliding when I work with it. The tile is large enough and hard enough that it has a pristine flat surface. I need the flatness of the marble to re-establish the flatness of the coarse stone.
If you do not have a hard flat surface handy you can use an area of your sidewalk or concrete deck in the back yard. Concrete is usually flat enough to re-establish the stones original profile. Heavy thick safety glass is excellent as your working surface as glass has a flat, uncupped surface.
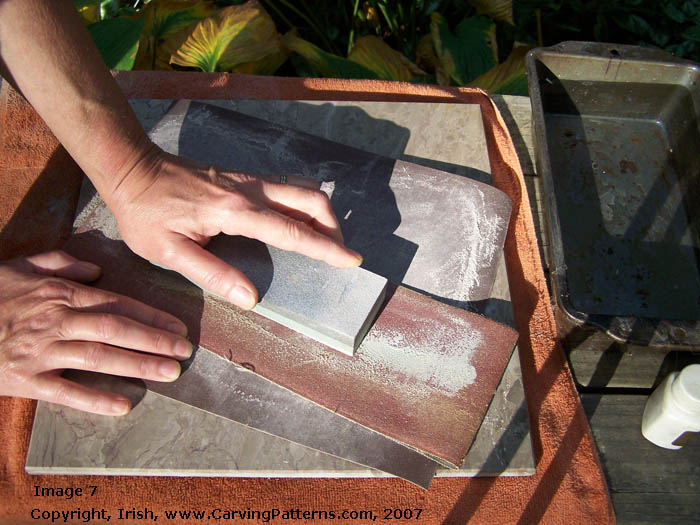
The sandpaper is a strip from our band sander and is 220 grit. I am working on the medium coarse side, light blue, and you can see that the larger grit is moving the stone surface quickly. As I rub the stone across the sandpaper the grit of the paper begins to flatten the stone. You can see the stone dust with just a few rubbings. You wan cloth back paper because of the abuse you are about to put it through.
 Looking at the top side, coarse side, of the stone you can see where the stone was touching the sandpaper just along the leading edges of the stone’s surface. The center area tucked under my hand has not even been touched by the paper yet.
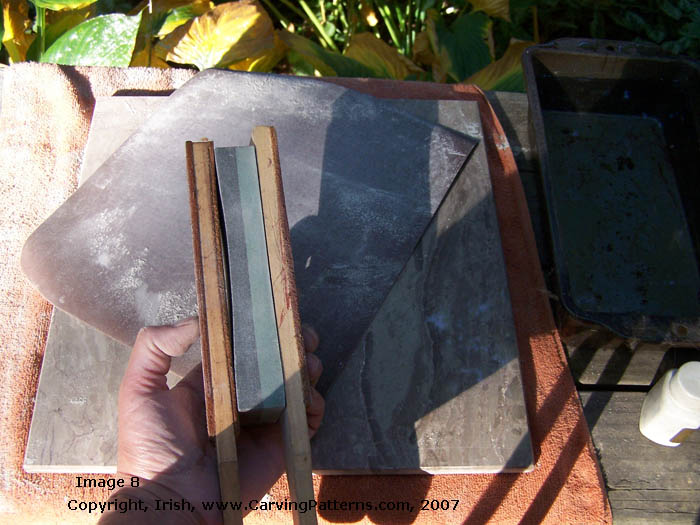
 The medium side of the stone has been returned to flat using the 220 grit sandpaper. Before I go back to the 320 grit I will work down the coarse side of the stone. I also will do all four edges of the stone to re-establish the sharp edge along the corners. Ahh! Much better.
Before I use this stone again I will wash it well. I want to insure that I have not transferred any coarse grit particles to the medium grit side or vise versa.