Step-by-step instructions for establishing the rough out levels for any wood carving pattern. Please click on the image above for a full sized free carving pattern.
With just a little time and a few questions you can break any pattern into simple rough out levels – foreground, mid-ground, and background – ensuring that every element falls at the right depth in your wood.
This free, online wood carving project by Lora S. Irish is available in PDF e-book format. Please click on the link below to save a copy to your desktop.
What are you carving?
Where many relief carvers approach a project by carving individual elements, one at a time, fully developing each before moving on to the next I prefer to first establish groups of elements into distinct levels. Those groupings of elements can be carved to a predetermined depth in the blank then shaping and detailing established. This gives me lots of control over both the depth and the perspective of the scene.
Since most patterns do not come with the level lines or areas already established let’s look at how you can discover the levels within any design.
I start by telling myself exactly what I see in the patterns.
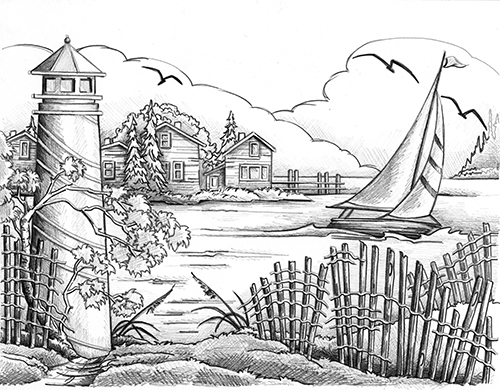
For this pattern I see a lighthouse on a sandy knoll. In front of the lighthouse are three pieces of snow fencing to keep the sand from shifting. There is also a path that leads over the edge of the knoll to the lighthouse and a gnarled scrub pine. Some grass and a fourth piece of snow fence lie behind the lighthouse.
In the middle of the scene I see a sailboat in a wide cove. Behind the sailboat is a small harbor scene of houses, trees and a wharf. Behind the harbor is the horizon line for the ocean and a small jetty of trees sets upon this line. Several puffy clouds rest upon the horizon line.