Working with Free Form Patterns
Triangular Design Placement, Page 1
By L. S. Irish
Triangular Design Placement, Page 1
Triangular Design Placement, Page 2
Free flowing designs create beautiful patterns for wood carving. Their open backgrounds and gently curving features give a feeling of movement across the wood.
However, they can be a nightmare to any carver when it comes to placing the pattern onto the wood blank. Because of the curves within the design there are no specific reference points from which to mark the pattern.

It is a very simple “trick of the trade” to establish your own reference points, making the pattern very manageable for tracing.
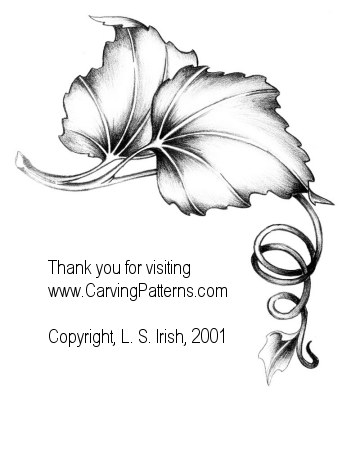
In our pattern sample we have a wild grape vine segment that curves gently from one corner of the pattern to another. Looking at the design you get a sense that if you folded the pattern paper along the center diagonal most of the design would be in the upper triangle section created by the fold. This design can easily be encased into a simple triangle.
Using a pencil and a ruler I have marked a triangular area behind the grape leaf design. This triangle captures the basic areas of the design.

Once I have the triangle established I can now mark points at each corner of the shape. These are noted with the red dots. By using the points as placement marks that can be transferred to the wood blank the pattern can easily be traced for carving.
There are several basic shapes that can be found in pattern work, the triangle, square or rectangle, s-curves, c-curves, and the line. Using any of the these shapes behind the pattern makes pattern placement simple.


Using a simple shape behind a design makes transferring it to the wood simple. It also allows you to group patterns into new designs. Let’s go on and see how this is done. Triangular Design Placement, Page 2.
Pingback: Wood Carving Free Projects, Lora Irish Books | LSIrish.com